|
|
|

|
|
|
|
|
|
Hen Paper Wall Decoration
The hen is waiting patiently for all of her chicks to hatch!
With parental or adult assistance, this is an easy and fun project for school aged children. It only requires basic cutting and gluing skills.
|
|
|
|
|
For this project you will need:
- cardstock in the following colors: white, dark yellow, light green and red
- black marker or pen
- stick glue
- scissors
- colored pencils in the colors of yellow, gold, red, green and brown
Ages 7 and older
|
|
|
Instructions:
1. Print out the pattern and create permanent templates for the pieces. This makes them easier to trace around and can be re-used as often as needed.
2. Trace the template pieces onto the appropriate colored cardstock and cut all of the pieces out. Kids can go a step further and use the color pencils to accentuate/ shade the edges of each piece. This gives the final project a little bit more of a realistic look.
3. For the hen, glue the comb onto the head. Glue the beak and the wattle onto the face. Use the marker and draw 2 dots for eyes.
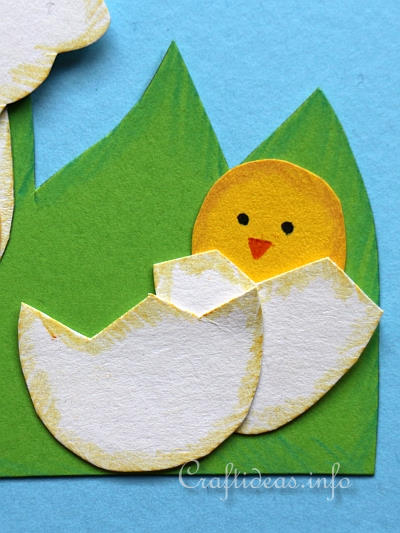
4. For the chick, the larger side of the egg shape is the top of its head. Draw two black dots on its face for the eyes and draw a small red triangle below the eyes for its beak.
5. Cut one of the eggs in half using a zig-zag type of pattern through the middle of one egg. Glue the chick behind one egg half.
6. Glue the wings and feet onto the hen.
7. Glue the hen’s body in the center of the grass piece. Glue 2 eggs on one side of the hen and glue the chick and egg half on the other side.
8. Hang on the wall or in the window. Add a string if necessary to the top for hanging.
|
|
|
|
|

Tip: You may wish to decorate both sides of the figure if you wish to hang it into a window or freely in a room. You will then be required to double the amount of all the pieces and the pieces of the backside have to be cut out reversed.
|
|
|
|
|
|
|
|
|
© Craftideas.info
Contact Links Privacy Policy and Cookies
|
|
|