|
Tutorial:
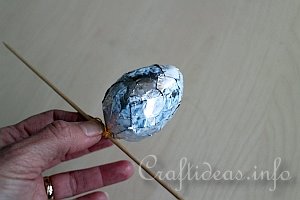
1. Glue the pieces of aluminium foil over the egg. The pieces may move around a bit until the glue starts to dry. This may be frustrating a bit but once the glue dries, it will hold the pieces in place. And if there are a couple of unglued spots, that is not a problem. Aftewards once the paper and glitter is added, it won’t be noticed anyway. The glue may look milky at first but should dry clear.
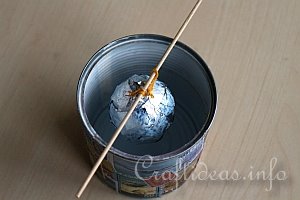
2. Insert a shishkabob through the hanging loop and then hang the egg into a can until it is dry. This will keep it from touching anything else while it is drying.
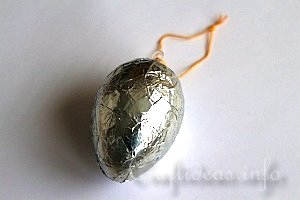
3. This is the dried egg. It is shiny again.
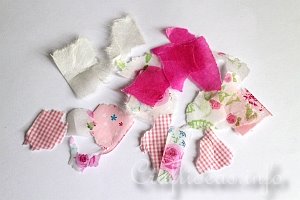
4. These are the pieces of paper that were torn for this egg. You won’t need this many but it is good to have a choice.
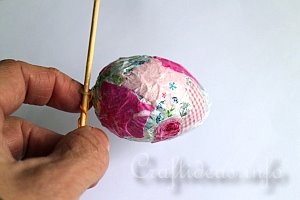
5. Now glue the papers on at random. Also allow pieces of the aluminium foil to show. This adds to the shine of the egg.
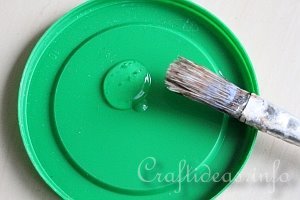
6. Now cover the egg with clear liquid glue. This will hold glitter or iridescent flakes better than decoupage glue. Then shake glitter all around the egg. Allow the egg to dry again in the can when finished.
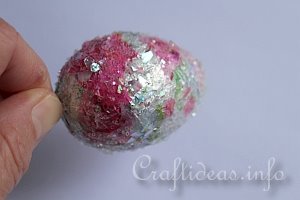
7. Once the glittered areas are dry, you can brush on another coat of glue on the egg to seal the glitter so it will not rub off all over the place.
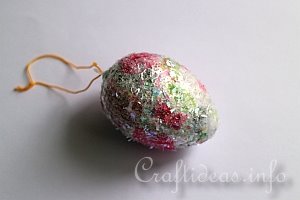
8. Now the egg is finished. These plastic eggs came with a yellow string for hanging. But for our eggs, we cut away the string and used a pink ribbon instead to match the papers.
|