|
Instructions:

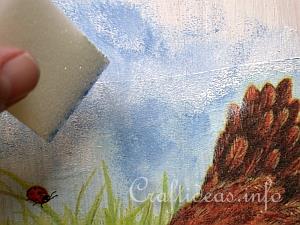
1. Paint the entire board white and let the paint dry. To decorate the plaque, first you will need to follow the paper napkin tutorial below. You need one complete napkin quarter to apply to the wood. Let motif completely dry before continuing. Above the napkin are still white areas that did not get covered. Take a sponge and dab similar colored paints to blend in with the paper napkin. Let the paint dry.

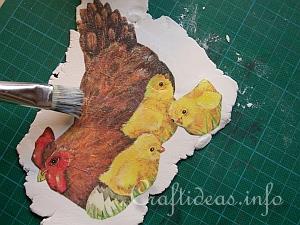
2. Roll out the modelling clay so that it is about 1/8 inch or 4 mm thick. Cut out the main design out of a second napkin quarter. Apply paper napkin glue to the clay and place the napkin onto the clay. Use paper napkin glue to adere it like you did when you added the napkin to the board.

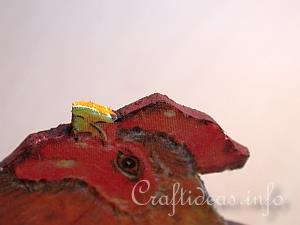
3. Let the clay dry about 10 minutes and use a craft knife to cut around the motif. Use your fingers to smoothen the edges. Because the clay is white, your motif has a white edge. Take magic markers to color the edge to match the motif.

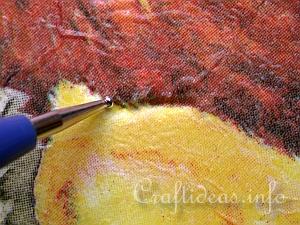
4. Use a stylus to enhance the details of the motif while the clay is still soft.
5. Now add napkin glue to the motif on the board. Place your modelling clay motif onto the glue and let dry.
6. Drill a hole on the right and left top corners of the board. Add wire to hang. Tie a raffia bow to the wire to add a country touch to it.
|