|
Instructions:
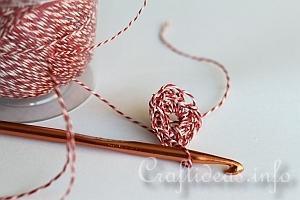
1. First CH 5 and SL ST the ends together to form a circle. Then crochet 8 DC stitches into the center hole. SL ST the first and last stitches together to end the round.
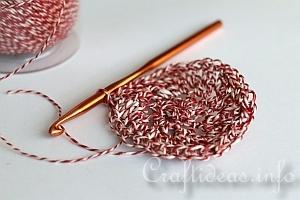
2. Then CH 3 (counts as first DC stitch) and then DC another stitch in the same position. Then crochet 2 DC in each of the remaining stitches in the round. SL ST the last stitch to the first stitch to close the round. By double the amount of stitches you will enable the round circle to stay flat.
Now place you glass on the circle. If the base is the same size as the circle, go to step 3. Our particular glass was the same size.
Otherwise, if you feel you still need another row, CH 1 for SC and CH 2 for DC and add another row of SC or DC to your circle depending on how large your glass is. You would rather the cover be tight than too loose. Again, double each stitch in the round. If you find that doubling the stitches is making the circle too large, try by doubling every second stitch instead.
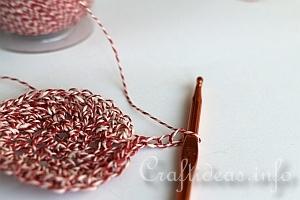
3. Now you will start the glass side. CH 3 (counts as first DC) and skip the next stitch.
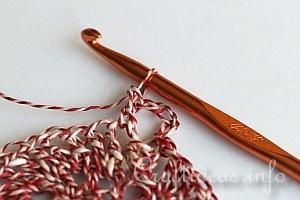
4. DC in the stitch after it. This will leave a hole.
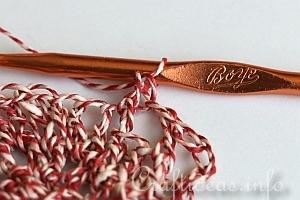
5. CH 1 and then skip the next stitch. DC in the stitch after it. Now you have 2 holes.
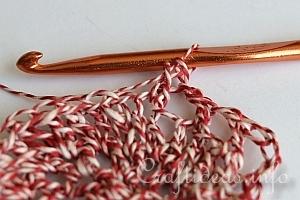
6. *CH 1 and then skip the next stitch. DC in the stitch after it*. Now you have 3 holes. Continue in this manner until you reach the end and then CH 1 and SL ST the final DC to the first DC in the row.
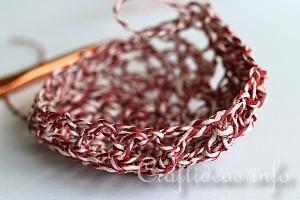
7. The former step now has caused the sides to turn or buckle up. That is ok because it will then create the side walls of the cover.
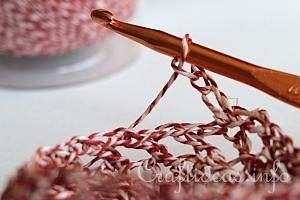
8. Now it is time for the next row. CH 3 and then insert the hook into the next hole from hook. *DC in that hole and then CH 1 and insert crochet hook into the next hole*. Continue in this manner until you reach the first DC. CH 1 and SL ST the final DC to the first DC.
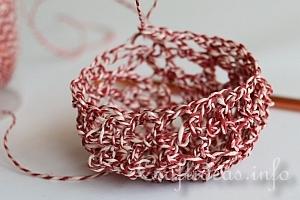
9. This is how it looks after the second side row has been added.
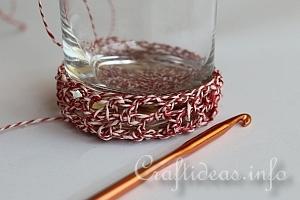
10. You can test the size by placing it over the glass. It should have a tight fit. The crocheted bakerís twine is very forgiving. The crocheted holder here was really tight but could be stretched a little so that it had a snug fit around the glass.
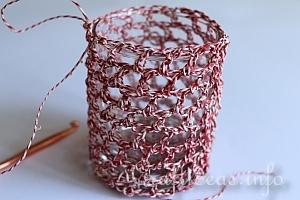
11. When everything is ok, continue in the same manner by adding new rows until you reach the height of the glass.
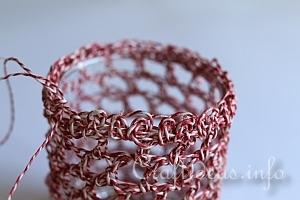
12. To finish the glass off, add a final row of SC. Crochet 2 SC in each hole, finish with a SL ST to the first SC and then cut and secure your twine. Also secure the twine at the bottom of the glass by sewing it through a few stitches and pulling it and knotting it off on the inside where it wonít be seen.
|