|
Instructions:
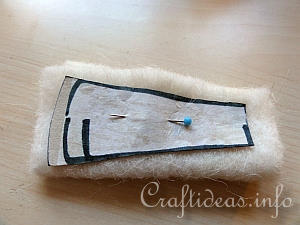
1. Print out the pattern to the size you wish and then glue the pattern onto cardboard (like a cereal box side). Cut each piece then out. Pin the piece onto 2 layers of felt and cut out. Now you have two identical pieces and did not have to mark them.
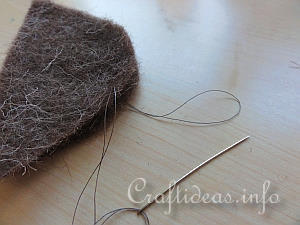
2. To sew the mushrooms together, cut a piece of thread and fold it in half so that it has a loop on one side and the two ends on the other. Pull the two ends through the eye of the needle and then insert the thread through both layers of the mushroom piece you are sewing. It should look like the image above.
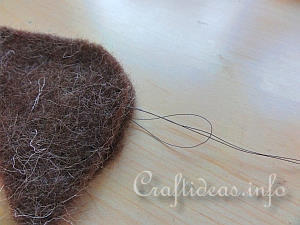
3. Then take the needle through the loop and pull tight. Now the thread is secure.
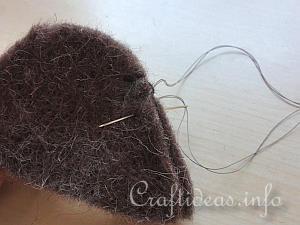
4. Insert the thread about 5-7 mm further back into the both felt layers from underneath and come up through the top.
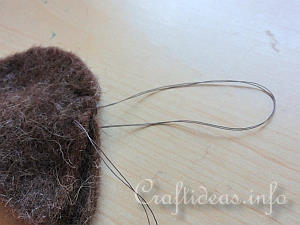
5. Again a loop is created.
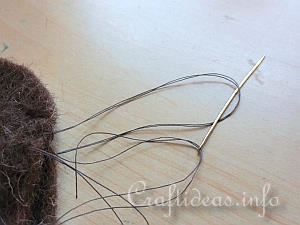
6. Place the needle again through the loop and pull tight. Continue in this manner unless otherwise indicated.
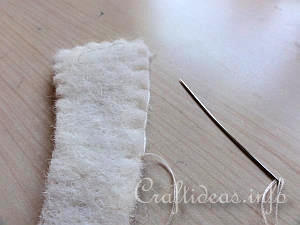
7. For the white stem piece, you will be using the above blanket stitch throughout the whole piece. Before closing, add a little batting inside the stem.
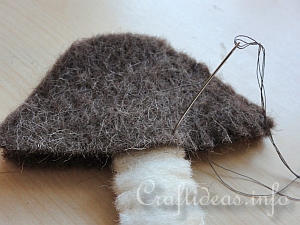
8. When connecting the stem to the top of the mushroom, start sewing at the top of the mushroom and continue until you reach the middle of the bottom section. Insert the stem about 1 cm into the mushroom top and stright stitch both parts together. At the other side of the stem, continue the blanket stitch until you finish. Make sure to stuff the top of the mushroom lightly before closing.
|