|
Instructions:
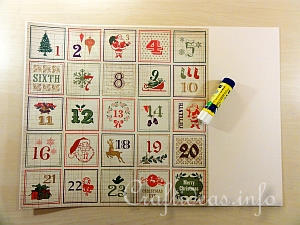
1. Because the paper used is thin, a sheet of heavier card was used to give it extra weight. The scrapbook paper was glued on the heavy paper.
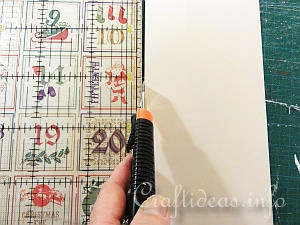
2. If the heavier paper is larger than the sheet of scrapbook paper, cut away any excess paper.
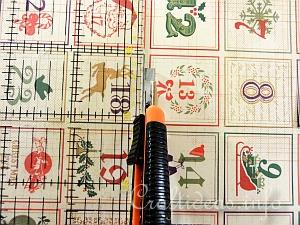
3. Then cut along the top, right side and bottom of each square. Do not cut the left side. This will be the “hinge” to open the door.
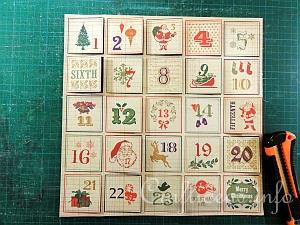
4. Once each square is cut accordingly, place the page onto a scoring mat and score each square on the left side. Open “each door” along the score line, fold it back and use the bone folder to make a nice crease.
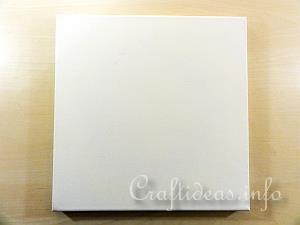
5. Now place the stretched canvas on your working surface.
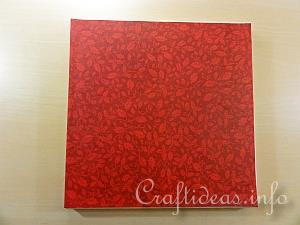
6. Adhere the sheet of red scrapbook paper onto the canvas. This will give a nice look when the doors get opened.
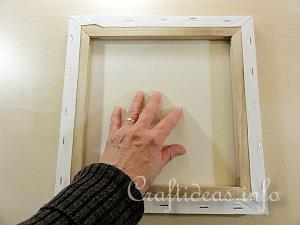
7. Then turn the calendar sheet over and apply glue to all of the areas between the squares. Make sure that the glue only touches these areas and not the squares themselves, otherwise these may stick to the canvas afterwards. Adhere the calendar sheet then onto the canvas over the red area. Press the areas between squares onto the canvas with your fingers. You can also turn the canvas over and press it against the table to assure that the papers stick to each other. While the glue is drying, make sure again that each door can be opened without any problem.
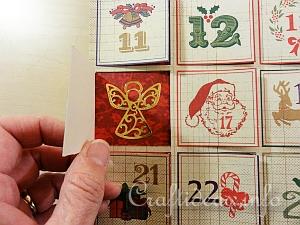
8. Once the glue is dry, you can apply a peel off sticker behind each door. Close the doors again and the calendar is ready for use.
|