Free Craft Ideas, Tutorials and Templates


CI Border

Home

Patterns

Tutorials

Spring Crafts

Summer Crafts

Fall Crafts

Christmas & Winter Crafts

New Crafts


Illustrated Craft Tutorial - How to Make Romantic Paper Tea Light Houses for Valentine’s Day, Anniversaries or Weddings

These are pretty no matter which color you choose to make them. Therefore you can create them to suit any of your decorating needs.

This technique works well if you do not have a die cutting machine but wish to use a paper punch... or a template to create the aperature in the walls of the house. There is a template for the house itself and a template for the floor piece. If you have a die cutting machine and appropriate die, you can also use this Paper House Tutorial which uses only one template for the entire house.

The template, supplies needed and larger images of the project can be found on the project page when you click on the picture to the right.


Craft Tutorial - Valentine Tea Light House 1

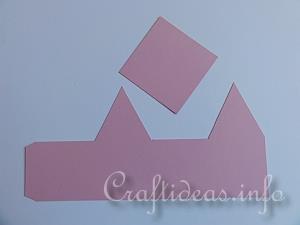
1. Print out the pattern to the full size of the printer paper and trace the house and bottom piece template onto a piece of card in a color of choice and cut the pieces out. The appropriate printed out size is when the floor piece measures
8.5 x 8.5 cm in size.

Craft Tutorial - Valentine Tea Light House 2

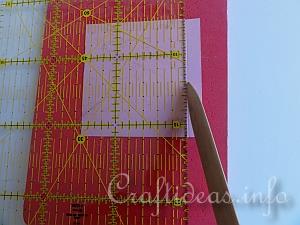
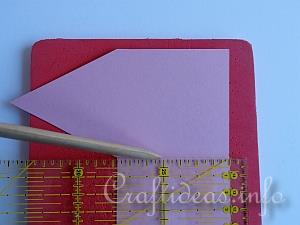
2. When your floor piece measures 8.5 cm, then you will score a line on each of the four sides. The position of the scoring markings can be seen on the template.

Craft Tutorial - Valentine Tea Light House 3

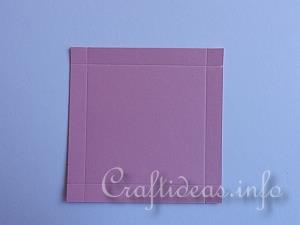
3. So that it looks like this.

Craft Tutorial - Valentine Tea Light House 4

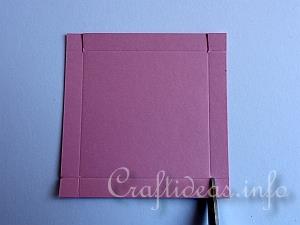
4. Cut in the each of the four tabs across from each other. You will cut only up to the horizontal line. Here you see the two top lines are cut in and now you will do the same with the two bottom lines.

Craft Tutorial - Valentine Tea Light House 5

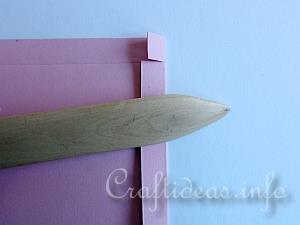
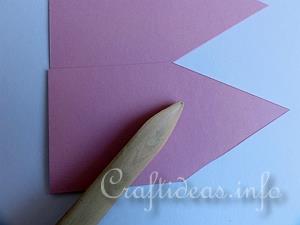
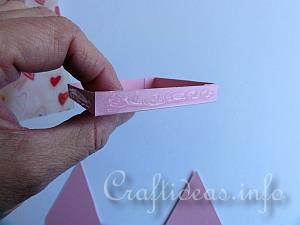
5. Use your bone folder and fold over all of the sides of the floor piece to give it a crisp and flat edge.

Craft Tutorial - Valentine Tea Light House 6

6. Place a drop of glue on each of the four tabs.

Craft Tutorial - Valentine Tea Light House 7

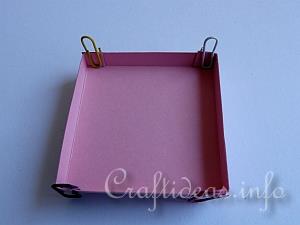
7. Fold in the side walls to adhere them together. Use paper clips to hold them together until they dry.

Craft Tutorial - Valentine Tea Light House 8

8. Score each of the four inside lines of the house.

Craft Tutorial - Valentine Tea Light House 9

9. Use the bone folder to also get clean sharp edges.

Craft Tutorial - Valentine Tea Light House 10

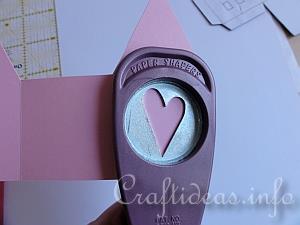
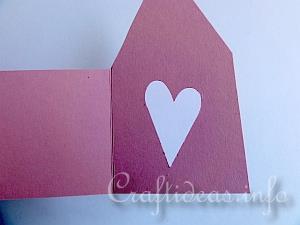
10. In each of the side walls, punch a motif of choice out. For this project, a heart was chosen.

Craft Tutorial - Valentine Tea Light House 11

11. This is how the wall now looks like.

Craft Tutorial - Valentine Tea Light House 12

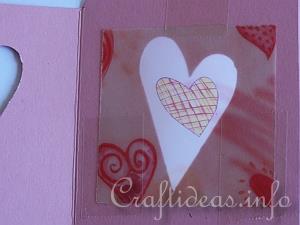
12. Use printed vellum (or other thin paper of choice) and adhere it to what will be the inside of the house. Here clear tape was used to adhere the vellum as glue tends to look too messy and shines very spotty through the paper.

Craft Tutorial - Valentine Tea Light House 13

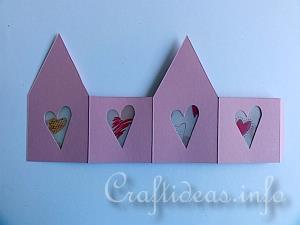
13. This is now how the house looks.

Craft Tutorial - Valentine Tea Light House 14

14. Add now glue to each of the four outside walls of the bottom floor piece.

Also add glue to the side flap of the house.

Craft Tutorial - Valentine Tea Light House 15

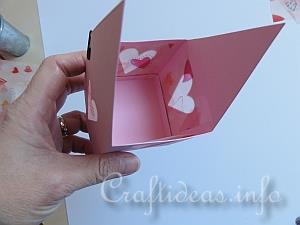
15. Adhere the house to the floor piece. Make sure all of the flaps are on the inside of the house and cannot be seen from the outside.

Craft Tutorial - Valentine Tea Light House 16

16. This is how the house looks from the inside.


Valentine's Day Paper Tea Light House
Valentine’s Day Romantic Paper Tea Light House Craft Project Here
Click here for a larger image and supply list to make this project.


More Paper Craft Tutorials


Copyright: Please read this Copyright Information about using the images of this website.


© Craftideas.info

Contact     Links     Privacy Policy and Cookies