Free Craft Ideas, Tutorials and Templates


CI Border

Home

Patterns

Tutorials

Spring Crafts

Summer Crafts

Fall Crafts

Christmas & Winter Crafts

New Crafts


Illustrated Craft Tutorial - How to Make an Easter Bunny Paper Tea Light House

This is a cheery and easy decoration to make for your table at Easter dinner. This technique works well if you have a die cutting machine to create the aperature in the house. It only requires one template for the entire house. If you do not have a die cutting machine, but have a paper punch and/or a template you can trace, you can use this Paper House Tutorial.

The template, supplies needed and larger images of the project can be found on the project page when you click on the picture to the right.


Craft Tutorial - Easter Bunny Tea Light House 1

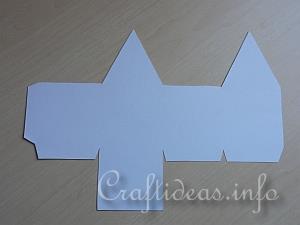
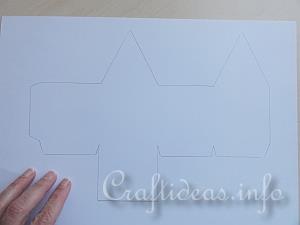
1. Print out and trace the template onto a piece of sturdy white card.

Craft Tutorial - Easter Bunny Tea Light House 2

2. Cut out the house.

Craft Tutorial - Easter Bunny Tea Light House 3

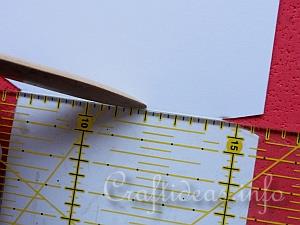
3. Crease all of the inside lines using a bone folder or stylus and a foam mat.

Craft Tutorial - Easter Bunny Tea Light House 4

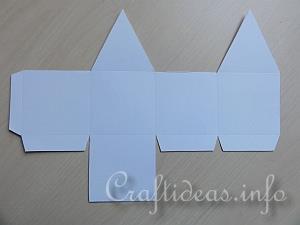
4. This is how it looks once all of the lines are creased.

Craft Tutorial - Easter Bunny Tea Light House 5

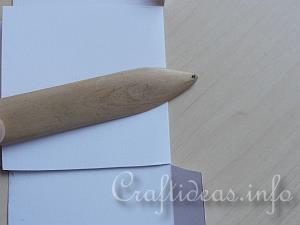
5. Use the bone folder and press it against all of the creased lines to make the folded edges really crisp.

Craft Tutorial - Easter Bunny Tea Light House 6

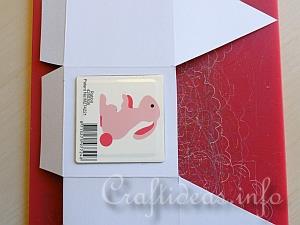
6. Place the die on one of the 4 side walls of the house.

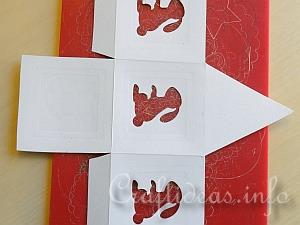
The bottom floor of the house makes the template too wide for the die cutting machine. Fold it over so that it is also sandwiched between the two cutting plates. Make sure the paper is folded over the die and not underneath it so it does not get cut.

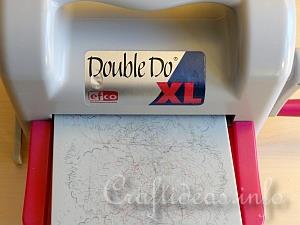
Craft Tutorial - Easter Bunny Tea Light House 7

7. Run the through the die cutting machine.

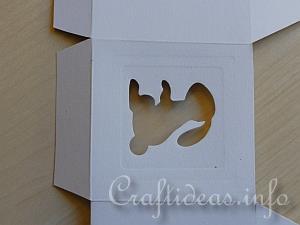
Craft Tutorial - Easter Bunny Tea Light House 9

8. This is now how the area looks once the image has been cut.

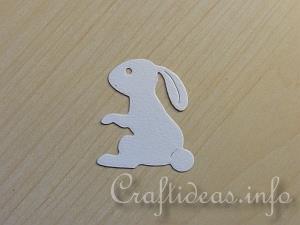
Craft Tutorial - Easter Bunny Tea Light House 8

9. The die cut bunnies can be used for other projects or Easter cards.

Craft Tutorial - Easter Bunny Tea Light House 10

10. Repeat 3 more times for the remaining 3 side walls.

Craft Tutorial - Easter Bunny Tea Light House 11

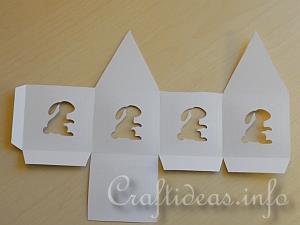
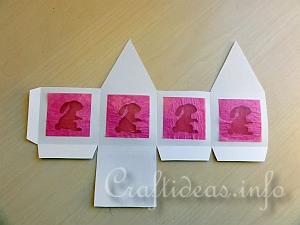
11. This is now how the house looks.

Craft Tutorial - Easter Bunny Tea Light House 12

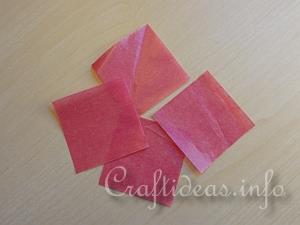
12. Cut out four 5 cm squares (or a size larger than the aperature.

Craft Tutorial - Easter Bunny Tea Light House 13

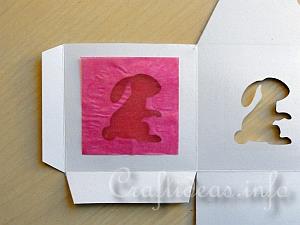
13. Glue paper to the opening from the inside of the house.

Craft Tutorial - Easter Bunny Tea Light House 14

14. Do the same for the remaining aperatures, too.

Craft Tutorial - Easter Bunny Tea Light House 15

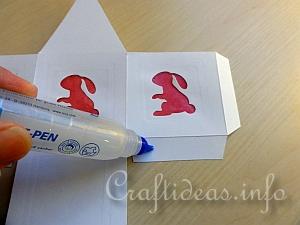
15. Place glue on all of the flaps. There are 3 bottom flaps and 1 side flap.

Craft Tutorial - Easter Bunny Tea Light House 16

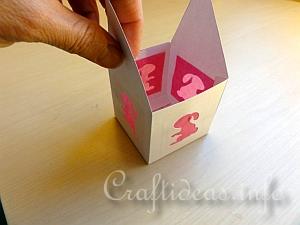
16. Then fold the house together and press the flaps onto the inside of the house. Hold together with your hand or use a paper clip until the glue dries enough to hold on its own.


Easter Bunny Paper Tea Light House
Easter Craft - Easter Bunny Paper Tea Light House Project Here
Click here for a larger image and supply list to make this project.


More Paper Craft Tutorials


Copyright: Please read this Copyright Information about using the images of this website.


© Craftideas.info

Contact     Links     Privacy Policy and Cookies