|
|
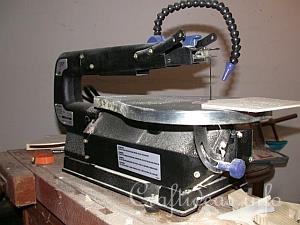
1. This is a scroll saw. There are many manufacturers and types depending on your personal needs. For the beginning, use a basic machine with minimal features. You can always advance to better machines at a later point. It is simple in the handling and changing the blades is easy. Ask about different features when buying a new machine.
|
|
|
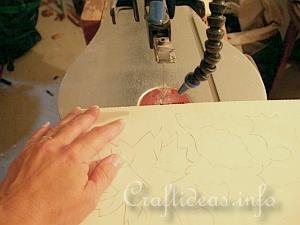
2. Follow these simple instructions to transfer patterns onto your wood or draw your own design freehand onto the wood. Try to make the most of your wood by drawing more designs closely together. Afterwards, you need to cut roughly around each drawing to single out the piece you are intending to saw first.
|
|
|
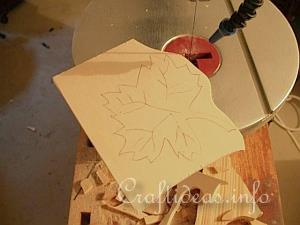
3. The first design is roughly cut out and ready for the next step. Turn the machine on and aim towards the first line to cut.
|
|
|
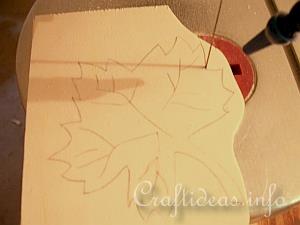
4. Let the blade saw into the wood. Work slowly and accurately and always use both hands to direct the blade through the wood.
|
|
|
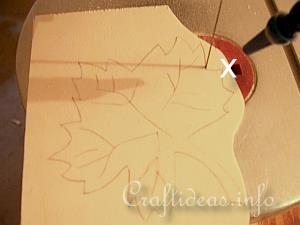
5. When you reach a turning point and have to make a 90° angle, you can go back through the cut line and remove the wood from the saw. Insert the wood from the beginning of the next line (point x) and saw until you reach the cut point of the first line.
|
|
|
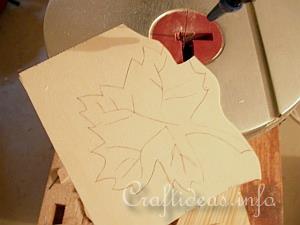
6. The cut is clean and you can continue with the next line.
|
|
|
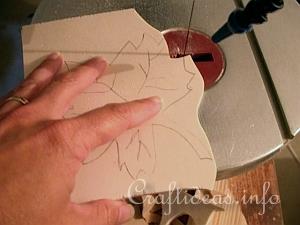
7. Insert the blade into the next line. Continue cutting.
|
|
|
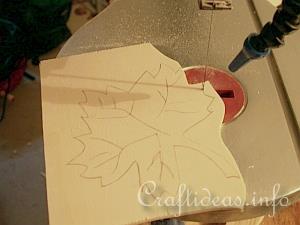
8. Gradual curves are easily achieved. Work slow and let your hands guide the wood.
|
|
|
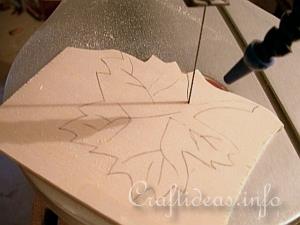
9. Another point where a 90° angle is approaching. Saw until the angle is reached and remove the piece again from the blade by going backwards through the cut line until the piece is out of the blade.
|
|
|
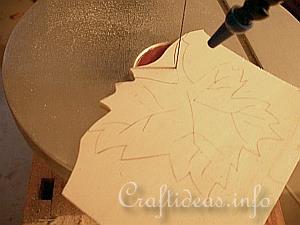
10. Come from the next side and saw until the angle is reached.
|
|
|
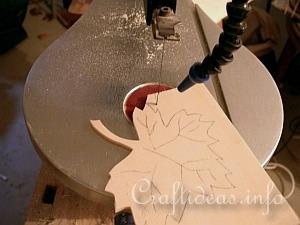
11. Continue cutting all of the edges following the same procedures as before.
|
|
|
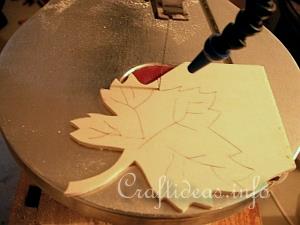
12. Keep working your way around the piece... until it is completely cut out.
|
|
|
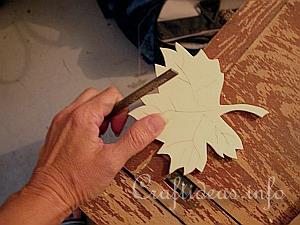
13. File the edges of the piece to soften the frayed edges. You may use a wood file...
|
|
|
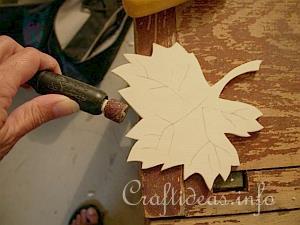
14. ...or an electric, edge sanding piece such as a Dremel.
|
|
|
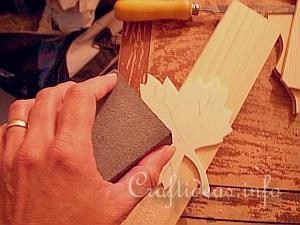
15. Use sandpaper wrapped around a block to sand your piece down to soften the roughness.
|
|
|
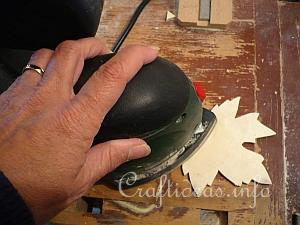
16. An electrical sander is also useful for sanding your work. The advantage is that is is fast and smooth.
|