|
|
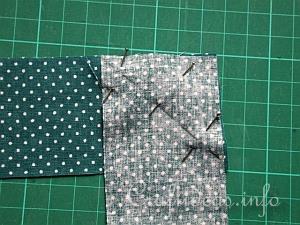
1. Cut 2 same width strips of your choice of fabric. Lay the first fabric in front of you with the good side up. Then lay the second piece of fabric with the good side down perpendicular to the first fabric. Make a pencil marking from the top left corner of the top fabric to the bottom right corner of the fabric underneath and pin the 2 layers together.
|
|
|
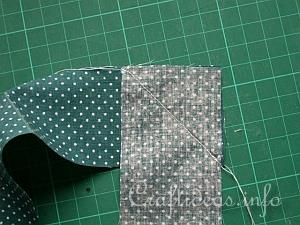
2. Stitch along this pencil line and backstitch to secure the thread.
|
|
|
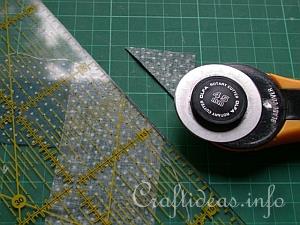
3. Lay your quilter’s ruler onto the piece and trim the top corner all but 1/2 cm away from your sewing line.
|
|
|
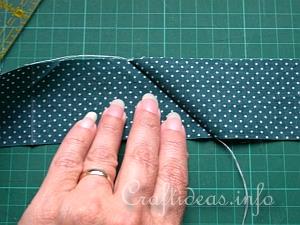
4. Open the piece now and you have a straight longer strip that you can use. Press the seam now flat.
|
|
|
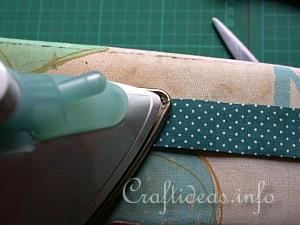
5. Fold the strip lengthwise in half and iron it flat.
|
|
|
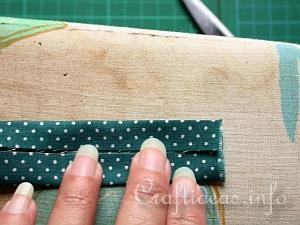
6. Now open the piece again and fold each edge to the middle creased line and press the edges now flat with your iron.
|
|
|
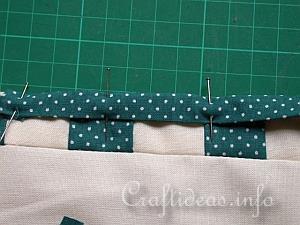
7. Starting in the middle of your block’s edge, Lay the fold over the edge of your sewn patchwork piece. Both sides will be even and now pin the strip in place.
|
|
|
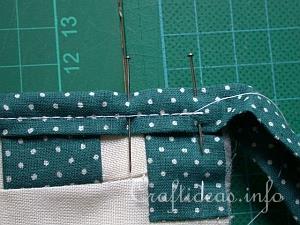
8. Sew along the edge with a 0.7 cm margin and sew until about 0.5 cm from the next edge. Stop here, backstitch your last stitches and remove the block from the sewing machine.
|
|
|
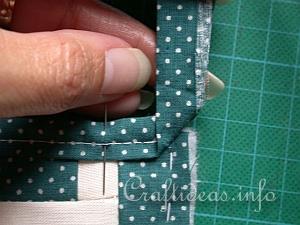
9. Fold the strip now up, hold it in place and then fold down again matching the top edges on both sides of the block.
|
|
|
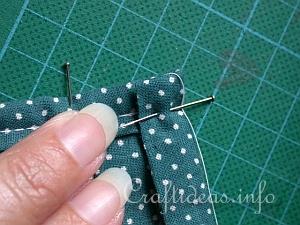
10. This is now how it looks. Pin the strip in place down the 2nd side of the block.
|
|
|
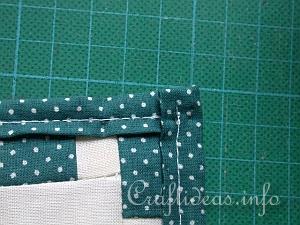
11. Start stitching exactly over where you stopped before and continue with steps 8-10 again for this and the next 2 sides as well. Afterwards you can handstitch the corners down if it is necessary.
|
|
|
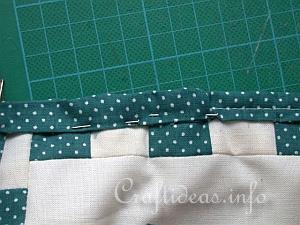
12. When you reach the end, cut the length of the strip down until it is just 2 cm longer than the beginning strip. Fold your strip 1 cm under and sew it now exactly over the beginning piece.
|
|
Click here to continue... and learn how to add a hanging loop and how to stitch through the sewing layers to give your project a quilted look
|