|
|
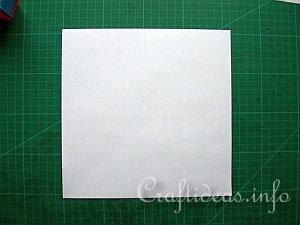
1. Cut a perfect square out of a piece of typing, wrapping or construction paper.
|
|
|
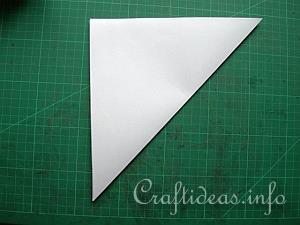
2. Fold the square diagonal in a triangle. Open the triangle again and lay flat.
|
|
|
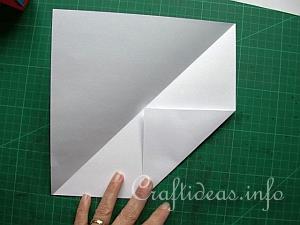
3. Fold the first corner to the middle line created by the folding and fold again back to the original position.
|
|
|
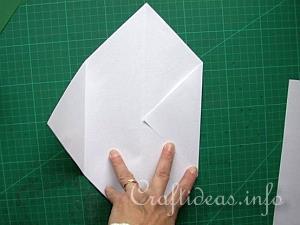
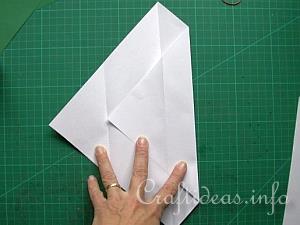
4. Repeat the same step on the other side across from the first point and open again.
|
|
|
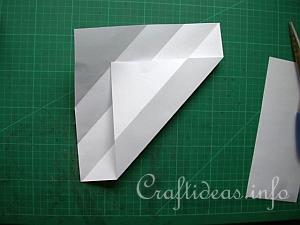
5. Fold the first side now to the new line created by the folding of the opposite side and open again.
|
|
|
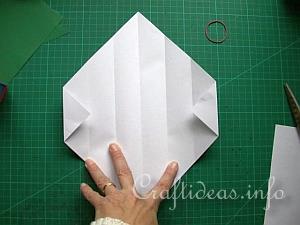
6. Do the same step from the other side as well and open again.
|
|
|
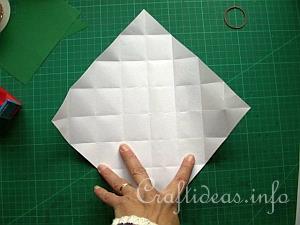
7. Now fold both corners in to the next folded line. As you see, you now have a total of 7 folds in the same direction once the paper is opened and laying flat on the table.
|
|
|
8. Repeat now the same steps from the other 2 sides of the paper. This will create now a “checkerboard” pattern on your paper.
|
|
|
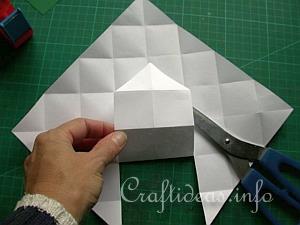
9. You will now cut on 2 opposite sides in by 2 folds. That is a total of 4 cuts. Use the picture as a reference. This is a example of the first side after being cut. The same gets done now to the other side.
|
|
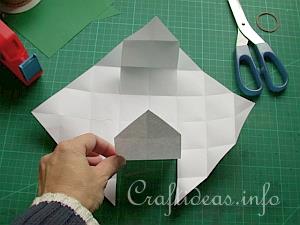
|
10. Fold the 2 flaps up and crease and lay them flat again.
|
|
|
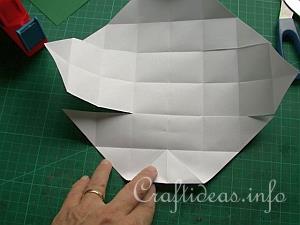
11. Turn your work so that the other 2 sides are in front of you. Now fold the point in, fold again and fold again until your side reaches the point where the 2 other sides were cut.
|
|
|
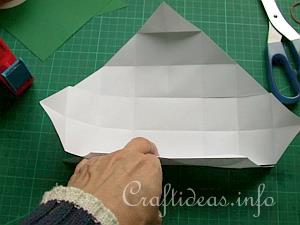
12. This is now how it looks on the one side. Do the same to the other side as well.
|
|
|
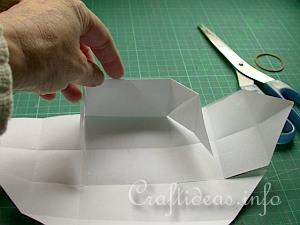
13. Fold now the “side walls” in on these 2 turned pieces and hold in place.
|
|
|
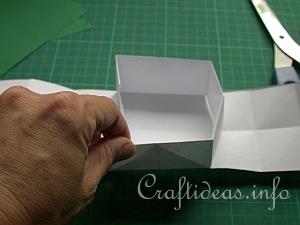
14. The box looks now as if it has 4 walls. When done correctly, the center floor is only a 2x2 square area.
|
|
|
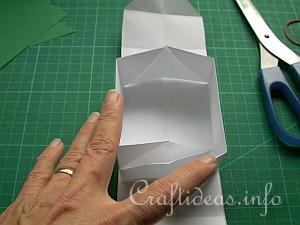
15. This is a view from the top looking inside of the box.
|
|
|
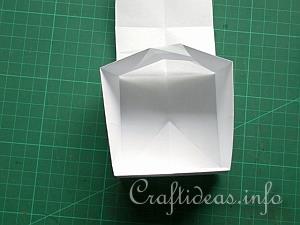
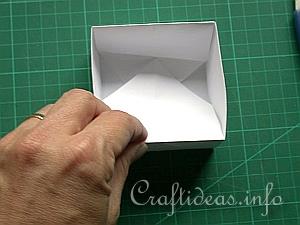
16. Now the 2 flaps created in step 10 get folded in. They will fold over these side walls and then the last point will be laying in the box. See the picture above.
|
|
|
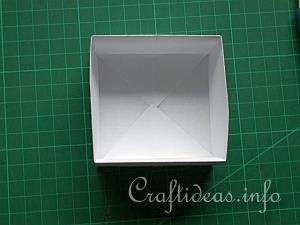
17. Do the same to the other flap.
|
|
|
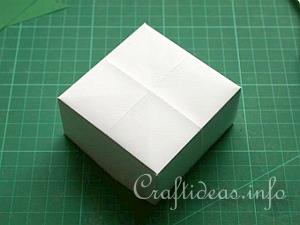
18. This is now how the finished piece looks. For a lid, you do the same steps as above. Cut the square slightly larger than this particular size so that the lid fits comfortably over the bottom piece.
|
|
|
19. The finished box from the top side.
|