|
|
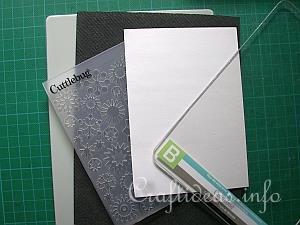
1. To use the Cuttlebug Folders with the Double Do Machine, you will need the following:
a. Double Do grey plate
b. Double Do foam mat
c. Cuttlebug embossing folder of choice
d. Choice of cardstock
e. Cuttlebug “B” plate
|
|
|
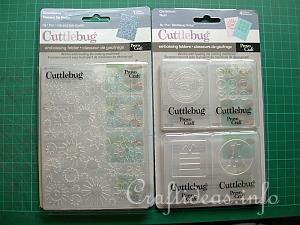
2. First you need to become familiar with the Cuttlebug Folders if you have not used them before. These come in various sets - either large background folders or small folders for individual images. Each folder is in 2 halves - a positive and a negative half. Each half gets embossed onto the paper from both sides to guarantee a clear and deep embossed image.
|
|
|
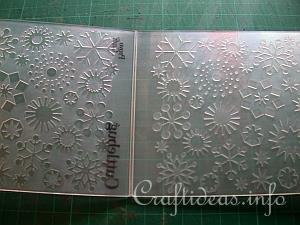
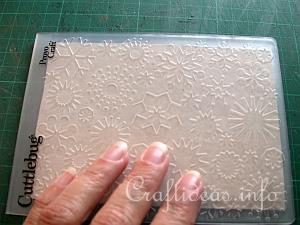
3. This is an example of a folder with snowflakes. It opens up...
|
|
|
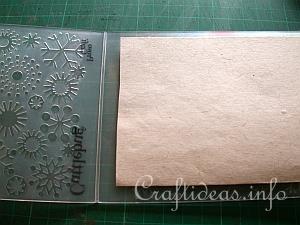
4. Next you will insert your choice of cardstock...
|
|
|
5. Last, but not least, you will close the folder again. It is ready to use.
|
|
|
|
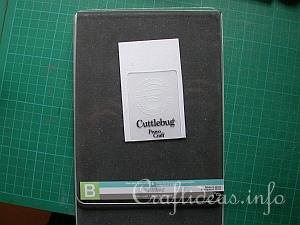
6. Now layer the supplies in this order: a. the bottom is the grey Double Do plate
b. Next is the foam mat
c. Then comes the prepared Cuttlebug folder with cardstock.
d. The top is the Cuttlebug “B” plate.
|
|
|
|
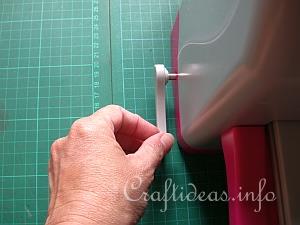
7. Insert now this “sandwich into the front of the machine. Secure the machine to the table by pulling the small left lever until the machine adheres itself to the underground. This underground should be smooth and flat.Now pull the lever on the right side towards you so that it starts to pull the “sandwich” through the machine. Continue turning the lever until the “sandwich” is completely through. You will need to hold the top of the machine with your second hand if necessary to help.
|
|
|
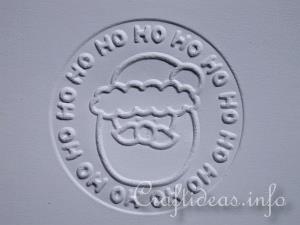
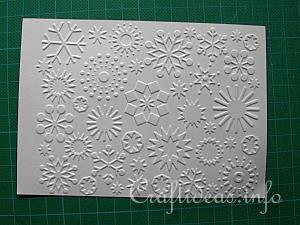
8. Remove the top plate and remove the cardstock from the embossing folder. This is the result. The image is really clear and perfectly embossed.
|
|
|
9. This is how a background embossed image looks. This will be a wonderful highlight of any card or scrapbook.
|