|

|
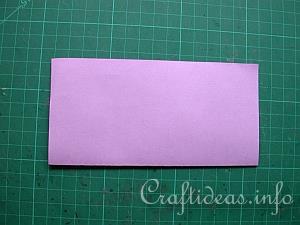
1. Lay the first sheet of origami paper in front of you.
|
|

|
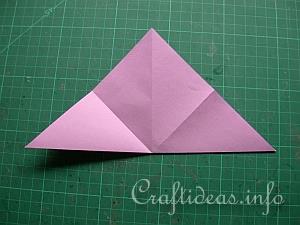
2. Fold this sheet in half so it looks like this.
|
|

|
3. Fold the sheet again in half so that you have a smaller square. Open the sheet of paper completely open again.
|
|

|
4. Fold the sheet now diagonally so that one corner is touching the other corner. Open the sheet again.
|
|

|
5. Fold now again diagonally so that the other two corners are touching. Open the sheet again. You will see eight triangles.
|
|

|
6. On each of the straight sides, cut along the line almost half way up as seen here. There will be a total of four cuts.
|
|

|
7. Fold each edge along the cut towards the fold.
|
|

|
8. This is how the first point looks. Repeat until you have 4 points.
|
|

|
9. This is now how the star looks. The center of the star has buckled out now and has more dimension.
|
|

|
10.Take your stick glue and apply on the left fold of each point.
|
|

|
11. Take the right fold and pull it over the left fold to match the edges. Press together. Repeat this step on the other three points. For the final step, insert your finger in all four points to inflate the points from the inside out and give them dimension. Adjust creases if necessary.
|
|

|
12. This is now how the first half looks. Repeat steps 1-11 again for the second half. When finished, both halves will be adhered together on the flat sides in a way so that the star has eight visible points. To do this, add a drop of glue on each of the 8 inside corners on the flat side (the glue needs to be added so that it cannot be seen from the front side) and then carefully press both star halves together.
|