|
|
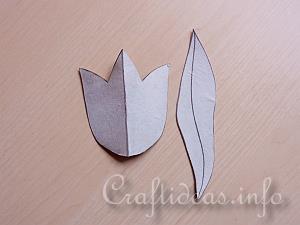
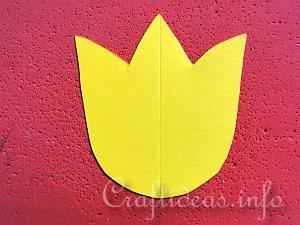
1. Print out and trace the template onto a piece of sturdy cardboard such as a cereal box. Crease the line down the middle of the tulip template so it can be folded in half.
|
|
|
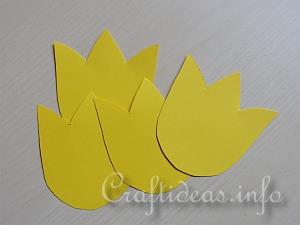
2. Cut out 4 tulips and 1 leaf for each tulip you wish to make.
|
|
|
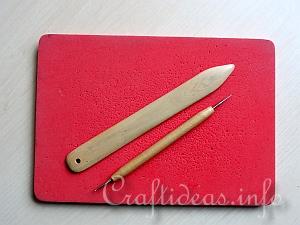
3. You will need a soft mat, a bone folder and a stylus. If you do not have these, substitute the back of a mouse pad for the soft mat, the flat side of a dull kitchen knife to replace the stylus and bone folder.
|
|
|
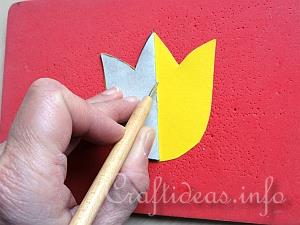
4. Take the folded tulip template and use it with the stylus to crease down the center of each tulip piece you cut out.
|
|
|
5. So that it looks like this.
|
|
|
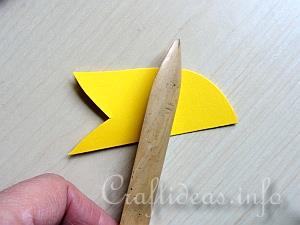
6. Make the edge flat and crisp with a bone folder or the substitution of one.
|
|

|
7. Glue two tulip sides together so that it looks like this. Then glue the other two tulip halves the same way.
|
|
|
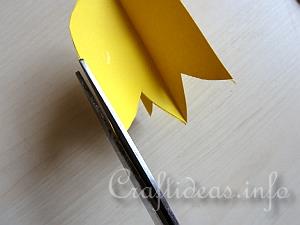
8. If your edges do not perfectly match, that is no problem. Just trim it down with scissors if necessary.
|
|
|
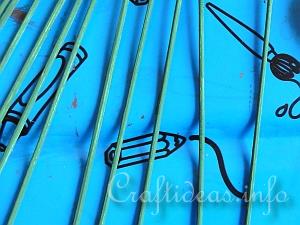
9. Paint the skewers green and let them dry.
|
|
|
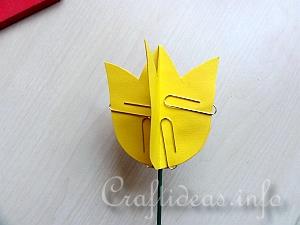
10. Then glue the two halves together with a skewer end sandwiched about 1-2 centimeters between the halves. Use paper clips to hold it all together until the glue dries if necessary.
Then use the green felt tip marker to draw the curve down the leaf like you see on the template. Now you can glue a leaf onto the skewer.
Repeat these steps for as many tulips as you like. The more, the merrier!
|