|
|
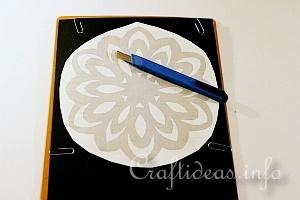
1. Print out the template to the largest size possible that will fit your printer paper. Trim the template down in a circle shape, just around the snowflake.
Glue the template on a sheet of black construction paper, so that the snowflake shape is facing upwards.
Then use paper clips and attach a second sheet of black construction paper under the first sheet. You will be cutting through 3 layers, but since the paper is not thick, it will cut easily.
|
|
|
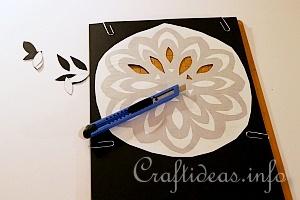
2. Cut out the inside areas of the snowflake first using a craft knife. Start at the most inside and work your way outwards.
|
|
|
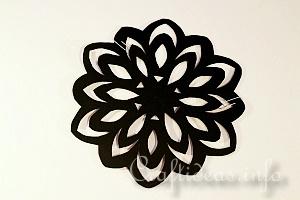
3. Then cut the outer shape out with your scissors.
|
|
|
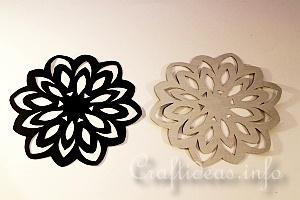
4. Remove the paper clips. Now you have two snowflake shapes that are identical.
You will be working on the side where the template was glued onto the black construction paper. The second snowflake can be placed aside for the moment.
|
|
|
5. There are a couple of possibilities to fill out the cut out areas.
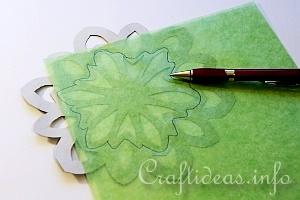
If you want a whole area to be the same color, then place your translucent paper of choice over the snowflake and trace outside of the cut out areas you wish to cover as you see in this picture.
Make sure to cut the translucent paper a bit larger than the area of the cut out areas. The translucent paper has to be able to be glued to the paper snowflake shape.
|
|
|
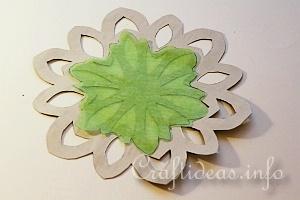
6. Then you can adhere the translucent paper to the area to cover the cut out areas.
If you wanted the whole snowflake to be the same color, then you would place your translucent paper over and trace around the snowflake to cover the whole inside area. It is your choice and it is, of course, a very fast way of finishing the snowflake.
|
|
|
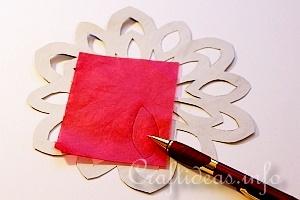
7. If you want more color, you can cover each cut out each piece separately.
|
|
|
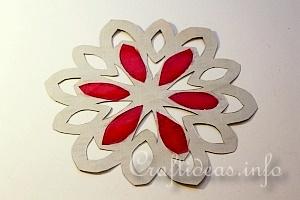
8. This image shows how the same 6 cut outs were covered with the red paper.
|
|
|
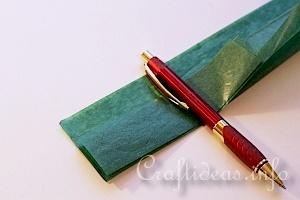
9. To speed up the cutting process, you can trace around the cut out area. The shapes are pretty much the same anyway.
Accordian fold your paper 5 more times at the same width of your traced shape.
|
|
|
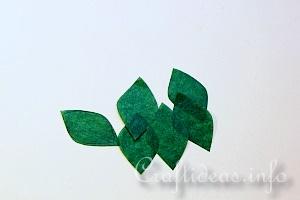
10. Then you can cut all 6 shapes out at the same time and glue them in place.
|
|
|
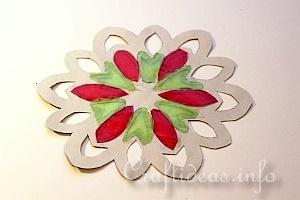
11. Continue with the next areas you wish to cover.
|
|
|
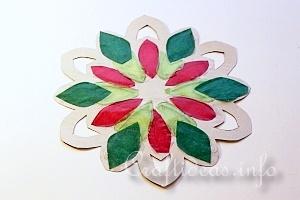
12. Now the dark green shapes are glued in position.
|
|
|
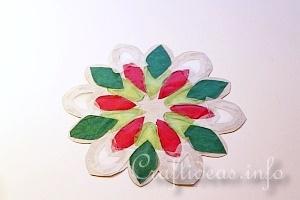
13. Finally the white areas are covered.
When all of the cut out areas are finished, match and glue the second snowflake to the side you were working on to cover it.
|