|
|
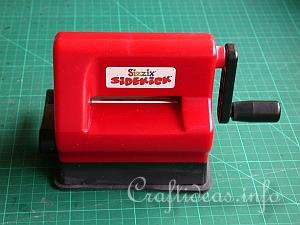
1. This is the Sidekick from Sizzix.
|
|
|
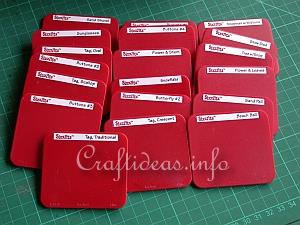
2. These are just a few of the many templates you can purchase for the Sidekick. You can find templates for all seasons, tag tamplates, shapes and words.
|
|
|
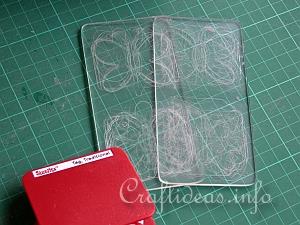
3. These are the cutting plates. They are provided when you purchase the Sidekick.
|
|
|
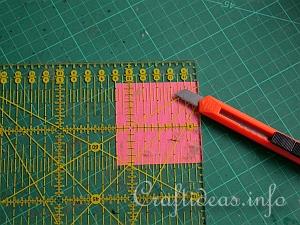
4. The first step is to cut pieces of cardstock or paper to the size of about 6 x 6 cm (about 2.4 x 2.4 inches). This size fits perfectly within the Sizzix Sidekick.
|
|
|
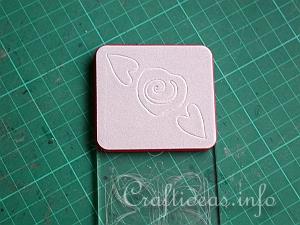
5. Lay your first acrylic cutting plate on the table. Then you will lay the template over it with the soft side up as you see here.
|
|
|
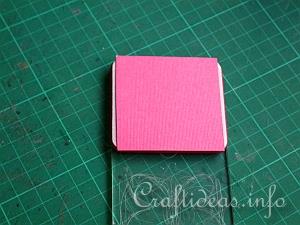
6. Now you will take your cut piece of paper or cardstock and lay it over the template.
|
|
|
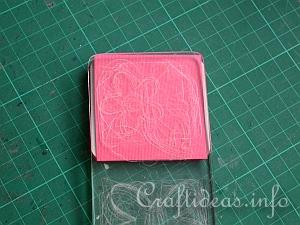
7. Take the second acrylic cutting plate and lay it over the cardstock sandwiching everthing within.
|
|
|
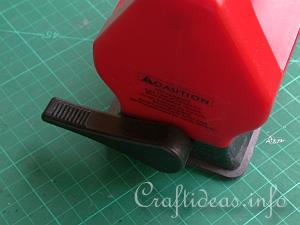
8. Pull the left side lever to the other direction until the Sizzix Sidekick is firmly attached to the table. If it does not get a grip to the table, try again by pulling the lever again to the front and then to the back. It is important that the Sidekick grips securly.
|
|
|
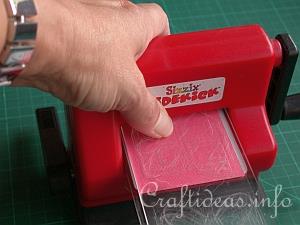
9. Insert your prepared layers into the opening in the center of the Sizzix Sidekick.
|
|
|
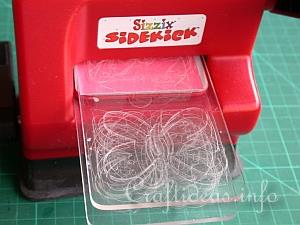
10. Start turning the knob on the left side towards you and the Sidekick will pull the layers into it.
|
|
|
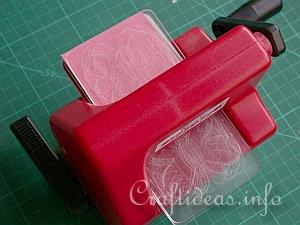
11. Keep turning the knob until the layers are completely through to the backside.
|
|
|
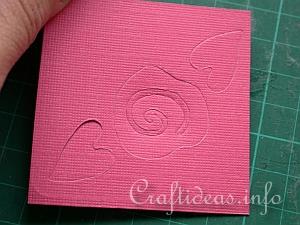
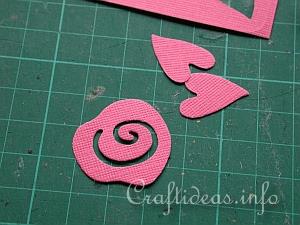
12. Remove the cutting plates and the template and this is how your cardstock now looks.
|
|
|
13. Punch out the cut motifs and they are ready to use for your next project.
|