|
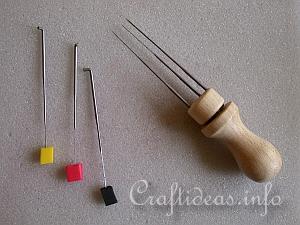
First some information about needle felting tools:
|
|
|
You can use the needles individually or you can use a needle holder which allows you to use 3 or more needles which makes the work faster. You must be careful with the needles as they hurt incredibly if you poke yourself and the bend easily if you do not needle punch at a straight angle.
|
|
|
|
|
|
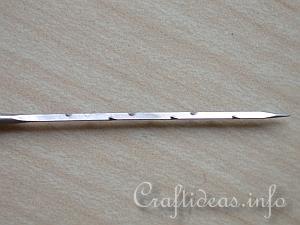
This is a close up of the needle. You can see how the edges are jagged.
|
|
|
|
|
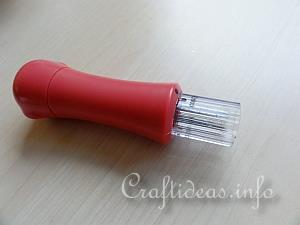
In Germany (and maybe also into the country you reside in), there is a new version of the wooden tool shown above. It has a protective cap which presses in when you needle felt. This has an advantage that you can injure yourself so easily and helps that the needles stay straight while you are felting your project. Five needles can be used simultaneously with this tool.
|
|
|
|
|
|
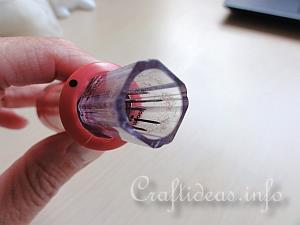
This is how the inside of the new tool looks.
|
|
|
|
|
How to Needle Felt on Styrofoam
|
|
|

|
1. For this project, only a single needle is being used to demonstate the procedure. But you are never limited to just one needle. You can use one of the tools listed above if you like.
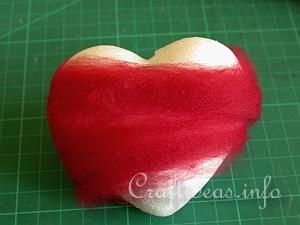
The first step is to place your shape onto your working space.
|
|
|
2. Wrap a thin, yet covering layer over a section of your shape you wish to felt. You can use pins to hold the wool in place if if you like if it does not stay put.
|
|
|
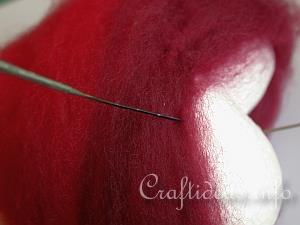
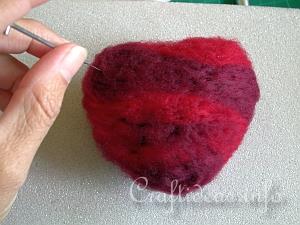
3. Start jabbing your thicker needle into selected areas of the shape just enough to hold the wool in place. Add the remaining wool to cover any open space so that the styrofoam figure is completely covered. What really looks great is to combine two colors of wool to create a marble look. Here a medium red and a dark red were used to decorate the heart shape.
|
|
|
4. After a while of jabbing, your object will start to take shape. You will be actually jabbing hundreds of times, if not thousands of times until the consistence of the wool is uniform and even around the shape. You will notice how the fuzzy ends are eventually disappearing and the object is looking softer. You will continue until your shape looks like the project here.
|