|

|
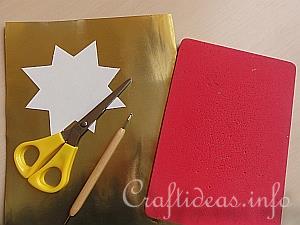
1. You will need a sheet of craft aluminum foil in a color of choice, scissors, a stylus, a foam mat, the template and a ruler.
|
|

|
2. Use the stylus to trace the star shape onto the foil.
|
|

|
3. The advantage of using the stylus is that you have no pencil or pen markings on your star.
|
|

|
4. Cut the star out.
|
|

|
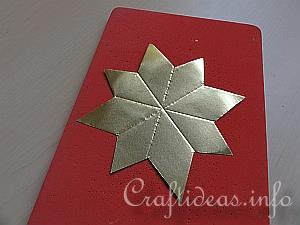
5. Now you will take your ruler and line it up from one inner point to the opposite inner point. Use the stylus to groove a line connecting these two points. Do this again for each of the other inner points. You will have a total of 4 lines.
|
|

|
6. Turn the star over. Do the same as in step 5, but this time, mark a line between each of the outer points.
Now turn the star over again. The lines connecting the outer points are raised (like mountain peaks), and the lines between the inner points are indented (like valleys).
|
|

|
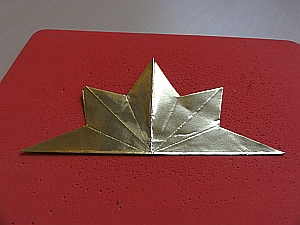
7. Carefully fold now the each of the 4 mountain lines.
Turn the star over. Carefully fold each of the 4 valley lines.
|
|

|
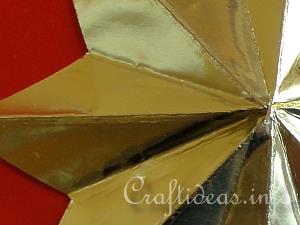
8. Once all of the lines have been correctly folded, just buckle the star up some so that it has the raised 3-D effect.
|