|
|
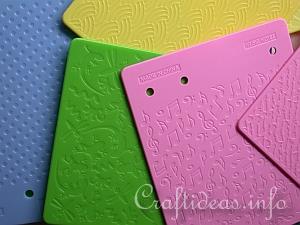
1. This is how the Fiskars® Texture Plates ™ look like. Each plate has a design on both sides. There are many textures to choose from and they are normally sold in packs.
|
|
|
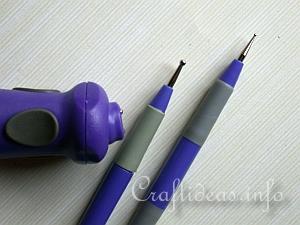
2. These are the embossing tools. The stylus is available in different sized ball heads and the embossing tool is a practical device. When your paper is covering the texture plate, it is often difficult to indicate where the lines are. More about the tool in step 4.
|
|
|
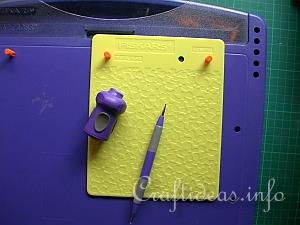
3. The Shape Boss from Fiskars is useful for holding the texture plates in place. Insert the pegs in the designated holes to stabilize the position of the texture plate.
|
|
|
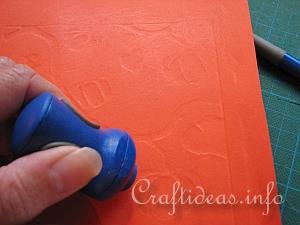
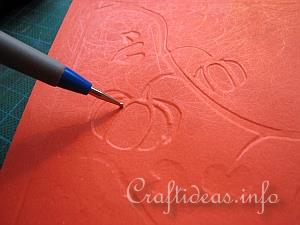
4. The first thing you want to do is to use masking tape and stick your paper (with the right side or good side down) to the plate. Use your embossing tool or you can even use a stylus (this will take a bit longer) and work in a circular motion until you begin to see your pattern.
|
|
|
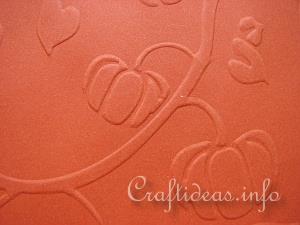
5. Continue until you can see your pattern. At this point, you will now want to take the stylus and trace around the lines again to deepen the motif.
|
|
|
6. Remove the masking tape and turn your paper or cardstock over. You will now have a paper with a raised or “embossed” pattern.
|
|
|
|
|
Light Box and Metal Embossing Plates
|
|
|
|
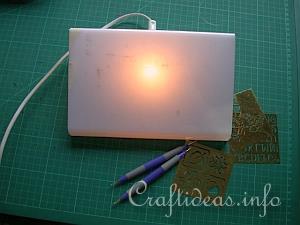
7. You can also create a wonderful texture using brass embossing templates with small designs and a light box.
|
|
|
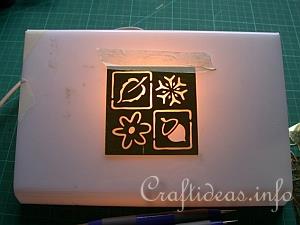
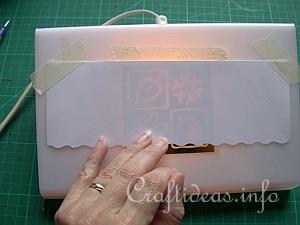
8. Stick your template to the light box using masking tape.
|
|
|
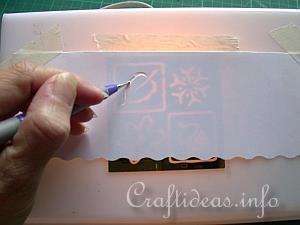
9.Place your paper over the template and secure it also with masking tape. Take your stylus and follow the pattern along the edges. This will push the paper to the inside (which will raise it on the other side).
|
|
|
10. Follow along all of the edges until the pattern is completed.
|
|
|
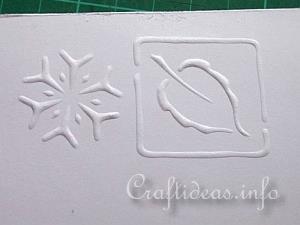
11. Remove your paper from the light box and turn it over. You now have an embossed and textured paper that can be used for any of your crafting purposes. Learn more about embossing with a light box and brass stencils
|
|
|
|
|
Embossing Machines
|
|
|
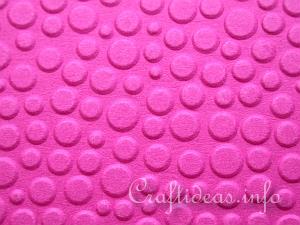
12. You will currently find different embossing machines in craft stores. Although each different in its unique way, you can use these machine to also emboss paper. The pattern above was created with the Cuttlebug. More about the Cuttlebug can be found here >>> Cuttlebug and Embossing Folders Tutorial
|