|
|
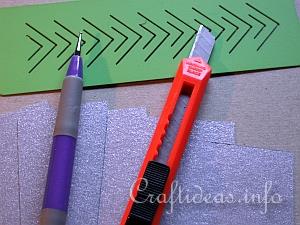
1. You need 6 evenly sized pieces of cardstock, a quilter’s ruler, a stylus and a sharp cutting knife. Here six 15 cm x 5.5 cm pieces were used.
|
|
|
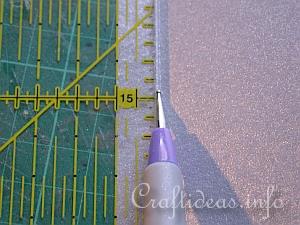
2. First score a 1 cm line down one long side of each of the 6 pieces. These 1 cm areas will be the gluing areas to connect each of these 6 pieces when you are ready to attach them together.
|
|
|
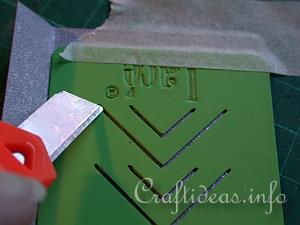
3. Print out the pattern and trace over the lines with a pencil onto transparent paper. Then place the paper with the pencil lines down on your cardstock. Retrace the pencil lines and the marks will appear onto the cardstock. Then you can cut them as necessary.
If you happen to have a metal template with a similar pattern, lay it in the center of each piece, secure it with masking tape and use your knife to cut into each groove of the template. You will notice alternating large and small triangles. One of each forms a “set”.
|
|
|
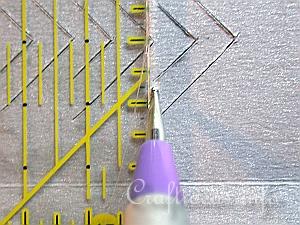
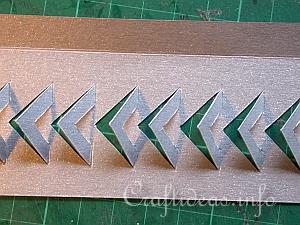
4. Each braid is created by folding these triangles downwards and interconnecting them. To create the folding line, score a horizontal line between a large and small triangle on each side of the triangle. There will be a total of two score lines per “set”
See the image below how it looks once folded for better understanding.
|
|
|
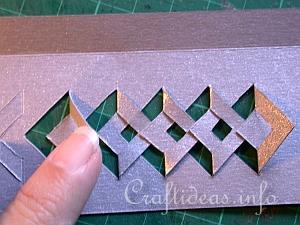
5. The scored lines help you bend the “sets” easier.
|
|
|
6. Bend each triangle in the opposite direction and tuck under the triangle before it. This will hold it down.
|
|
|
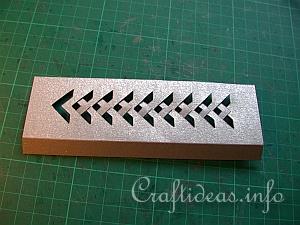
7. When finished, this is how one piece looks. On the outer side flap, adhere strong double sided adhesive or wet glue. Do not remove the protective paper just yet.
|
|
|
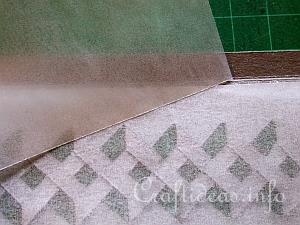
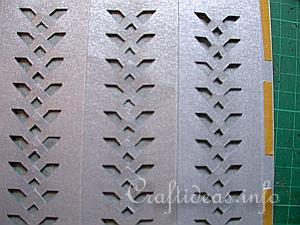
8. Turn the piece over and adhere transparent paper behind the cut areas. This will add to the soft glow of the luminary.
|
|
|
9. Repeat the above steps for each of the 5 remaining pieces. Adhere each one to the other over the flaps. Adhere then the last flap to the first piece to close the lantern off.
|
|
|
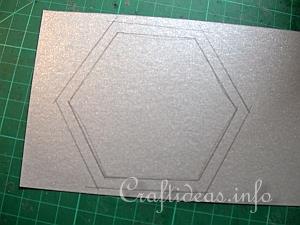
10. Create the floor of the lantern by measuring the sides and creating a hexagon form on cardstock. Add 1 centimeter allowance on all sides and then cut out.
|
|
|
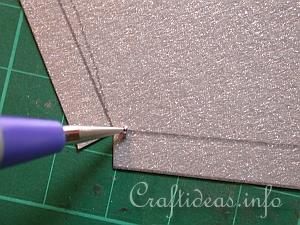
11. Score the inside lines and cut at an angle to each point to make folding easier. Fold each side flap now up and add double sided adhesive to the outside of these flaps. Adhere to the inside of the lantern bottom so that these flaps are not visible on the outside.
|
|
|
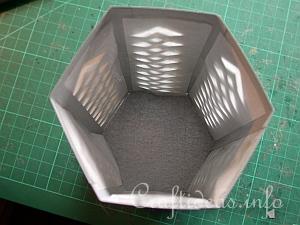
12. This is how the inside of the lantern looks.
|