|

|
1. If making a zipper pouch, follow steps 1-6 and then 8-11.
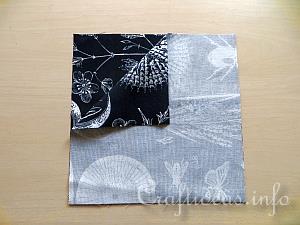
Pin the squares together with the right sides facing each each other.
|
|

|
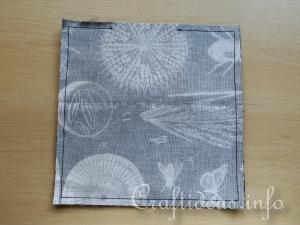
2. Sew around the entire outer edge except for an opening for turning on one side.
|
|

|
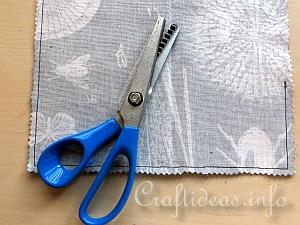
3. Once you have sewn around the edges, cut excess seam allowance away with pinking shears.
|
|

|
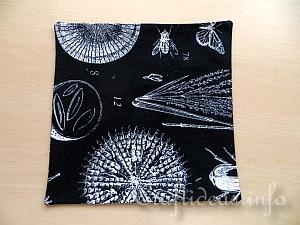
4. Press the open seam allowance back so that the edge is crisp and flat. This will make it easier later to hand sew the edge together, once the pouch is turned.
|
|

|
5. Turn the square now inside out and press flat. Hand sew the opening closed with an invisible stitch.
If you are making a tissue holder with no zipper, follow steps 6 and 7.
Continue to step 8 if you are making a pouch with a zipper.
|
|

|
6. Fold both sides over to meet in the middle. If you are making just a tissue pouch with no zipper, measure the width of the tissues you will use and add 2 centimeters to the measurement. Cut the width of the fabric to that width before sewing.
Now sew the outer edge on both sides.
|
|

|
7. Turn the pouch inside out again and now you have a tissue holder.
|
|
|
|
|
Creating a pouch with a zipper:
|
|

|
8. To create a pouch with a zipper, pin and sew your zipper along 2 opposite edges of your pouch and sew a line down each side of the zipper.
|
|

|
9. Turn so that your bag lining is on the outside. Your zipper is in the middle and the zipper pull is facing down. Open the zipper about halfway so you can turn the pouch after you have finished sewing. Trim the pouch to about 1 centimeter beyond the zipper stopper. Now sew along both short edges.
|
|

|
10. Zig-zag the sewn short edges to prevent fraying.
|
|

|
11. Turn the pouch inside out again and you are finished.
|