|
|
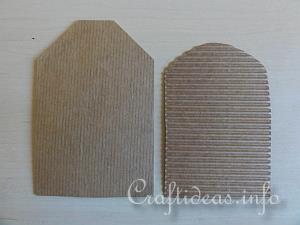
1. Print out the tag templates and cut a large tag out of the tan cardstock and a smaller tag out of corrugated cardboard. Set the larger tag aside for the time being.
|
|
|
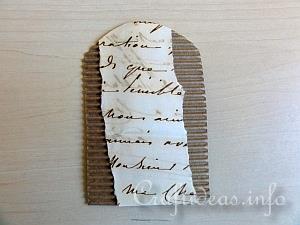
2. Tear a long piece of the handwritten letter and glue it a bit diagonally onto the smaller corrugated cardboard tag. Cut away the excess paper hanging over the tag.
|
|
|
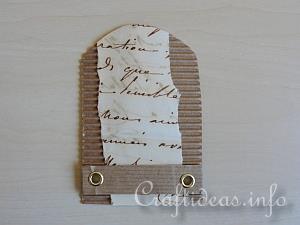
3. Cut another stripe of cardboard that is about 15 mm high and as wide as the tag. Place it onto the tag at the bottom and use the holepuncher and eyelets and secure it.
Now glue this tag onto the larger tag.
|
|
|
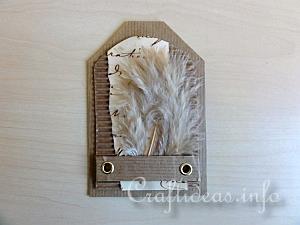
4. Insert the feather under the strip created in step 3.
|
|
|
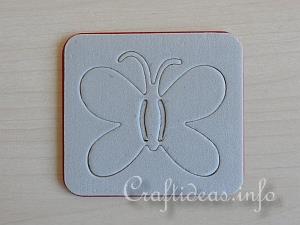
5. This is the Sizzix butterfly die cutter. Following the manufacturer’s instructions, prepare a butterfly out of a piece of corrugated cardboard.
|
|
|
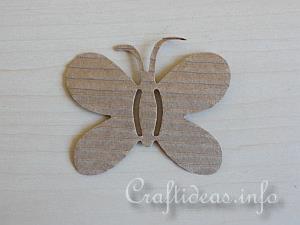
6. The die cutter flattens the butterfly somewhat but it also has an interesting texture.
|
|
|
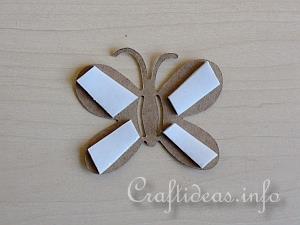
7. Turn the butterfly over and place a strip of foam tape on each wing section. Remove the paper backing.
|
|
|
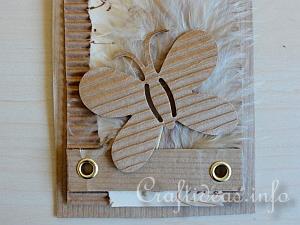
8. Stick the butterfly over the strip of corrugated cardboard in a diagonal way.
Now punch a hole at the top of the tag and insert and knot a piece of jute or twine to be the tag’s hanger.
|