Free Craft Ideas, Tutorials and Templates


CI Border

Home

Patterns

Tutorials

Spring Crafts

Summer Crafts

Fall Crafts

Christmas & Winter Crafts

New Crafts


Illustrated Sewing Tutorial - How to Sew the Butterfly Quilt Wall Hanging 3 - Adding the Binding, Stitching the Appliques and Adding the Hanging Loops

Seam allowance is already included. In all of the sewing steps, sew with the pressure foot along the edge of the fabric. That is approximately a 7mm or 1/4” seam allowance.


Butterfly Quilt Wall Hanging 13

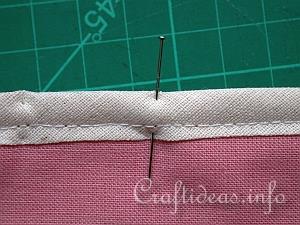
1. Take your bias fabric and pin it along the long edges of your quilt. Sew in place and remove the pins.

Butterfly Quilt Wall Hanging 14

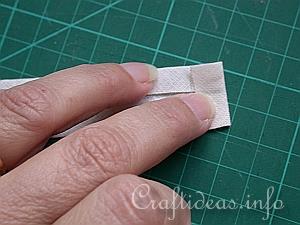
2. Then you will sew the bias fabric onto the two short edges. For the beginning and end of these edges, fold about 1 cm bias fabric under to give it a neat edge.

Butterfly Quilt Wall Hanging 15

3. Now you will be stitching a line down the middle of the quilt where the blocks join. This is called “stitching-in-the-ditch”. Also do this to between the rows. This process holds the quilt together invisibly.

Butterfly Quilt Wall Hanging 16

4. Set your sewing maching to a tight zig-zag stitch and now stitch around all of the details of the butterfly. Start with the wings and finish with the body.

Butterfly Quilt Wall Hanging 17

5. This is how the finished applique looks. 

Butterfly Quilt Wall Hanging 18

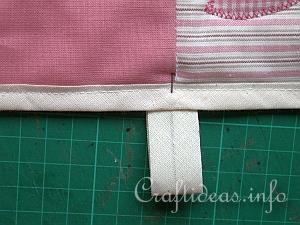
6. Cut 3 equal pieces of bias fabric and create equal length loops. Pin the center loop behind the center of the top.

Butterfly Quilt Wall Hanging 19

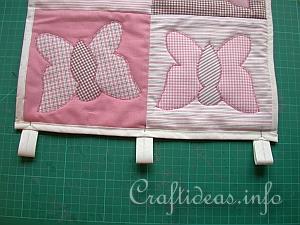
7. Pin the other two loops to the outer edge the same way.

Butterfly Quilt Wall Hanging 21

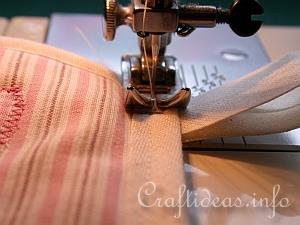
8. Sew the loops on by stitching over the stitching used to sew the bias fabric onto the edges.


Patchwork and Sewing Craft - Butterfly Quilt 200
Use this tutorial to make this butterfly quilt or wall hanging
Click here for a larger image and supply list to make this project.


More Textile and Sewing Craft Tutorials


Copyright: Please read this Copyright Information about using the images of this website.


© Craftideas.info

Contact     Links     Privacy Policy and Cookies