Free Craft Ideas, Tutorials and Templates


CI Border

Home

Patterns

Tutorials

Spring Crafts

Summer Crafts

Fall Crafts

Christmas & Winter Crafts

New Crafts


Illustrated Sewing Tutorial - How to Sew the Butterfly Quilt Wall Hanging 1 - Creating the Appliques and Preparing the Blocks

Seam allowance is already included. In all of the sewing steps, sew with the pressure foot along the edge of the fabric. That is approximately a 7mm or 1/4” seam allowance.


Butterfly Quilt Wall Hanging 2

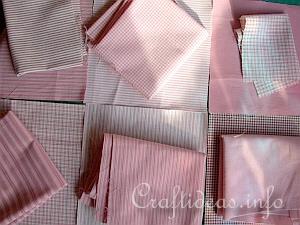
1. Cut 6 blocks of fabric measuring 17 x 17 cm (6.8 x 6.8 inches). Plan which contrasting colors you would like to use for the butterflies and arrange these on the fabric. Make sure there is a variety of patterns and colors and no two blocks are the same.

Butterfly Quilt Wall Hanging 1

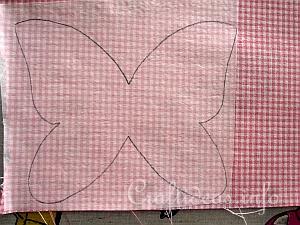
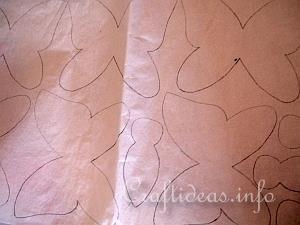
2. Trace 6 butterfly wings and 6 butterfly bodies onto the paper side of the fusible web. Cut each form roughly out.

Butterfly Quilt Wall Hanging 3

3. Iron each piece onto the chosen fabric.

Butterfly Quilt Wall Hanging 4

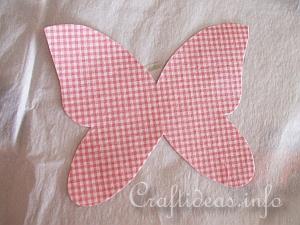
4. Cut each piece now exactly out.

Butterfly Quilt Wall Hanging 6

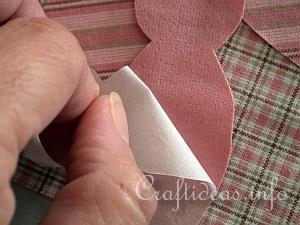
5. Peel off the paper backing of the fusible web ironed on to the pieces.

Butterfly Quilt Wall Hanging 5

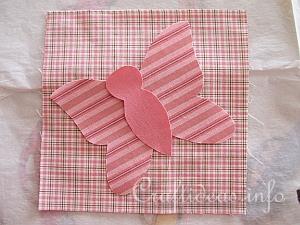
6. Arrange the butterfly wings and bodies onto the squares. Some butterflies are tilted sideways and some straight up and down. Decide what you like best.

Butterfly Quilt Wall Hanging 7

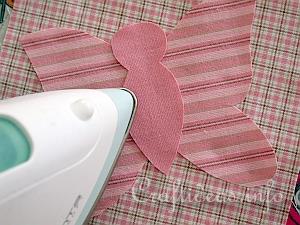
7. Use a hot iron and fuse the appliques onto the blocks.


Step 2 - Sewing the Blocks Together >>>


Patchwork and Sewing Craft - Butterfly Quilt 200
Use this tutorial to make this butterfly quilt or wall hanging
Click here for a larger image and supply list to make this project.


More Textile and Sewing Craft Tutorials


Copyright: Please read this Copyright Information about using the images of this website.


© Craftideas.info

Contact     Links     Privacy Policy and Cookies