|
|
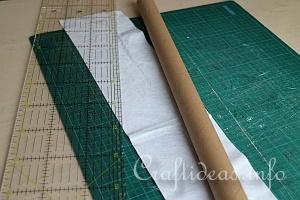
1. First of all, a 13 x 70 centimeter piece of white felt was cut.
|
|
|
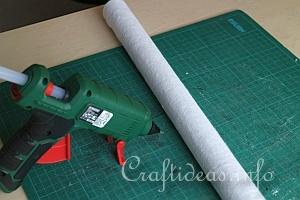
2. The felt was then glued around the tube.
|
|
|
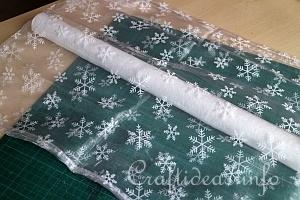
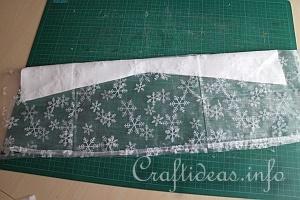
3. This shows the white sheer fabric with snowflakes. The long piece will be later placed over the top of the tube, but for now will be set aside.
|
|
|
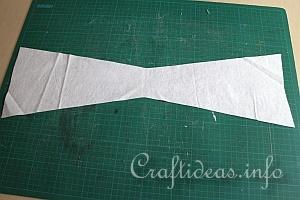
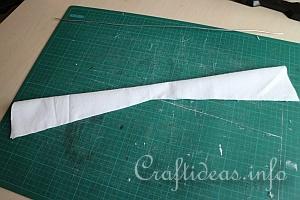
4. Place your arm template of a folded piece of felt that is slightly larger than the length of the template. Trace the template on the felt and then cut it out so when opened, it looks like this.
|
|
|
5. ...and fold and glue it over in half on the bottom part of the felt.
The top straight line is the “shoulder” and will later be glued underneath the angels head on the tube.
|
|
|
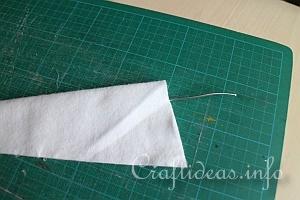
6. Cut a piece of wire that equals the entire length of the arm piece and insert it into the sleeve.
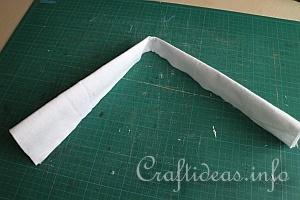
The wire is necessary so that the arms can be bent into position...
|
|
|
7. ... for example, like this.
|
|
|
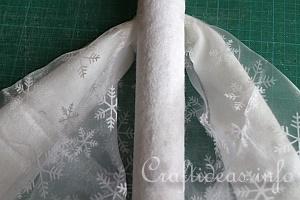
8. The 42 x 60 centimeter piece that was cut out of the sheer fabric for the arms will now be placed over the arm piece. Then glue the sheer fabric onto the arm at the shoulder area to hold it in place. Where you have placed the glue will be the area where you will also glue it to the body so the glue area will not be seen afterwards.
The added sheer fabric gives the arm an elegant look to it.
|
|
|
9. Now glue the arm piece on on the backside of the tube where the seam is. Glue it about 1-2 centimeters under the top of the tube.
|
|
|
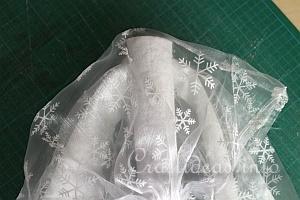
10. Now take the long sheer body fabric and drape it over the entire tube. Make sure the length of the fabric at the bottom is equal on the front side and backside of the angel.
|
|
|
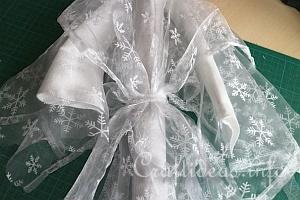
11. Tie off the center of the fabric with the 5 x 40 centimeter piece that was cut out for the belt.
|
|
|
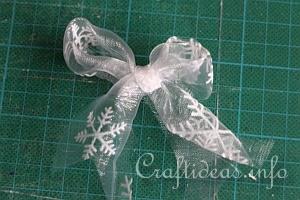
12. Take the second 5 x 40 centimeter piece and create a bow. Trim the length of the ends down afterwards.
|
|
|
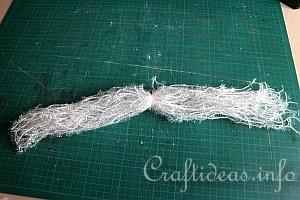
13. Place all of the 45 yarn pieces together and tie off at the center.
|
|
|
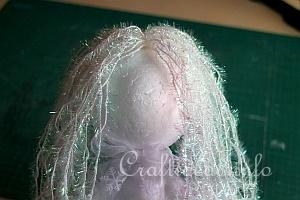
14. Glue the center tied off area to the top of the head and divide the hair evenly along the head.
Then glue the head onto the top of the tube. Glue the bow you just made on the front of the angel just underneath the head.
|
|
|
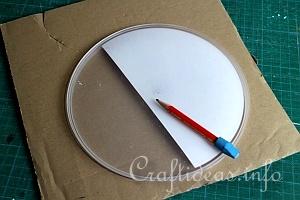
15. For the base, trace a plate or another circle onto a cardboard box side.
|
|
|
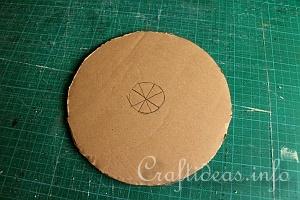
16. To create the base, first trace the tube circumference on the cut out cardboard box circle. Then cut pie slits around the circle.
|
|
|
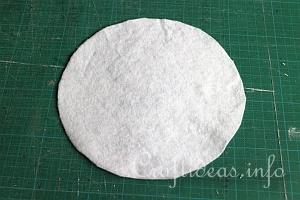
17. Trace the cardboard circle on a piece of white felt and cut out.
|
|
|
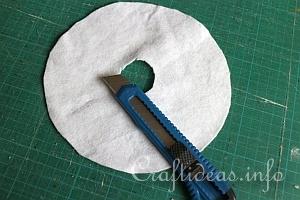
18. Also trace the inner circle out.
|
|
|
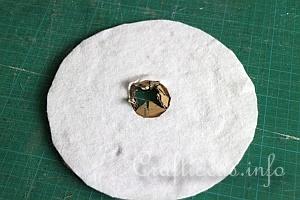
19. Glue the felt circle onto the cardboard circle. Fold these “pies” upwards so that they crease. Then fold them flat down again for the meantime.
|
|
|
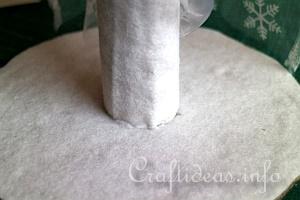
20. Then hot glue the tube angel over the circle, making sure the “pies” are within the tube.
|
|
|
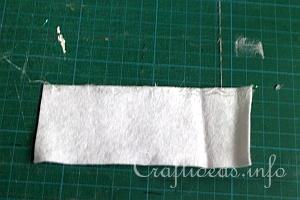
21. Take the the 5 x 13 centimeter felt piece...
|
|
|
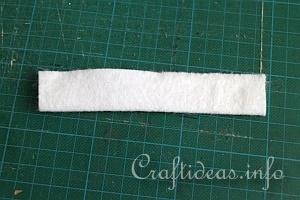
22. and fold it in half and glue it along the long side closed.
|
|
|
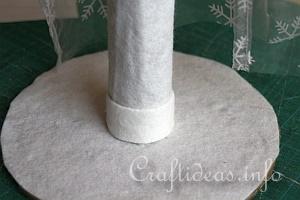
23. Then glue the felt piece to the base to cover the glue line and give it a nice finish.
|
|
|
|
|
Continue here for the angel wings >>>
|
|