|
Instructions for this scarf: (the instructions for the treble stitch can be found below these scarf instructions)
1. Chain stitch 12 stitches.
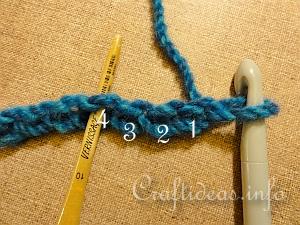
2. For row 1: Yarn over twice and insert your needle into the 4th stitch from the hook and treble stitch into the chain. It is marked with a “4” in the image below.
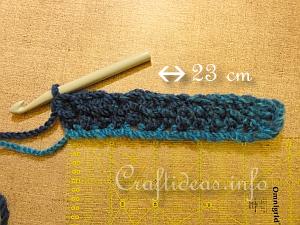
3. Yarn over twice and insert your needle into the next chain and once again complete a treble stitch. Repeat for the remaining 8 stitches on the chain. You have 10 complete stitches on your row. Chain 3 and turn your work.
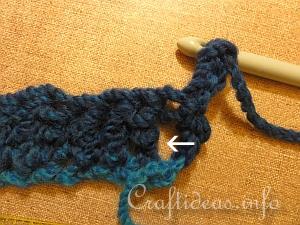
4. For row 2 and the remaining rows: Now you will be inserting your needle into the holes between the stitches. In this image below you can see the hole (it has been stretched so you can see it better). Complete a treble stitch into this hole and the remaining 9 holes between the stitches of the previous row.
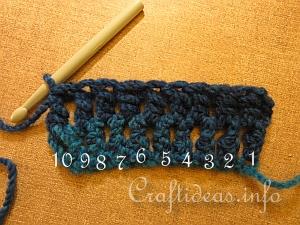
5. This is now how the work looks after completing the second row. Chain 3 again, turn and then repeat step 4 until you have the desired scarf length.
6. The fringe is created using cutting three 20-30 cm lengths of yarn (depending how long you wish the fringe to be) and inserting them into each hole on both short ends of the scarf.
How to Treble Stitch for this Scarf:
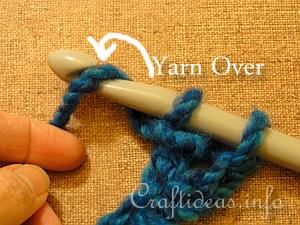
Yarn Over: This means bringing your yarn from behind the needle and pulling it under the hook. Then you will pull this yarn through the recommended amount of stitches in the tutorial you are following.
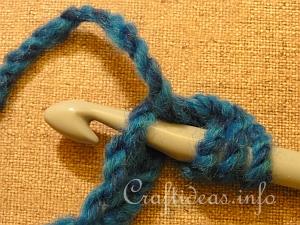
1. Yarn over twice and insert hook into next stitch. (For this tutorial and for the first row and first stitch only, insert the first stitch in the 4th chain from the needle.)
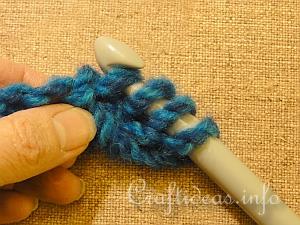
2. Yarn over and pull yarn through stitch. You will now have 4 loops still on the hook.
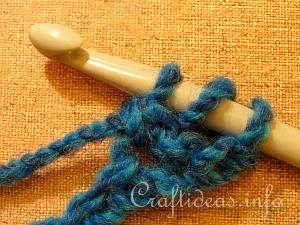
3. Yarn over again and then pull another two loops through. You will now have 3 loops on the hook.
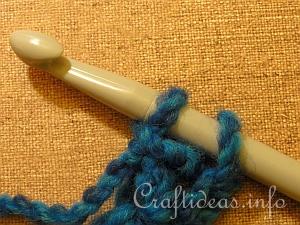
4. Yarn over and pull another 2 loops through. Now you will have 2 loops remaining.
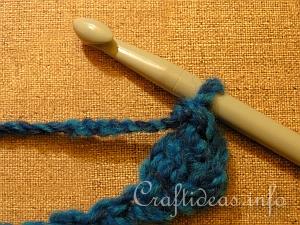
5. Yarn over again and then pull these through so that there is one loop remaining on the hook.
|