|
|
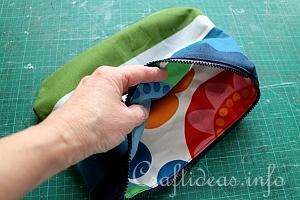
1. Once you have pulled the fabric through the holes, then stuff the lining into the outer fabric and adjust all the bottom corners. You can still reach through the hole at the bottom of the lining to the outer corners to adjust the outer corners if necessary.
|
|
|
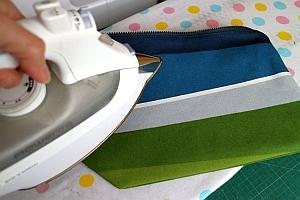
2. Iron the bag to get rid of any wrinkles that may have occured and to give it a nice finished look.
|
|

|
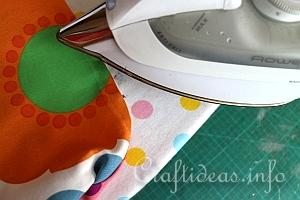
3. Pull the lining through the bag again. This is the hole at the bottom of the lining. Fold in the seam allowances...
|
|
|
4. ... and press them flat.
|
|
|
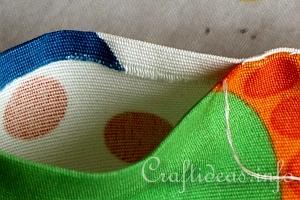
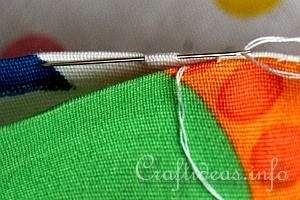
5. Now you can hand stitch them closed. First double your thread and insert the two loose ends through the needle and pull a small length of the thread. Then insert the needle into the fabric and pull it out again and go through the loop at the other end of the thread. Now you have secured the thread and can continue.
Here you see the thread on the right side of the hole.
|
|
|
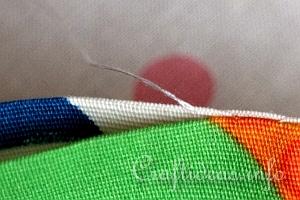
6. Now insert the needle directly across to the opposite (left) side of the hole and then underneath the fabric towards the left about 5-7 millimeters (about 1/4 inch) and pull the thread.
|
|
|
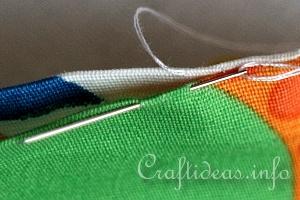
7. The previous step closed the hole a little more and you do not see the thread at all.
Now the thread and needle are on the left side of the hole.
|
|
|
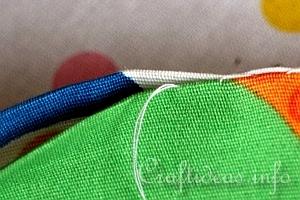
8. Now insert the needle directly across to the opposite (right) side of the hole and then underneath the fabric towards the left about 5-7 millimeters (about 1/4 inch) and pull the thread.
|
|
|
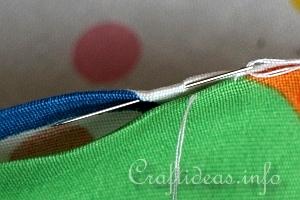
9. Again the hole has been made a little smaller.
|
|
|
10. Simply continue like step 8 again and then step 9 again...
|
|
|
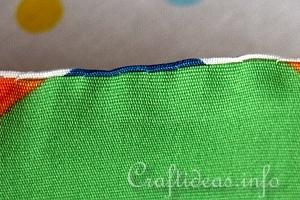
11. Until the hole is entirely closed. This is how the closed seam looks like. You do not see the stitches at all.
|