|
Illustrated Craft Tutorial:
First of all, print out the pattern (left) and glue the page onto the back of a cereal box or similar. Cut out the shapes and use these to trace around with.
Instructions for one owl:
Tracing and Cutting
Trace the two larger circles onto the first color you wish to use for the owl and cut out.
Trace the head piece and the wings (one in reverse) on the second chosen color for the owl and cut out.
Trace the small circle twice onto black card stock and cut out.
Trace the medium sized circle twice onto white card and cut out.
Trace the foot twice (once in reverse) and the beak once onto the yellow card and cut out.
Assembling the Owl
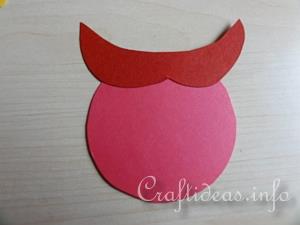
1. Trace circle #1 onto the the card color you have chosen to use for the body and cut it out. Trace the head piece onto the other card stock color and cut it out. Glue both pieces together as you see in the image above.
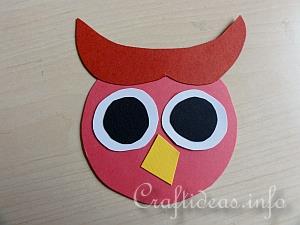
2. Glue the small black circles onto the white ones and then glue these onto the head. Glue the beak underneath between the eyes.
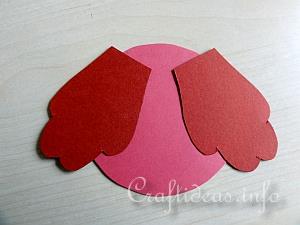
3. Glue the wings onto circle #2 like you see in the image above. If they are not in that exact position, that is fine. It is just important that they are glued onto the body in a similar way.
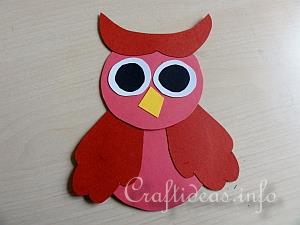
4. Glue the head onto the body, covering the top of the wings.
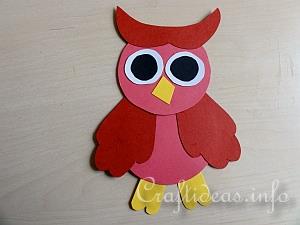
5. Now the feet get glued on from underneath so that they hang down from the body.
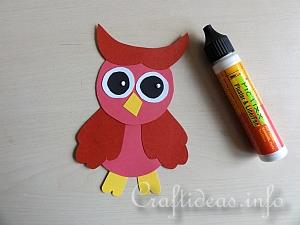
6. Add a white dot onto the eye to give it expression. Now you are finished with the owl. You can poke a little hole at the top and hang it up somewhere.
|