|
|
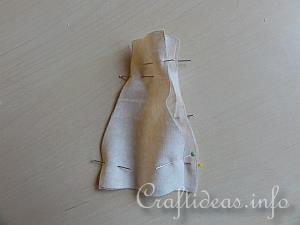
1. Trace the base template 3 times onto the light colored fabric and cut out. Pin all the sides together (right sides facing each other) and set aside for a moment.
|
|
|
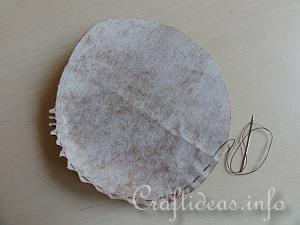
2. Trace the larger circle template onto the dark colored fabric and cut out. Then use a running stitch around the outside of the circle and gather slightly.
|
|
|
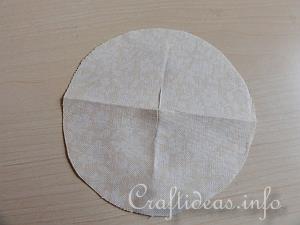
3. Trace the smaller circle template onto the light colored fabric and cut out. Cut a “x” through the middle that is about 2.5 cm or an inch. This “x” will be necessary to turn the mushroom top, to fill the top piece and and also to insert the base of the mushroom into the top at a later point.
|
|
|
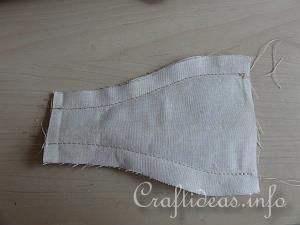
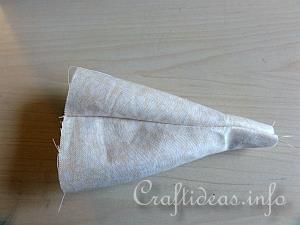
4. Now sew all the sides of the mushroom together.
|
|
|
5. Turn and you now have a cone shaped form that is still open on both ends..
|
|
|
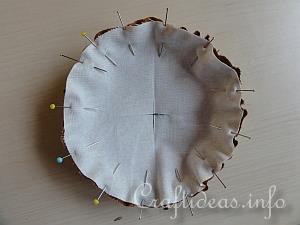
6. Place the smaller circle into the larger circle (right sides facing each other) and pin in place. Both circles should be about the same size at this point.
|
|
|
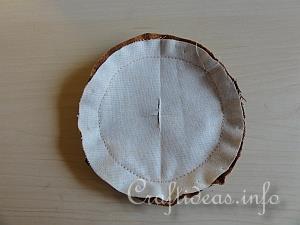
7. Now sew the two circles together and turn.
|
|
|
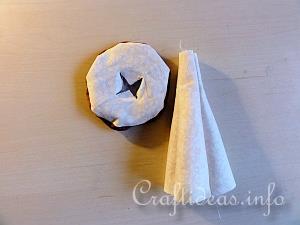
8. Now you have both pieces ready to stuff.
Stuff the round circles firmly with batting.
Stuff the base piece at the top 2/3 with batting and the bottom 1/3 with dried beans, lentils or small rocks.
|
|
|
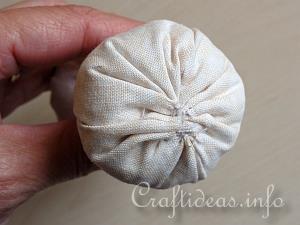
9. Then use a gathering stitch to close off the bottom. Try as much as you can to push the seam allowance inside of the mushroom base.
|
|
|
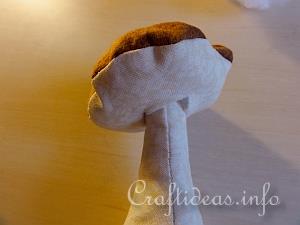
10. You can choose to close off the top of the mushroom base if you like, but it is not necessary. Now insert the top part of the base into the hole at the bottom of the lighter round circle.
|
|
|
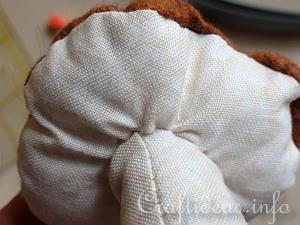
11. Using an ladder stitch, sew the base to the top. Here you will find a tutorial for this stitch: Ladder Stitch.
Because of the lentils, beans or rocks you used at the bottom of the base, the mushroom will stand nicely. The weight of the base will keep it from falling over and also gives it a level bottom so it will stand straight.
|