|

|
14. These are 4 pieces necessary for the closure. There are two closure pieces and 2 backsides to help them hold securly onto the fabric.
|
|
|
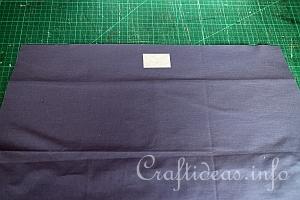
15. At the top and middle of the inside of one lining piece (this will be the side that will not be seen when the bag is finished), iron on a small piece (approximately 3 x 5 centimeters) of interfacing. This will give the fabric extra stability so it will hold the weight of the closure nicely.
|
|
|
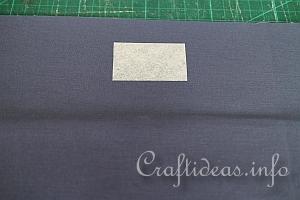
16. It is ironed on about 2 centimeters from the top edge.
|
|
|
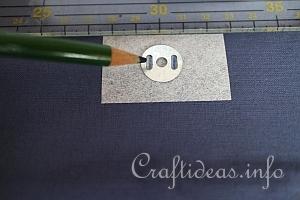
17. Place the backside of one of the closure pieces onto the center of the interfacing and mark the two long holes with a pencil.
|
|
|
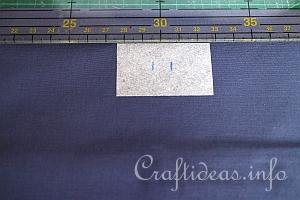
18. It now looks like this.
Repeat the previous steps for the second lining piece.
The interfacing should be in the same position on both pieces.
|
|

|
19. Place both lining pieces together so that the right sides are facing each other and the two wrong sides with the interface pieces are facing upwards and downwards on the bottom piece.
Take a rotary cutter and press it down onto each of the markings so that it cuts a slit onto the lines. It should go through both lining pieces.
|
|

|
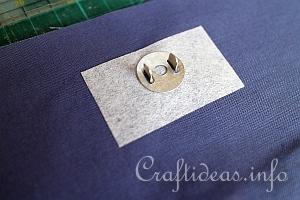
20. On the right side of one of the lining pieces, place the prongs of the front of the magnetic closure through the cut slits and hold it in place.
|
|
|
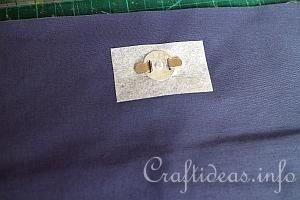
21. On the backside place the backing piece onto the prongs.
|
|
|
22. Now press the prongs outwards so it holds the backing piece in place.
|
|

|
23. Now repeat for the second front piece of the closure on the other lining fabric.
|
|

|
24. Now the closure pieces are perfectly lined up and will snap shut and hold the tote closed when it is finished.
Click here to finish the tote
|