|
Instructions:
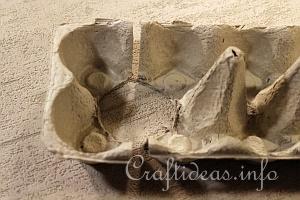
1. Cut the tall center of the egg carton out without causing too much damage to the side walls (you will need some of these). The left of the hole created will be one of the parts needed for the wings.
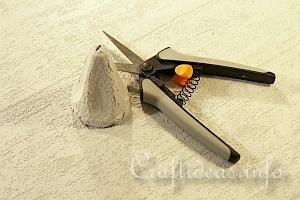
2. Trim around the bottom of the piece so it stands flat on the surface.
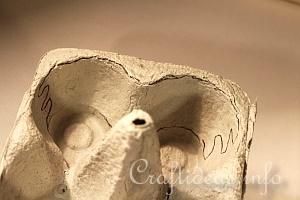
3. To make a wing, the best area to use is the 2 short sides of the egg carton. These are deeper, higher and has a great curve in it. In the image you see how the wing shape was drawn onto this area.
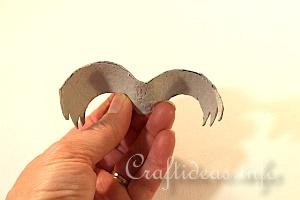
4. Then cut out the wing shape. Repeat for the other short side of the egg carton. For the third angel one of the long side walls was used. The piece will also look like a wing but not as nice as the 2 short side walls. You can also use a second egg carton if you wish all the wings to be more curvy.
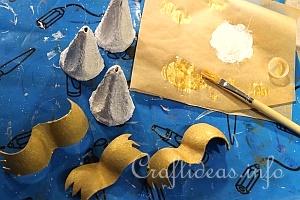
5. Then the tall pieces were painted white and the wings were painted gold.
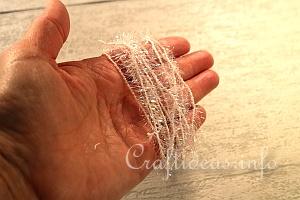
6. For the hair, a piece of fringe yarn was wrapped around the hand about 10-12 times and then removed.
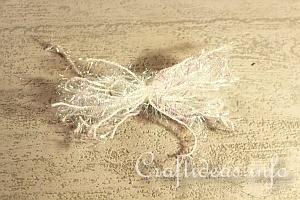
7. The center was tied off with a short piece of yarn. Then the loops on both sides were cut through.
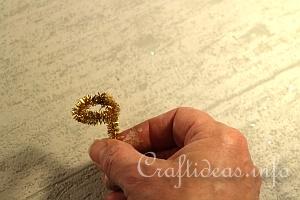
8. A approximately 12 centimeter piece of metallic chenille was used to create the halo. Create a circle with one side and then wrap the end around the circle a couple of times to hold it together. Then pull the other end downwards. This part will be glued to the back of the head.
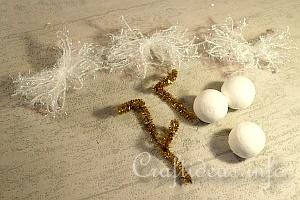
9. Now there are 3 white balls, 3 halos and 3 hair parts.
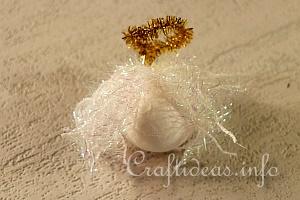
10. The hair was glued to the top center of the head and then spread out across the ball. Then the halo was glued to the backside of the head.
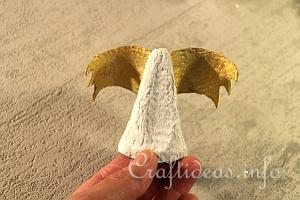
11. The wing piece was glued to a flat side of the tall egg carton piece.
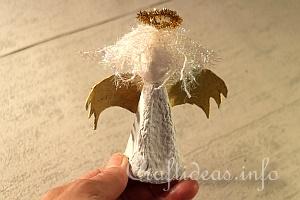
12. The head was then glued onto the body piece.
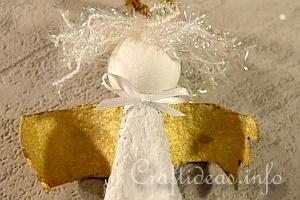
13. A ribbon was tied to a bow and then glued underneath the head.
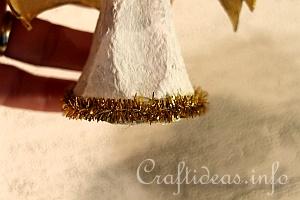
14. An approximately 15 centimeter piece (measure the circumference of the base first) of metallic chenille was glued to the base of the angel to give it a nice finish at the bottom.
|