|
Instructions:
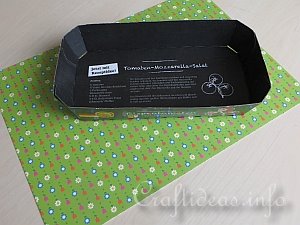
1. This shows the cardboard tray and the paper that will be used for this project.
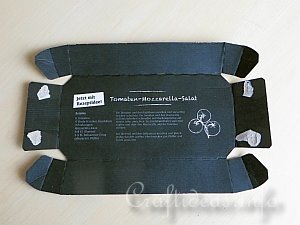
2. Open up the tray where it is glued together so it is flat on the surface.
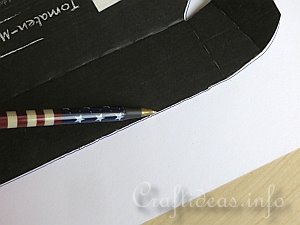
3. Then turn the paper over and trace the outlines of the tray onto the paper. Try to trace it as close as you can to the edge of the paper, so you will have enough paper on the other side to still make handles with.
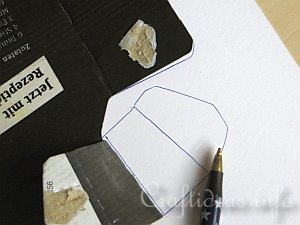
4. Fold back any of the creased edges and trace these onto the paper, too.
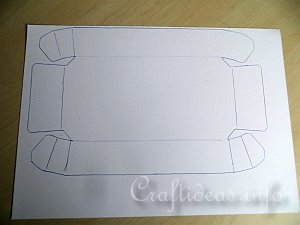
5. Now the entire tray has been traced.
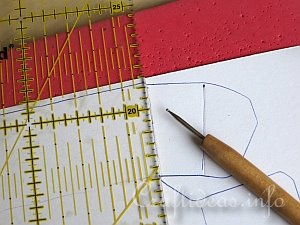
6. All of the edges that were creased, also need to be creased on the paper. Place the paper onto the mat and use the stylus and ruler to crease these lines.
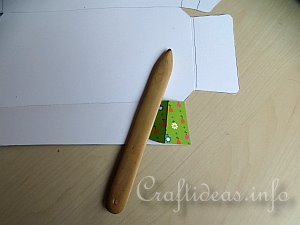
7. Take the bone folder and then burnish each of the creased lines so the paper will fold accurately.
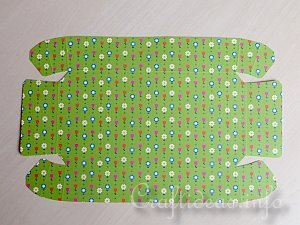
8. Now the paper is ready to be glued onto the tomato tray.
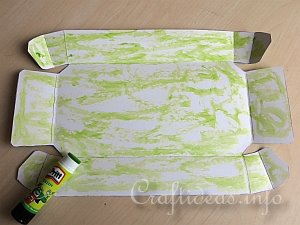
9. Cover the backside of the paper with stick glue.
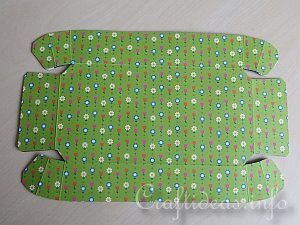
10. and then glue it onto the flat tomato tray.
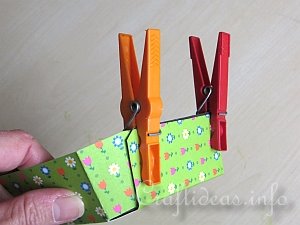
11. Fold the tray back in place and use wet glue for it. This is much stronger and will hold the weight of the cardboard better. Use clothes pins or paper clips to hold the sides in place until they are dry.
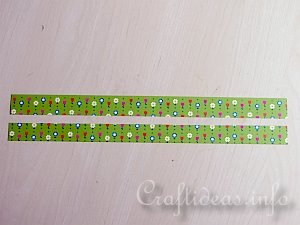
12. Then cut 2 same sized strips from the remaining paper and glue these together with the right sides facing outward. By gluing two strips together, the handle will hold more weight and not tear as easily if picked up.
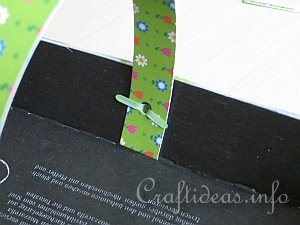
13. Then punch a hole in the center of both long sides of the tomato tray. Place the strip over each hole and mark the position and then punch a hole through both sides of the strip.
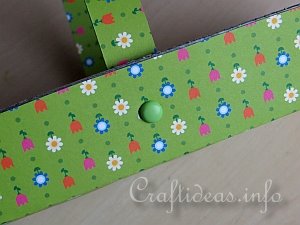
14. Use a brad on each side to hold the handle in place. Decorate or use the basket as you like.
|