|
|
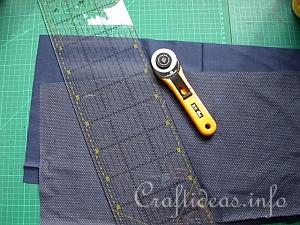
1. To sew the bag you will need two coordinating pieces of fabric measuring 60 cm x 27 cm each, 2 pieces of matching cording measuring each 11 cm, 2 pieces of matching cording measuring 1.20 meters, matching thread, quilters ruler and standard sewing supplies.
|
|
|
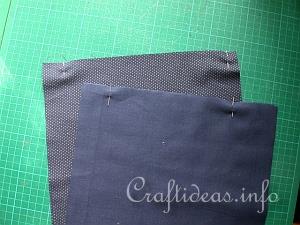
2. Iron the fabric pieces and lay the right sides together matching all of the edges. Pin the short edges of the fabric pieces.
|
|
|
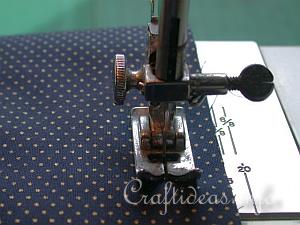
3. Sew the 2 short edges using a 1.5 cm or (5/8”) margin.
|
|

|
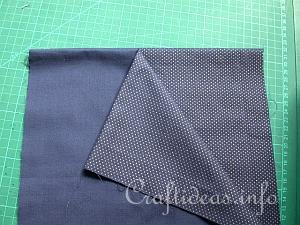
4. Clip excess seam allowance down to 5 mm and turn the piece then inside out so that the raw sewing edges are inside.
|
|
|
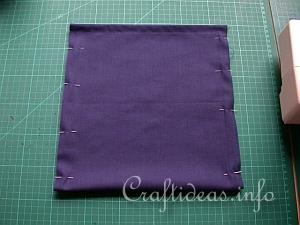
5. Sew a line along each short edge 1.5 cm or 5/8” from the top of the edge. (This is the area where the cording will be inserted later) Fold now the piece in half so that these top sewn edges are matching at the top.
|
|
|
6. Pin along the side edges.
|
|
|
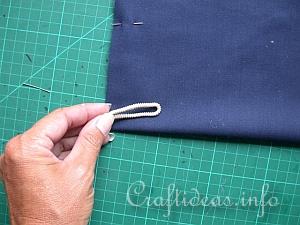
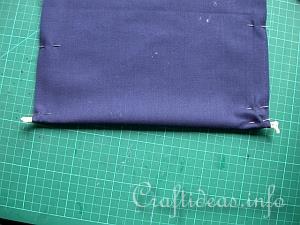
7. On the bottom of each side fold the 10 cm piece of cording pieces and insert the loop inside of the bag. Pin to secure.
|
|
|
8. This is now how it looks.
|
|
|
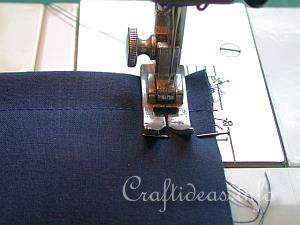
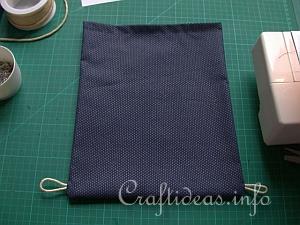
9. Starting at the sewing line at the top of the bag, sew along the both sides of the bag to close them. Be careful not to sew the top margin closed. This is reserved for the drawstring cording.
|
|
|
10. If you were to turn the bag now inside out, so that it is on the right side, this is how it would look after being sewn. Do not turn the bag though unless you want to check if you did it correctly.
|
|
|
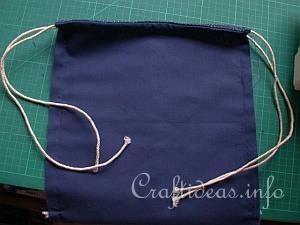
11. Before turning the bag, you will now insert the first long piece of cording through the right side and go all the way through the top until you come out at the right side again. Now do the same with the second piece of cording but this time, start at the left side. When done correctly, both sides have 2 pieces of cording hanging out. The picture demonstrates how it should look.
|
|
|
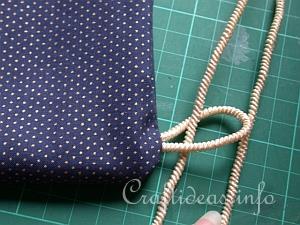
12. Turn your bag now inside out to the right side and insert a piece of cording on each side through the bottom loop and tie the 2 cording ends now in a knot.
|
|
|
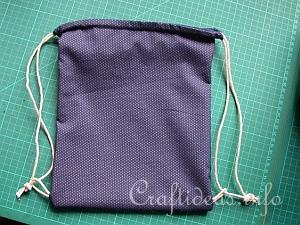
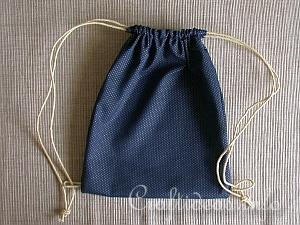
13. This is now how the finished bag looks.
|
|
|
14. When the drawstring is pulled, this is how the bag looks
|