|
|
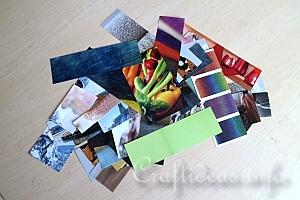
1. To start off, look through the magazines and cut out rectangular stripes of different lengths and widths of images.
There is no set rule how the size of the stripes should be. It will depend on what you are cutting out and the size of canvas you are working on.
Choose several patterns, colors, designs, to make your picture as interesting as possible. In the end, it won’t matter too much what pictures or colors you used because after all the paint is added, you will hardly see any of the original designs.
The stripes used for this project have been cut with widths between 2-5 centimeters and the lengths vary from 6-20 centimeters.
|
|
|
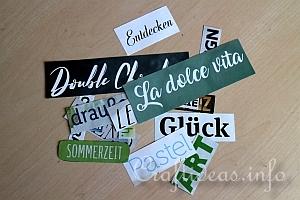
2. Look through the magazines and catalogues and select words that work for you. You can use words to describe feelings, positive words, words about art, or any words that please you.
Since we only have German magazines to choose from, the words you see here are mostly German... but we also found English and Italian words to choose from. “La dolce vita” for example is Italian for “the sweet life” or “Entdecken” is German for “discover”.
|
|
|
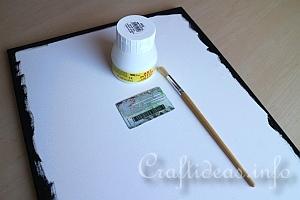
3. Prepare your stretched canvas by painting the sides and a bit of the surface edge with black paint and let it dry.
|
|
|
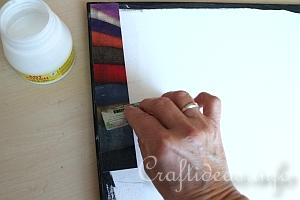
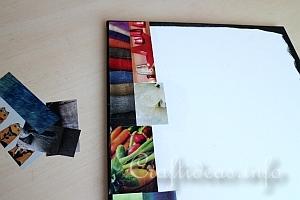
4. Now you can start gluing on the strips of paper you cut out. Do this by applying a generous amount of glue onto the canvas where the strip will be placed and then place the strip on it. Use a store card or used credit card to press air bubbles out from underneath the paper and to help it adhere better to the canvas.
There is no particular system or pattern of gluing the paper strips on the canvas. Simply start at the top left corner and work your way down and then do the next row.
|
|
|
5. Because the widths and lengths of paper vary, the art will look a lot more interesting than if every row is perfect. Sometimes you may have to trim your cut pieces to make it all fit better. You will notice that when the situation occurs.
|
|
|
6. More pieces have been added and the canvas is looking more colorful now.
|
|
|
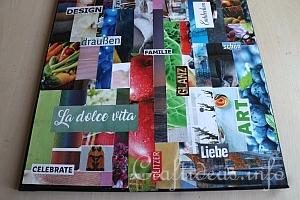
7. Now the canvas is completely covered with the paper strips. Already it looks quite pretty and interesting.
|
|
|
8. Glue now the words at various points on the canvas. Some can be placed horizontally and others vertically.
|
|
|
9. To break up the perfect straight lines, paint will now be added in various ways to give the canvas a yet even more interesting look.
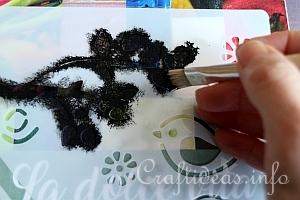
First a few images will be stencilled onto the canvas. Place the stencil on the canvas and dry brush the image with black paint onto the canvas.
|
|
|
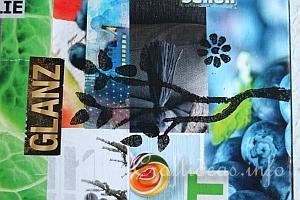
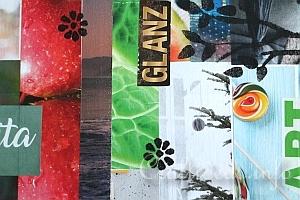
10. A branch and a few flowers were stencilled at different places.
|
|
|
11. This is now how another section looks with the stencilling. Let the paint dry before continuing.
|
|
|
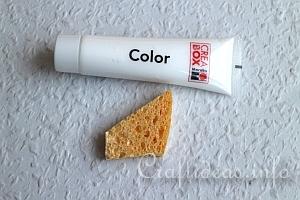
12. Now you will need white paint and a piece of a sponge.
|
|
|
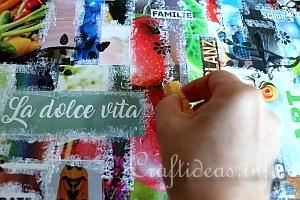
13. Use the sponge and dab the white paint all over the canvas at seams of the papers and also around the words glued on. Let the paint dry before continuing.
|
|
|
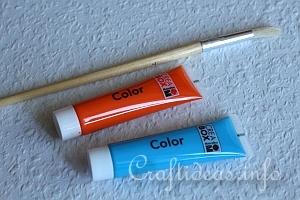
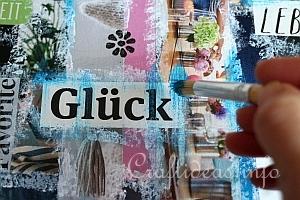
14. Now you will need the blue and orange paint and a paint brush for them.
|
|
|
15. First take the blue paint and add it to the brush. Rub the brush a couple times on a piece of paper towelling to remove some of the paint from the brush and prevent it from being so wet. Then create streaks of paint all over the canvas. Don’t be shy to streak the paint over the words or other papers or images on the canvas.
|
|
|
16. When finished, it will look something like this.
|
|
|
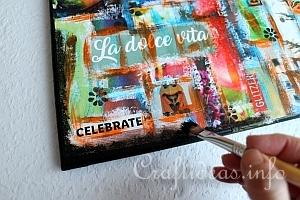
17. Then do the same with the orange paint to add even more color to the canvas and to give it a more abstract look.
|
|
|
18. When you are satisfied with the results, take a brush and black paint and now dry brush paint all around the edge of the canvas so the straight lines of the glued papers are covered.
You can also dry brush a couple of streaks of black paint on the canvas, like you did with the blue and orange paint, if you like and think it is necessary.
|
|
|
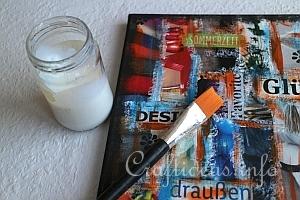
19. Once the black paint has dried, you will need a clear varnish and a paint brush.
|
|
|
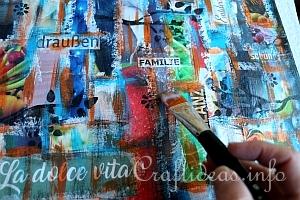
20. Brush on a coat of the clear varnish to seal everything and give it an shiny and even look. Let the varnish dry before hanging the picture.
|