|
Tutorial:
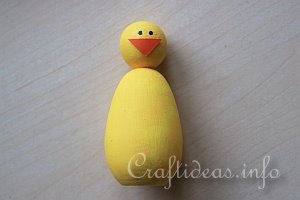
1. First you will paint each figure in the proper color and let them dry. For the chick, cut out a small triangle out of card or felt and glue it on as a beak. Use the black permanent marker to dot on two eyes. To finish off the chick, tie a ribbon bow around the neck.
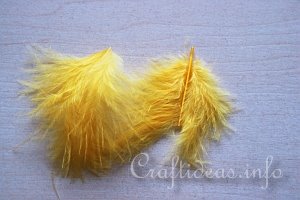
2. The chick’s wing feathers are made by cutting each feather in half...
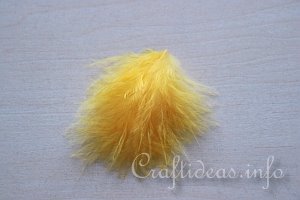
3. ... and placing the bottm half over the top half. Then these get glued on to the sides of the chick as wings. For the head use only a bottom half of the feather and glue it to the back of the head.
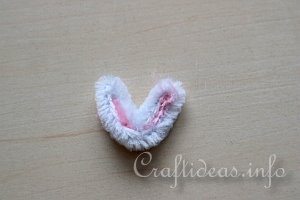
4. To create the bunny ears, cut a 9 cm piece of white chenille. Bend the chenille in half so it looks like a “V”. Then take the 2 ends and fold them towards the bend, so it becomes a smaller “V”. Insert a small piece of pink chenille between each ear and then glue this ear onto the head. For the arms two 6 cm pieces of chenille was folded in half and glued onto the each side of the bunny. For the feet a 19 cm piece of chenille was first folded into a “V” shape. Then the ends were bent towards the middle to create a smaller “V” shape and then an even smaller “V” shape was created out of this piece. Then glue the body onto the feet. To finish the bunny, a pink half bead was glued onto the face as a nose. Two eyes were dotted on and thin whiskers were drawn on each side of the nose. A ribbon was tied in a bow around the bunny’s neck to complete the bunny.
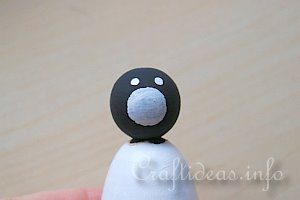
5. Paint the sheep head black after the body has been painted white. Then use a paint marker or acrylic paint to draw a circle on the face and dot on two eyes. Let the paint first dry. Then add a smaller black dot within each eye and draw the sheep face features onto the white circle using a black permanent marker.
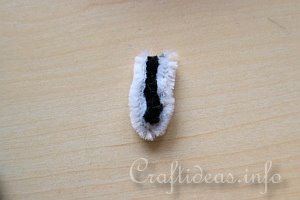
Create the sheep ears by first cutting two 6 cm pieces of white chenille. Then bend each in half and insert a smaller piece of black chenille in between each piece. Then cut each of these ear pieces down to 2 centimeters and glue onto the head. Tie a ribbon around the neck of the sheep as a bow. You can choose to give the sheep arms like the bunny if you like or simply leave the sheep as is.
|