Free Craft Ideas, Tutorials and Templates


CI Border

Home

Patterns

Tutorials

Spring Crafts

Summer Crafts

Fall Crafts

Christmas & Winter Crafts

New Crafts


Christmas Wood Craft - Wooden JOY Decoration

This decoration does not need a lot of depth and is therefore great for a shelf or mantel.


Christmas Wood Craft - JOY Decoration

For this project you will need:

- 18 mm thick wood for the letters and 12 mm thick wood for the base
- white paint and paint brush
- red and white Christmas gift wrap paper
- decoupage glue of your choice
- paint brushes
- pencil
- Christmas wrapping paper of your choice
- drill and wood screws to assemble the letters to the base when finished
- a countersink

Illustrated Craft Tutorial:

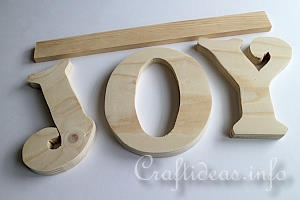
Christmas Wood Craft Tutorial - Joy 1
1. Choose a font of your choice and print out the letters at the height you wish them to be. Here the “Victorian” font was used from the Windows fonts. The letters here are each 18 centimeters high. Transfer the letter shapes to the wood and saw them out and sand them down so they will be smooth. Cut a wood base that will be a bit wider than your letters when they are put together as a word.
Christmas Wood Craft Tutorial - Joy 2
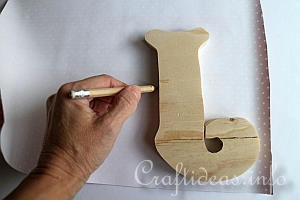
2. Then turn each letter over so that the front side is facing down and trace around the shape on the backside of the paper you chose to use.
Christmas Wood Craft Tutorial - Joy 3
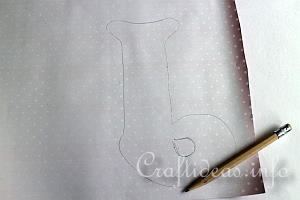
3. This is how it looks afterwards. Then cut it out and set it aside. Repeat for the remaining letters.
Christmas Wood Craft Tutorial - Joy 4
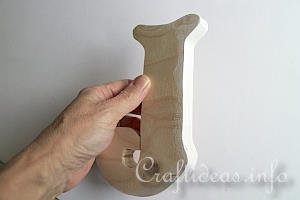
4. Paint the sides of each wooden letter white and then let the paint dry. Also paint the base piece on all sides.
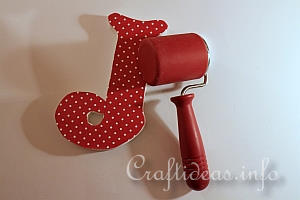
Christmas Wood Craft Tutorial - Joy 5
5. Then brush on an even medium coat of the decoupage glue onto the letter. Place the cut out letter exactly on top of the wooden letter and then use a brayer to smoothen out any bubbles or wrinkles. Repeat with the brayer a couple of more times while the glue is drying and set aside to dry.
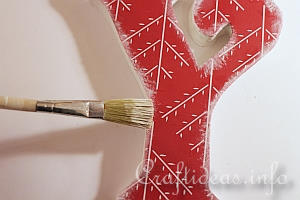
Christmas Wood Craft Tutorial - Joy 6
6. This step is optional. You can dry brush on white paint on the letters with red paper to give them a wintery look if you like.

Seal each letter with another coat of glue if you like.

7. The final step is to drill a hole in the bottom center of each letter. Place the letters as a word centered on the base and mark the positions on the base piece with a pencil. Then drill all three holes through the base as well as one hole in the bottom of each letter. Use a countersink on the bottom of the base holes so the screw will not scratch the surface the decoration is placed on. Then screw the screws into the base and letters to finish the project.

Illustrated Craft Tutorials:

Transferring Patterns Onto Wood Tutorial

How to Make Patterns and Permanent Templates

Drybrushing Tutorial

How to Dry Brush Wood

Scrollsaw Tutorial

How to Saw Wood Out Using a Scroll Saw


Wood Craft for Christmas - JOY Shelf or Mantel Decoration
Joy!

Featured at:

All Free Christmas Crafts


More Winter and Christmas Craft Themes:

Christmas and Winter Crafts for Kids

Christmas and Winter Paper Crafts

Christmas and Winter Textile Crafts

Christmas and Winter Wood Crafts

Christmas and Winter General Crafts

Christmas and Winter Greeting Cards

Christmas Tree Ornaments

Christmas and Holiday Wreaths

Christmas Craft Patterns

Santa Claus Crafts

Snowman Crafts

Advent Calendars

Gingerbread Crafts

Christmas Projects.com


More Christmas and Winter Wood Crafts

Wooden JOY Decoration

Scandinavian Style Wooden Glitter Ornaments

Christmas Wood Craft - JOY Decoration 300


Copyright: Please read this Copyright Information about using the images of this website.


© Craftideas.info

Contact     Links     Privacy Policy and Cookies