|
|
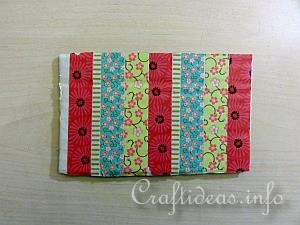
1. Cut out a side piece of the cardboard box a little bit bigger than the motif you indend to use. Cover the cardboard then with washi tape in a pattern you like.
|
|
|
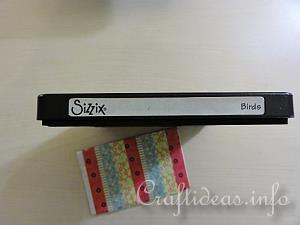
2. The Sizzix Originals Dies are perfect for this project because they cut thicker pieces of material.
The cardboard used is at first thicker but once it gets rolled through the die cutting machine, it gets pressed flatter, but still has enough dimension for a 3-D effect.
|
|
|
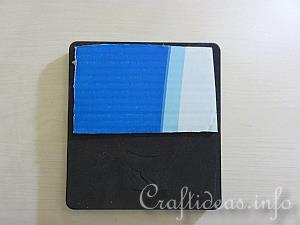
3. Place the die face up and then place the cardboard with the Washi Tape stripes face down on the die.
You can also place the cardboard with the Washi Tape stripes up and the Sizzix Originals Die facing down.
|
|
|
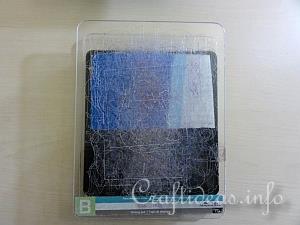
4. Since the Cuttlebug was used for this project, you will need two Cuttlebug “B” Plates along with the die from Sizzix. Place the items in this order:
1. A Cuttlebug “B” plate
2. The Sizzix Originals Die facing up
3. The cardboard box side with the Washi Tapes facing down.
4. A second Cuttlebug “B” plate
|
|
|
5. Roll then the complete “sandwich” through the machine. It will squish the cardboard a little flatter.
|
|
|
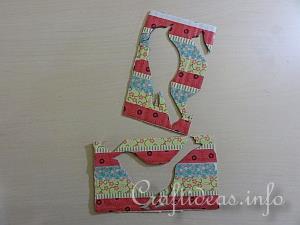
6. There are two birds on the Sizzix Originals Birds die. Use one of each motif.
These are the negatives leftover.
|
|
|
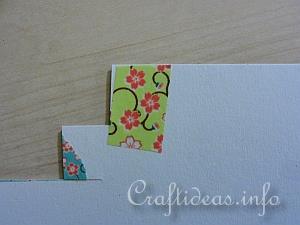
7. To create the letters, place small strips of Washi Tape on the white scrap piece of card.
|
|
|
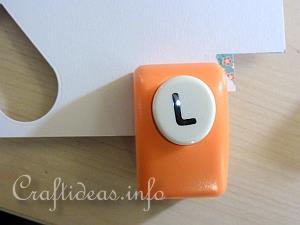
8. Then punch the first letter out.
|
|
|
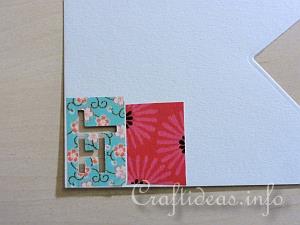
9. Repeat with the remaining letters using different colors.
Here you can see the letters “h” and “l” have been punched out of the blue flower Washi Tape.
|
|
|
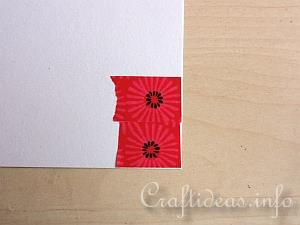
10. To make the flowers, you will also place Washi Tape on the scrap piece of card.
|
|
|
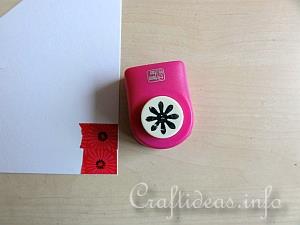
11. Use the flower punch to punch out 3 different colors of flowers.
|
|
|
|
|
To assemble the card, use two thinner strips of Washi Tape and place one across the complete bottom of the card about 5 mm from the bottom edge. Then place a second strip about the middle height of the card but only about halfway across. Then adhere the birds, the word “hello” and the flowers onto the card as you see in the image.
|