|
|
|

|
|
|
|
|
|
|
|
Using Modelling Clay for 3-D Figures
You can glue these clay cut outs on almost any type of underground. You can even use them on rounded surfaces such as a flower pot. Apply to the rounded surface while still soft so you can form it to fit.
|
|
|
|
|
|
|
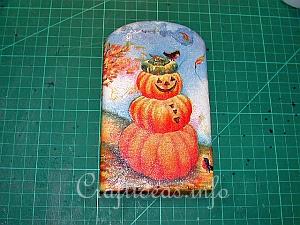
1. Prepare the item to be decorated (here a plaster of Paris shingle) with desired paper napkin applique design and let it dry.
|
|
|
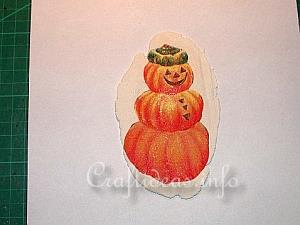
2. Roll out the clay to about 1/4” thick. Using the same napkin, choose a motiv that will fit to the decoration.
|
|
|
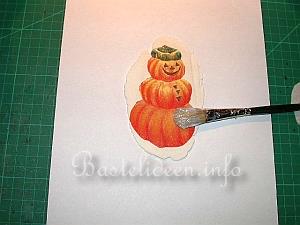
3. Cut it out, press it onto the clay and apply the applique glue to the whole design to seal it.
|
|
|
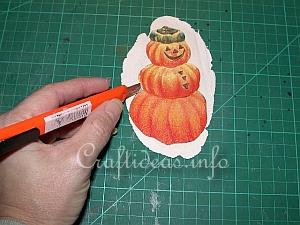
4. After the clay has dried some (30-45 minutes), cut the clay design out with a craft knife. Smooth out the edges with your fingers.
|
|
|
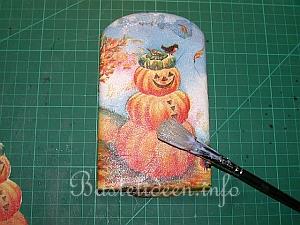
5. Apply applique glue to the decoration.
|
|
|
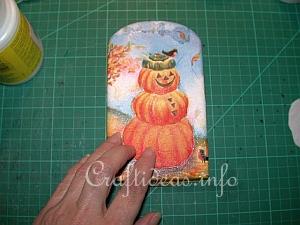
6. If the edges of the clay piece are white, you may use magic markers in coordinating colors to color them. Press the cut out clay design onto it and let it dry.
Your decortion has now a 3-D effect and can be decorated. Drill a hole at the top of the shingle to hang up.
|
|
|
|
|
|
|
|
|
|
|
|
|
|
|
|
|
|
|
|
|
|
© Craftideas.info
Contact Links Privacy Policy and Cookies
|
|
|