|
|
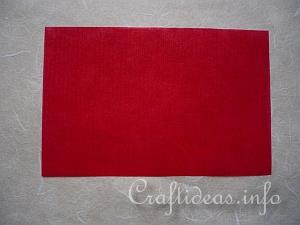
1. Take your first piece of pre-cut transparent paper.
|
|
|
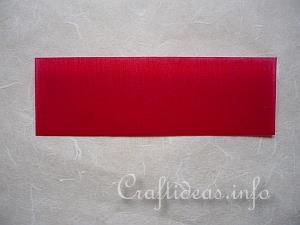
2. Fold the paper in half lengthwise.
|
|
|
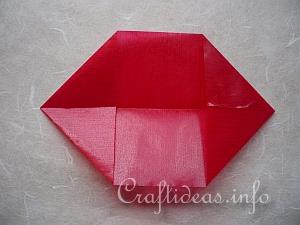
3. Now fold each corner to the middle crease.
|
|
|
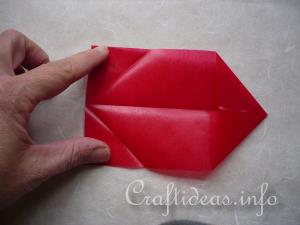
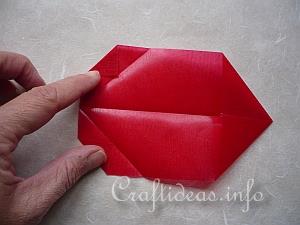
4. Open up one end again.
|
|
|
5. Fold the 2 left points of the opened end to the diagonal crease formed from the folding.
|
|
|
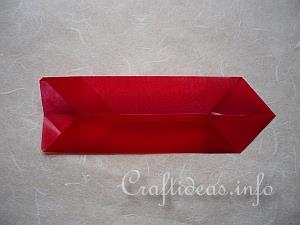
6. Now fold both sides to the middle.
|
|
|
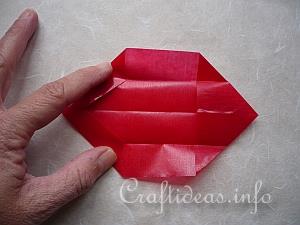
7. Open up these folds again. You will need the upper and lower creases for step 9. Fold the two left sides again at the crease previously formed to the center so it creates a point again on the left side.
|
|
|
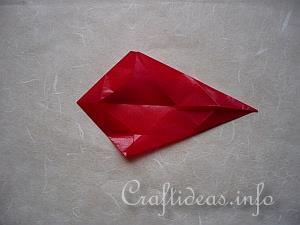
8. Now fold the angles of the right end to the middle crease. The shape resembles a kite.
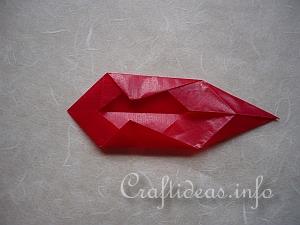
On the left side you see a top and bottom point...
|
|
|
9. ...fold these points towards the middle along the outside crease formed in step 7.
Repeat steps 1-9 for the remaining 7 paper rectangles. Glue the points to each other one at a time until all 8 points are used. Glue the not so pointed ends together, matching the middle crease of each newly added point to the middle crease of the previous point.The last point will needed to be glued to the first point.
|