|
|
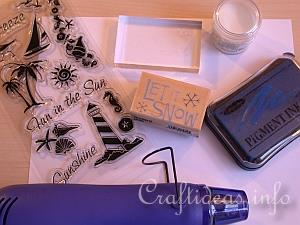
1. To create the stamped images you need: Rubber or silicone stamps, stamp pad with pigment ink in a color of choice, clear embossing powder and a heat gun.
The stamp pad with pigment ink is recommended because the ink takes longer to dry and the embossing powder adheres to it well.
|
|
|
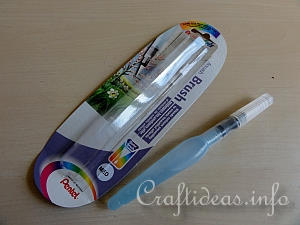
2. This is the water brush. You unscrew the blue base and fill it with water. The water then flows to the tip as you use it. Below you will see more about how to use it.
The advantage to having one of these is that you have your water with you where ever you go and you do not need a paint brush and water cup.
|
|
|
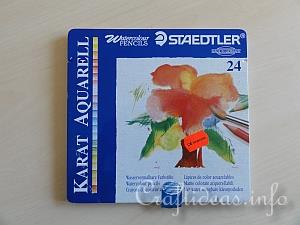
3. These are aquarell or water color pencils. Use them to color your images. Once water is applied to the colors, the colors blend together, like a painting.
Aquarell paper is also recommended because it withstands the water much better and is then flat after it dries.
|
|
|
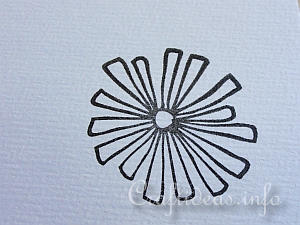
4. To start, stamp your image on a piece of paper.
|
|
|
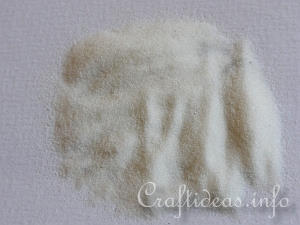
5. Cover it completely with embossing powder. The powder will adhere to the stamped image.
Then pour the remaining powder back into the container.
|
|
|
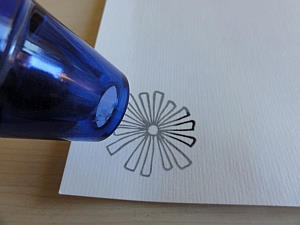
6. Use the heat gun to set the embossing powder. Add enough heat so that the powder starts to harden, leaving a raised image on the paper. You will know when you are finished, because the powder look disappears and the image looks black and shiny.
This raised effect is great afterwards when you color the images with the water brush. The water stays better within the raised area.
|
|
|
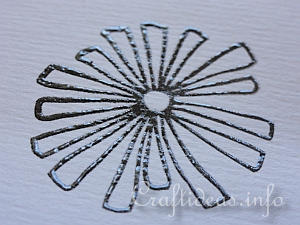
7. This is how the image should look after it has been embossed.
|
|
|
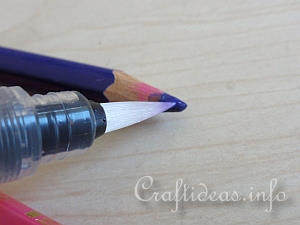
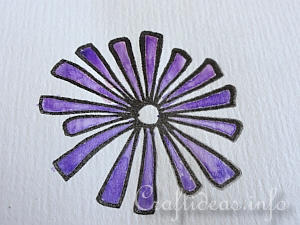
8. There are two ways to color your image. The first way is to collect color onto your water brush by rubbing it on the pencil color.
|
|
|
9. Then simply color in the images how you like. It will be dark at first but the colors then fade as you go along. At any point you can collect more color and continue until the look want is achieved.
|
|
|
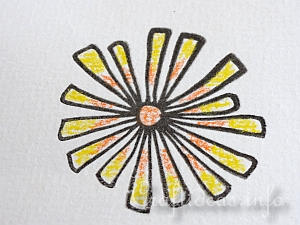
10. Another method is coloring the image itself. You do not have to fill in all the areas and you can use as many colors as you like. Here yellow and orange was used.
|
|
|
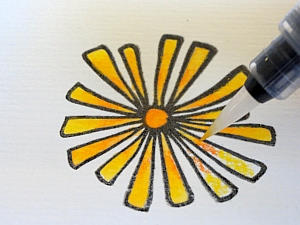
11. When the water gets added, the two colors will blend together, creating a nice effect.
|
|
|
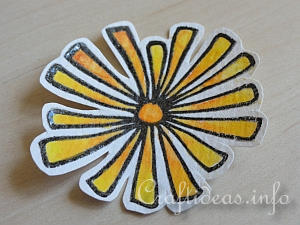
12. Here the finished image was cut out and can be used to embellish whatever you like.
|
|
|
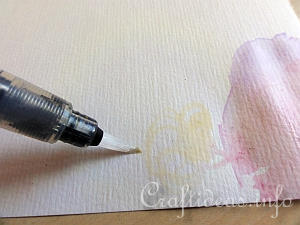
13. To clean the water brush, simply press it gently onto a clear piece of paper and the water will flow through the brush and clean it off.
|