|
Preparing the pieces:
|
|
|
|
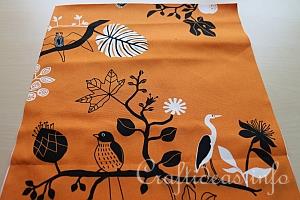
1. Cut two 50 x 50 centimeter fabric squares out.
|
|
|
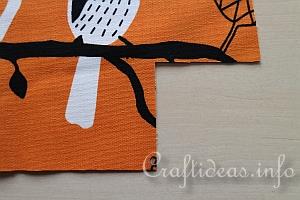
2. Align the fabrics and cut away a 7.5 centimeter square from the two bottom corners. This will shape you bag and give it a floor.
|
|
|
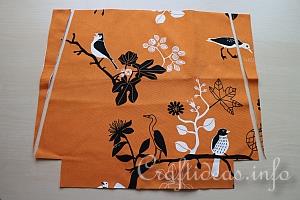
3. At the top corners of the fabric, mark 5 cm from both sides. Then cut a line from each of these points down to the top edge of the bottom corner. This will shape the bag a little smaller in width at the top.
|
|
|
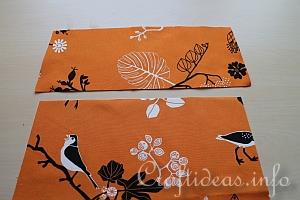
4. For the top lining panels, cut two 15 x 50 centimeter rectangles.
Because the bag is cut at angle, these lining pieces also need to be cut at the same angle. Place these up underneath the top edge and line the top edges together. Follow the shape of the bag and cut away the excess fabric.
As you see in the image, these panels are the same shape as the bag. Set them aside for the moment.
|
|
|
5. You can also create a pocket for the inside of the bag if you like in the same manner. Take again two 15 x 50 cm rectangles and place them underneath the bag where you would like the pockets to be. Then cut away the excess fabric hanging over the sides of the bag.
Here in the image you see the two top lining pieces, the two pocket pieces and the two bag pieces.
|
|
|
|
|
Creating an Inside Pocket:
|
|
|
|
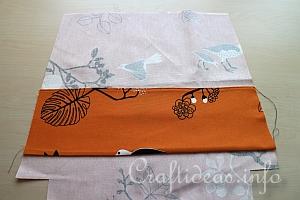
6. Sew the two pocket pieces together on both long sides with the right sides facing each other. Turn and iron. Then topstitch along one of the long sides. Then place the pocket piece on the bag where it is supposed to go. The topstitched line is at the top.
Pin in place on the wrong side on one of the bag sides
|
|
|
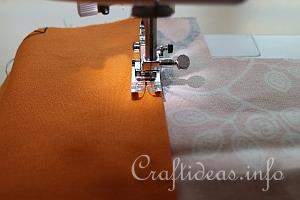
7. Then sew across the bottom of the pocket across the bag piece.
|
|
|
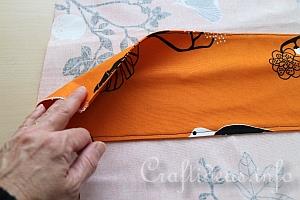
8. The bottom edge of the pocket is sewn and the top edge is still open.
|
|
|
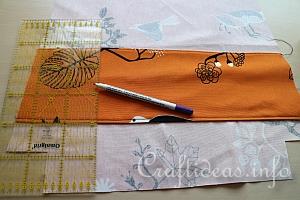
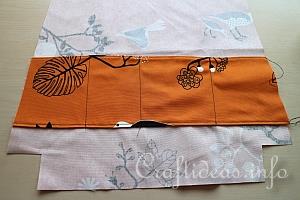
9. Mark vertical 2 or 3 lines down the pocket piece to divide it into sections for tissues, cell phone, keys, etc...
|
|
|
10. Then sew down the pocket piece to section it off.
|
|
|
|
|
Sewing the Bag Together and Creating a Floor:
|
|
|
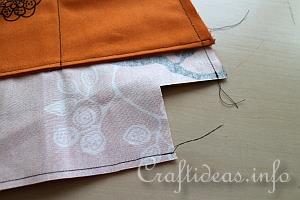
11. Place the two bag pieces with the right sides facing and sew the side seams and across the bottom seam. Reinforce the seams with a zig-zag stitch if you like. This will also prevent that the fabric starts to unravel. This is how one of the bottom corners look.
|
|
|
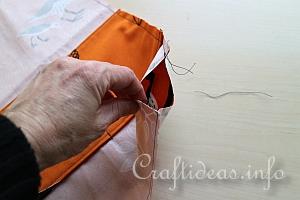
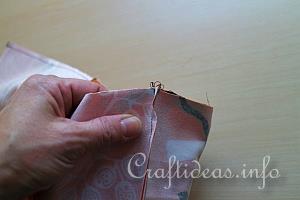
12. Take the side seam and the bottom seam and match them together.
|
|
|
13. Like this.
|
|
|
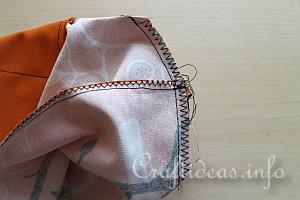
14. Now sew a 1 centimeter seam across and zig-zag to reinforce the seam. Repeat steps 12-14 again for the second bottom square.
|
|
|
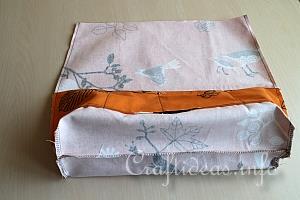
15. Now the bag has a bottom floor. Turn the bag to the right side.
|
|
|
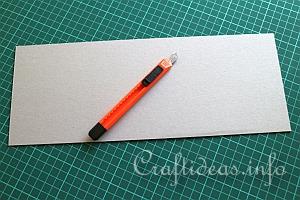
16. Measure the length of the floor seam and one of the floor side seam and cut a rectangle the same size. This will reinforce the floor and help the bag stand on its own.
You can also glue the same fabric onto this floor piece so that it matches the bag.
Set this piece aside for the moment.
|
|
|
|
|
Click here to finish the bag >>>
|