|
|
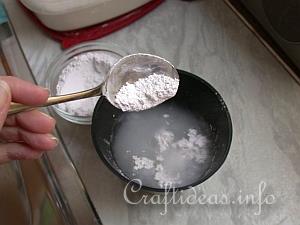
1. Follow the manufacturer’s instructions for the amount of water and plaster powder you will need. This particular brand uses 2 parts plaster powder to 1 part water. Slowly add the powder to the water and stir well.
|
|
|
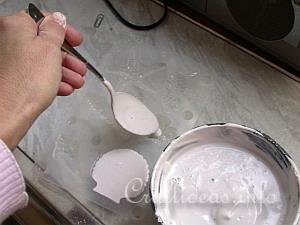
2. The mixture should be thick but runny. It should be still liquid enough to flow off of the spoon without additional help. Our experience is the more watery the mixture is, the longer it will take to dry, but the pieces will also be lighter in weight once dry. Experiment for the results you are satisfied with.
Use the mixture immediately and spoon it into the candy molds or plastic molds. Tap the molds often to make the air bubbles come to the backside of the pieces.
|
|
|
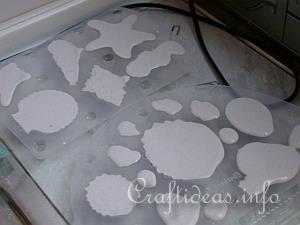
3. Depending on how warm your room is, let the castings dry between 30 minutes to one hour. You can feel the back of the castings if they are firm or not. When firm, they can be carefully removed from the mold.
|
|
|
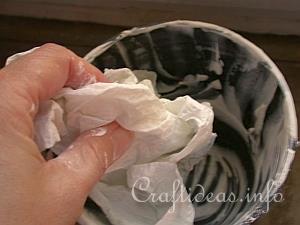
4. In the meantime, while the pieces are drying, use paper towels and clean out the bowl and the mixing spoon. Try to avoid that plaster goes down the drain. It could clog it up.
|
|
|
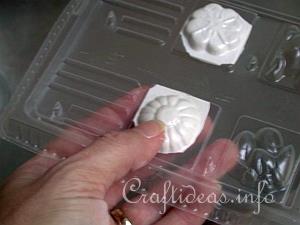
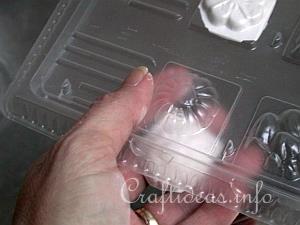
5. Once the pieces are dry, carefully pop them out of the forms. It may not be so easy at the beginning so you may have to work at it...
|
|
|
6. ...and slowly the piece will come out.
|
|
|
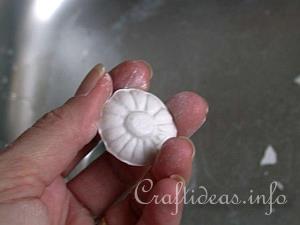
7. Once you have the piece out, it is firm but still soft enough to smooth the excess plaster off of the edges. First use a craft knife to get rid of the excess plaster. Then use your fingers and smooth around the edges until you are satisfied with the look of it.
|
|
|
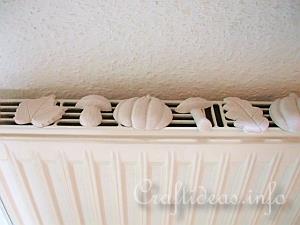
8. To dry the pieces completely, lay them on a cake or cookie rack or even better.... on a radiator if one is turned on. Let them dry overnight. The next day they will be ready to use or to paint on.
|
|
|
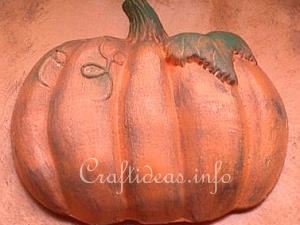
9. Use acrylic paint to paint the pieces. Water color paint works also well but the color is not as intense. Once painted and dry, use clear acrylic sealer on them to protect them from moisture and to give them a nice glossy look.
|