|
|
|

|
|
|
|
|
|
|
|
Illustrated Craft Tutorial - Different Techniques for Creating Motifs for Cards, Scrapbooks and Paper Crafts Using Fabric Motifs, Paper Napkins and Wrapping Paper -
Part Three: The Wonderful Techniques and Possibilities of Using Motifs From Paper Napkins for Cards and Scrapbooks
Paper napkins with motifs are almost a shame to use for dining alone. There are so many pretty and artistic motifs for all seasons of the year and these can be used for embellishments for cards and scrapbooks, too.
Most paper napkins are 2 or 3 ply. When creating any of these projects, only the top motif layer of the napkin is needed. Discard the white layers.
|
|
|
|
|
|
Creating Paper Napkin Motifs Using Paper Napkin Glue and Paper Napkins: Create pretty and stable motifs very easily using this technique.
|
|
|
|
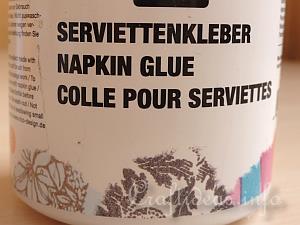
1. Use a paper napkin glue of your choice.
|
|
|
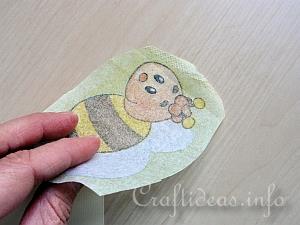
2. Select a motif you wish to use.
|
|
|
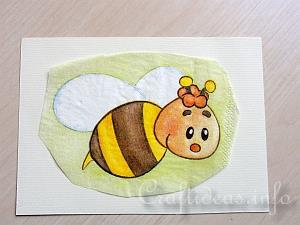
3. Place the motif on a piece of cardstock or cardboard. The more stable the card is, the more stable your motif will be.
|
|
|
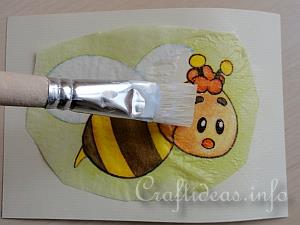
4. Use a soft brush and brush a even layer coat of glue over the entire motif. Be careful at this point. When the napkin gets saturated with the glue, it tears more easy.
|
|
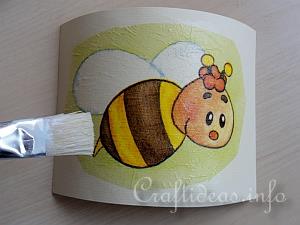
|
5. When the motif is covered, let the glue dry. The card may curl up while this process is taking place. It will flatten again as it starts to dry. Just make sure that while it is drying, that it does not flip over as that may ruin the motif.
|
|
|
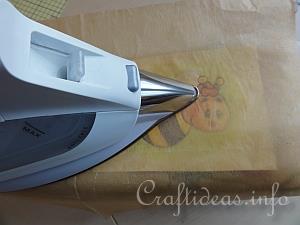
6. When the glue is dry, you can then iron over the motif. The heat bonds the glue and the motif to the card.
|
|
|
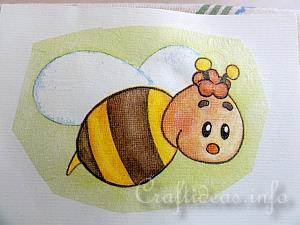
7. This is the ironed motif. The iron also helps get rid of some wrinkles that may have occured while applying the glue.
|
|
|
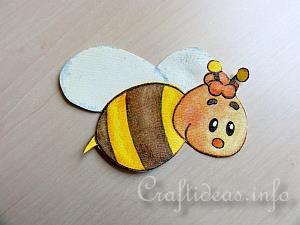
8. Once cool, you can cut the motif out and it is ready to use. It can then be glued onto a card or scrapbook. Or you can also apply 3-D pads to the backside before adhering to your project to give it dimension.
|
|
|
|
|
|
|
|
|
|
Creating Paper Napkin Motifs Using Paper Napkins and Aslan Foil: This is an extremely easy way to create quick motifs. Here a flower motif was created and then a 3-D version was created to give the embellishment more dimension.
|
|
|
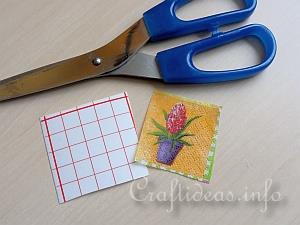
|
1. All you need is a paper napkin motif, Aslan foil (one-sided stable adhesive foil) and scissors. Cut the napkin motif roughly down to the size you want it. At this point it does not need to be exactly cut out. Also cut a piece of Aslan foil to about the same size.
|
|
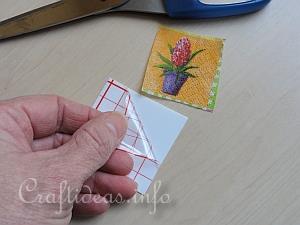
|
2. Peel off the protective layer off of the foil, which exposes the sticky side.
|
|
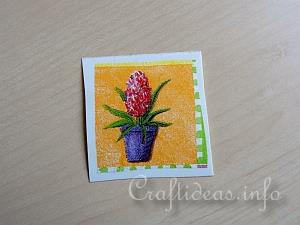
|
3. Press the paper napkin onto the foil and smooth out any wrinkles.
|
|
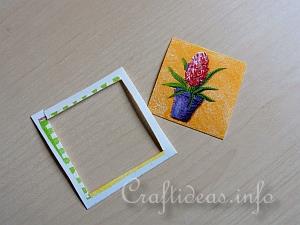
|
4. Now cut the motif out exactly how you want it. Here a square shape was cut out. At this point you can already use it for your cards or scrapbooks.
|
|
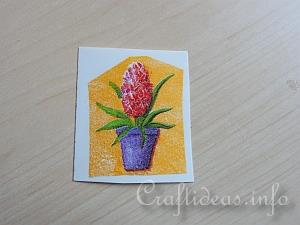
|
5. You can also go a step further to create a 3-D motif. Repeat steps 1-4 again with a second same motif from your napkin.
|
|
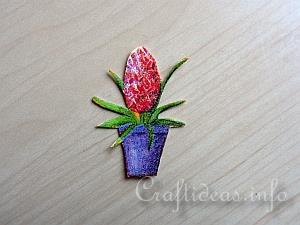
|
6. When you cut it out, cut out the motif (here a flower) exactly out.
|
|
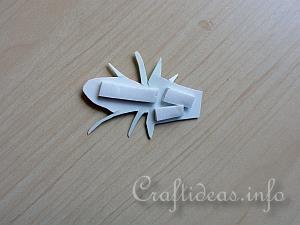
|
7. Place 3-D pads on the backside of the flower.
|
|
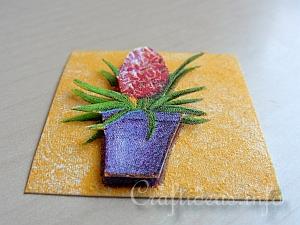
|
|
8. And then press it onto the square motif that you created in step 4.
|
|
|
|
|
|
|
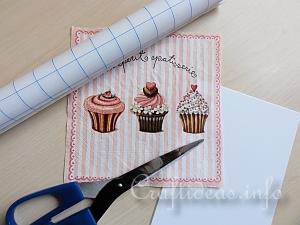
Creating Paper Napkin Motifs Using Contact Paper, Stick Glue and Cardboard: These motifs are very shiny. The contact paper (clear thin one-sided adhesive foil) at the same time holds the napkin taut while you adhere it to the cardboard or cardstock.
|
|
|
|
1. For this technique you need contact paper, a paper napkin of choice, cardstock or cardboard, stick glue and scissors.
|
|
|
|
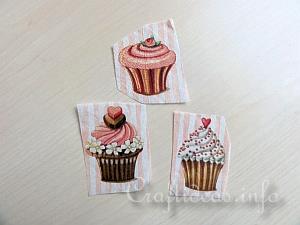
2. Cut your motifs roughly out of the paper napkin.
|
|
|
|
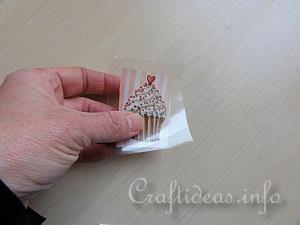
3. Cut out a piece of contact paper that is slightly larger than the napkin motif and remove the protective paper layer. Adhere the shiny foil onto the napkin and press smooth, so that any wrinkles are removed.
|
|
|
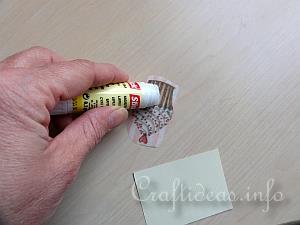
4. Again cut out the motif roughly out, so that the extending foil is removed. Then apply stick glue to the backside of the paper napkin motif.
|
|
|
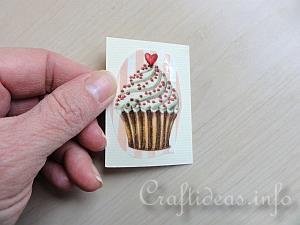
5. Adhere the motif then to the cardstock or cardboard.
|
|
|
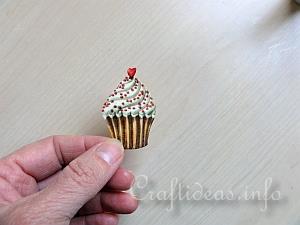
6. Now you can cut the motif exactly out.
|
|
|
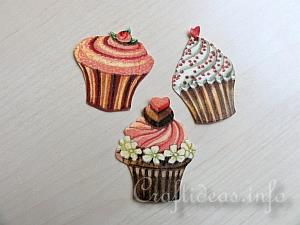
7. These motifs are now ready to be used as embellishments. You can glue them directly onto your project or use 3-D foam pads to give them extra dimension.
|
|
|
|
|
|
Creating Paper Napkin Motifs Using Fusible Web: Just like you can use fusible web on fabric, you can also use it for paper napkins. The advantage is that the motifs perfectly adhere to their underground, they are wrinkle free and there is no messy glue involved. This technique shows you how to create a flat motif and takes it a step further to create a dimensional 3-D embellishment.
|
|
|
|
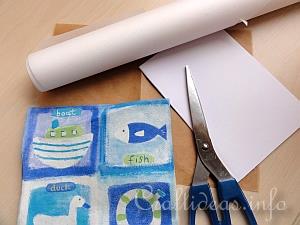
1. For this technique, you need a napkin of choice, scissors, fusible web, light colored cardstock or cardboard, 3-D pads, baking paper and an iron.
|
|
|
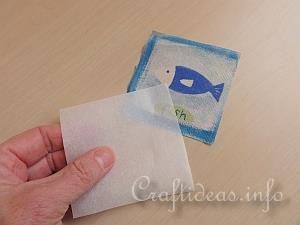
2. Choose a motif andd cut it roughly out in a square or rectangle shape. Cut out a same sized piece of fusible web.
|
|
|
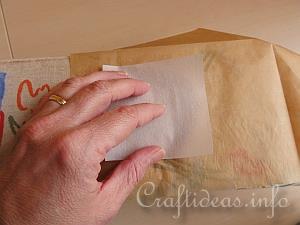
3. Place the baking paper on the ironing board. Then place the fusible web with the adhesive side up (paper side down) on the baking paper.
|
|
|
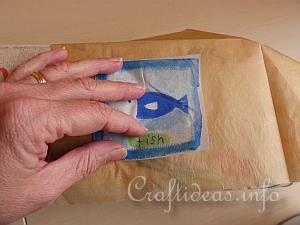
4. Place your paper napkin then on top of the fusible web.
|
|
|
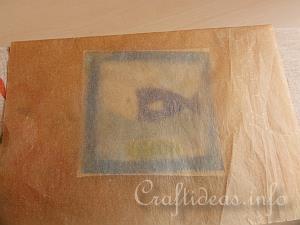
5. Cover it all with another layer of baking paper. This will prevent your iron from getting damaged from the adhesive on the fusible web.
|
|
|
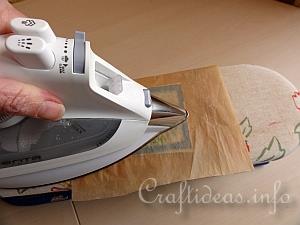
6. Iron the napkin now to the fusible web. This takes only a couple of seconds using a warm to hot temperature and no steam.
|
|
|
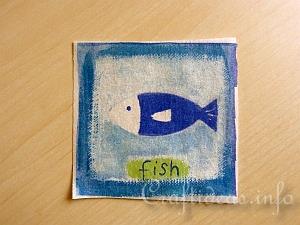
7. This is your motif. It is adhered to the fusible web and ready for the next step. If you only wish to use this motif with no 3-D effect, skip to step 12.
|
|
|
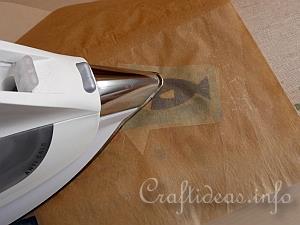
8. To create a 3-D effect, repeat the previous steps with a second motif. In this case it is a fish.
|
|
|
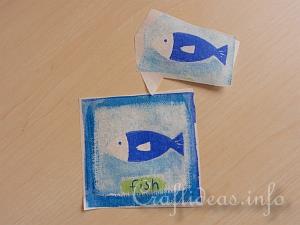
9. Now you have the first whole motif and a partial motif, which is the fish itself.
|
|
|
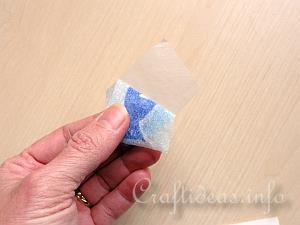
10. Peel off the paper layers of the fusible web from both of the motifs.
|
|
|
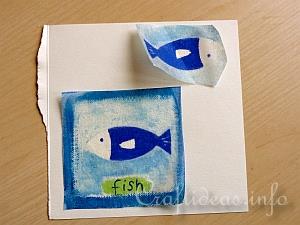
11. Place the motifs then onto the light colored cardstock or cardboard.
|
|
|
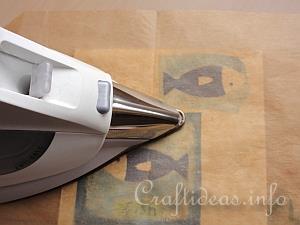
12. Iron the motifs onto the card. Use the baking paper if you like to protect the iron.
|
|
|
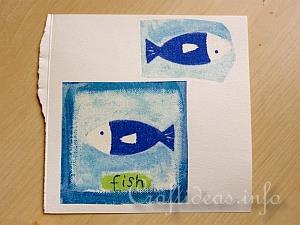
13. Now both motifs are bonded with the card.
|
|
|
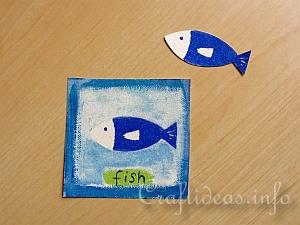
14. Cut them exactly out. The first motif is an exact square. The second is the exact fish.
|
|
|
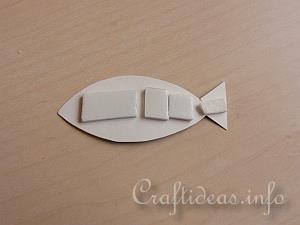
15. Place 3-D pads on the backside of the fish.
|
|
|
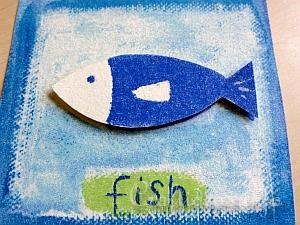
16. Then remove the protective paper from the pads and adhere the fish to the whole motif.
|
|
|
|
|
|
|
|
|
|
Part One: Creating Stickers Using Paper Napkins, Wrapping Paper, Used Cards, etc... >>>
Paper napkins, wrapping paper and used cards that have motifs on them can be used to create embellishments for your paper craft projects. These tutorials will show you how to create stickers using double-sided adhesive paper or tape.
|
|
Part Two: Creating Fabric Motifs to Use as Embellishments for Cards, Scrapbooks, Paper Crafts, etc... >>>
For all seasons of the year, you can find fabric with all sorts of motifs to almost any subject. It is a lot of fun using these motifs for crafting projects. These tutorials will show you how to prepare these motifs so they can be easily used.
|
|
Part Three: The Wonderful Techniques and Possibilities of Using Motifs From Paper Napkins for Cards and Scrapbooks
Paper napkins with motifs are almost a shame to use for dining alone. There are so many pretty and artistic motifs for all seasons of the year and these can be used for embellishments for cards and scrapbooks, too.
Most paper napkins are 2 or 3 ply. When creating any of these projects, only the top motif layer of the napkin is needed. Discard the white layers.
|
|
|
|
|
|
|
|
|
|
|
|
|
|
|
© Craftideas.info
Contact Links Privacy Policy and Cookies
|
|
|
|