|
|
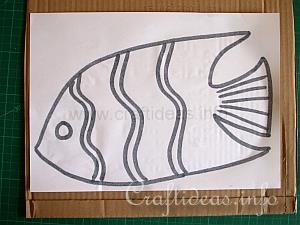
1. Print out your pattern on paper and glue the sheet then to a cardboard box side. This tutorial demonstrates a fish but you can use any shape you like. Cut out the fish once the glue is dry.
|
|
|
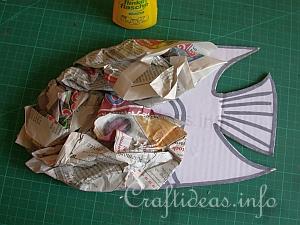
2. Wad half sheets of newspaper into balls and adhere them to the fish.
|
|
|
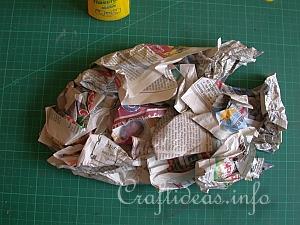
3. This is now how the fish looks.
|
|
|
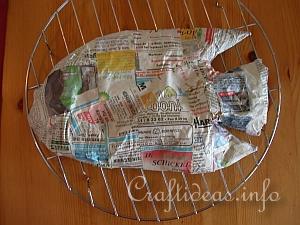
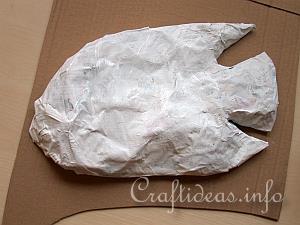
4. Now you will want to tear about 20-30 pieces of about 2.5-3 cm wide (1 inch wide) strips of newspaper (about 15 cm or 6 inches long). Take the first strip and dip it into the prepared wallpaper glue. Now place the strip over the newspaper wads to cover them. Make sure that the strips also cover the side of the fish and end on the backside. Continue adding strips of newspaper until the entire fish is covered. Let the fish completely dry. This may need a few days, depending on how high the humidity and temperatures in your area are. Once dry, the fish is very light weight.
|
|
|
5. Paint the entire dried fish white. This will add brilliance to the colors you add afterwards. If kids are making this project, they will want to paint their fish with tempera paints or acrylic paints.
This project also looks great if decorated with paper napkins. The following steps explain how to do so.
|
|
|
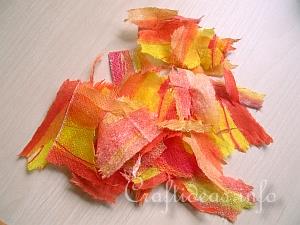
6. Select a paper napkin with a colorful motif. Remove all but the top layer and discard the bottom layers. Tear the top layer into about 2.5 - 3 cm pieces (1 inch pieces).
|
|
|
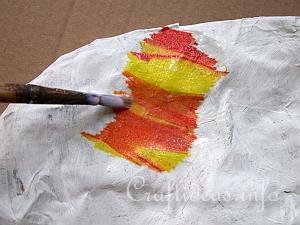
7. Dip your paintbrush into the paper napkin applique glue. Brush glue onto the fish and adhere the first torn paper napkin piece over the glue. Brush more glue over the paper napkin piece to seal it.
|
|
|
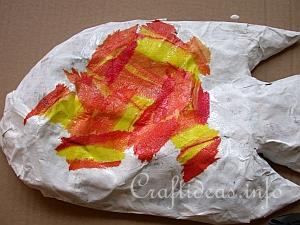
8. Continue by adding the next paper napkin pieces. Always slightly overlap the pieecs when adding new ones. Continue until the entire front and side of the fish is completely covered. Let dry. Glue on a glass nugget for the fish eye if desired. Add a hanger to the backside of the fish for hanging.
|