|
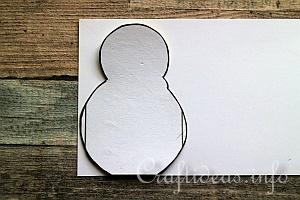
|
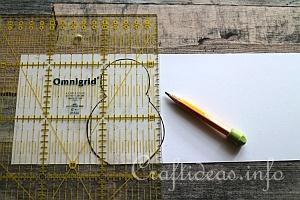
1. Print out the template so that the snowman measures 9.5 centimeter in height. Then cut out a strip of white card that is 10 cm x 26 centimeters.
|
|
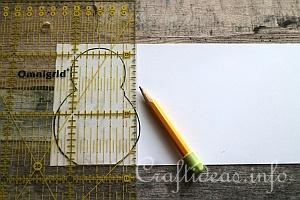
|
2. On both sides of the snowman you see vertical lines. These are guide lines to make your markings on the paper. These will later be creased. Place the snowman on the left side of the card, but do not let the round body touch the edge of the card. It can be 1/2 a centimeter or so from the edge. This round side will later be the outer edge of the snowman when the garland is standing, so it should not be cut off.
On the right side of the snowman, place the ruler so that it is exactly on the vertical line on the right side. Mark a line with the pencil from the top of the card to the bottom (omit writing on the snowman).
|
|
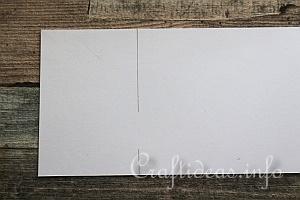
|
3. The line looks like this afterwards.
|
|
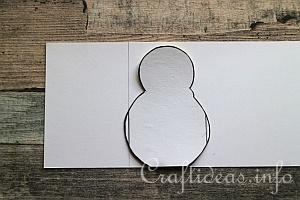
|
4. Move the snowman so that the vertical line on the left side of it will now be placed exactly on the previously drawn line.
|
|
|
5. Slide the ruler over and again draw a line down the right side of the snowman.
|
|
|
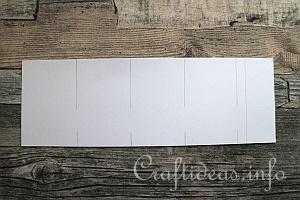
6. Continue until you have 4 segments. After the 4th vertical line, draw another line about 1 centimeter to the right of it and then cut away the remaining paper to the right of that line.
|
|
|
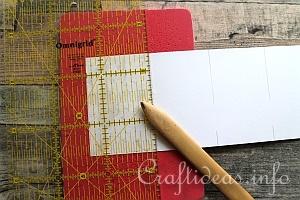
7. Crease down each of the first 4 lines you drew with the pencil.
|
|
|
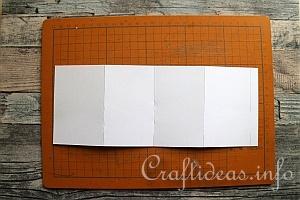
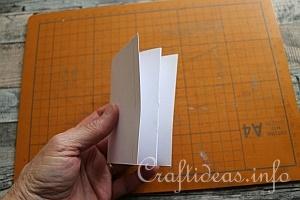
8. Fold each of these creases.
|
|
|
9. Then fold the card together so that the left side (the beginning) of the card and the right side of the card (the end) are over each other. These sides sides will be the round body sides.
|
|
|
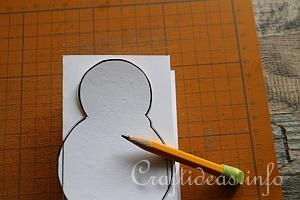
10. Place the card down so that the round body sides are on the right. Then place the snowman template on the folded card so that the left vertical line matches the folded edge exactly. Then trace around the snowman with the pencil.
|
|
|
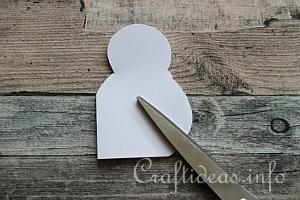
11. Cut out the snowman with the scissors.
|
|
|
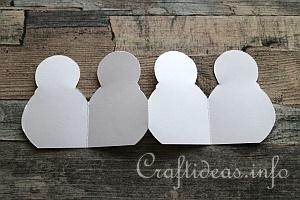
12. Open up the snowman and you have then four.
|
|
|
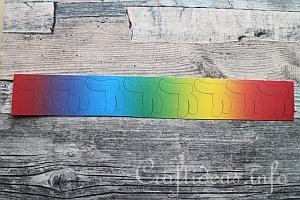
13. Trace the scarf pattern onto rainbow paper. You can also use a solid colored paper but the rainbow paper makes each snowman unique.
|
|
|
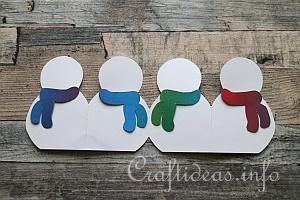
14. Glue the scarves onto the snowmen. Remember that each second snowman is opposite the first so that the scarf should face the other direction.
|
|
|
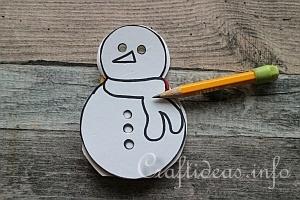
15. Use the pencil to mark the positions of the eyes and buttons.
|
|
|
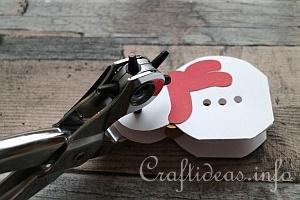
16. Punch out these through all layers at the same time.
|
|
|
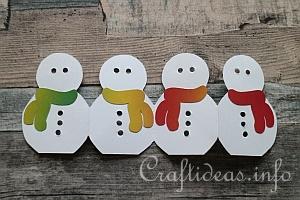
17. Now... the only thing missing is the carrot nose.
|
|
|
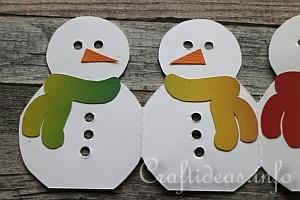
18. Glue a carrot nose on each snowman. Also here remember to glue each second nose in the opposite direction.
|