|
|
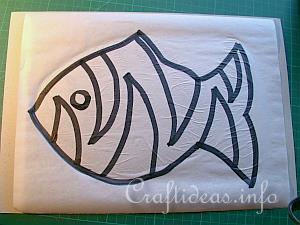
1. Print out your fish template and glue it onto stable cardboard to create a stable template that can be used many times over.
|
|
|
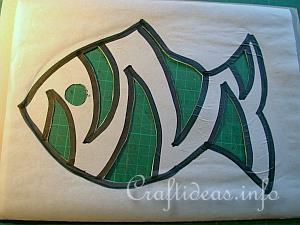
2. Cut out the inside lines of the fish and the outside fish shape of the template.
|
|
|
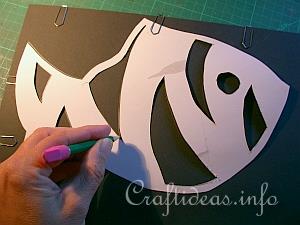
3. Place 2 sheets of black cardstock over of each other. Paper clip the template together to these sheets and trace the fish shape. Once traced, remove the template, but leave the 2 black sheets paper clipped to each other to hold them together while cutting.
|
|
|
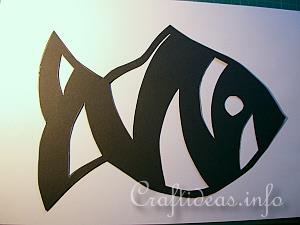
4. Once cut out, you have two exact fish.
|
|
|
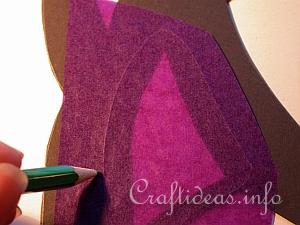
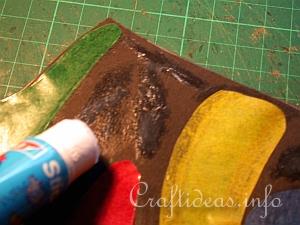
5. Place the first piece of transparent paper over one of the inside holes. Trace with a pencil onto the black area around the shape. Cut the shape out and place glue onto the black area around the shape. Press the paper onto this area. Continue with the next inside areas until all are filled.
|
|
|
6. Once you are finished, glue the fish onto the second fish so that the glued papers are sandwiched on the inside between the 2 black fish shapes. Punch a hole through the top to tie a thread through for hanging.
|