|
|
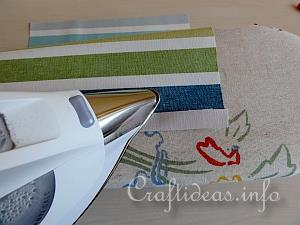
1. Fold the fabric in half so that the edges where the zipper will be placed are at the top. Now press an 1 - 1.5 centimeter seam allowance on the top and bottom edge to the backside of the fabric.
|
|

|
2. This is the backside of the fabric but with this particular fabric, it looks the same on both sides.
The top and bottom edges are pressed flat and ready for the next step.
|
|
|
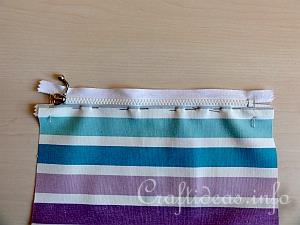
3. Turn the fabric over so that the top edge is one of the ironed edges. Place this edge over your zipper and pin in place. The fabric edge should be about 3-5 millimeters from the teeth of the zipper. This prevents that the fabric gets caught into the zipper when it gets opened or closed.
|
|
|
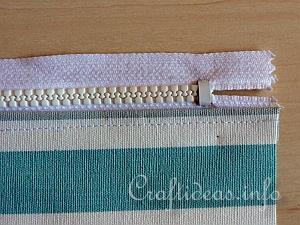
4. Sew along the edge to hold the zipper in place.
|
|
|
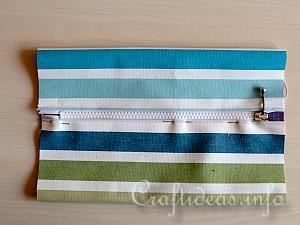
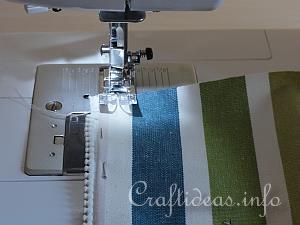
5. Now pin the other ironed edge on the other zipper side.
Open the zipper almost all the way to make the sewing easier.
|
|
|
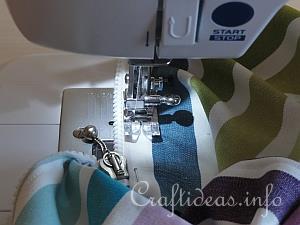
6. Now sew along the other edge.
|
|
|
7. When you get towards the end, the pull of the zipper may be a bit wider than the zipper teeth themselves and get in the way. Try to sew the line to the end as straight as you can when you reach this point.
|
|

|
8. This is now how the pouch looks when the zipper is closed again. This is the inside of the bag.
|
|
|
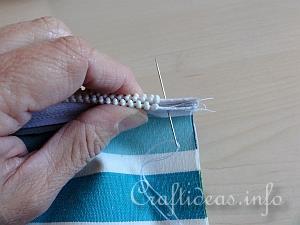
9. If your zipper has no stopper, you can create one. You will do this about 5 millimeters from the zipper by inserting the needle a few times through the material.
|
|
|
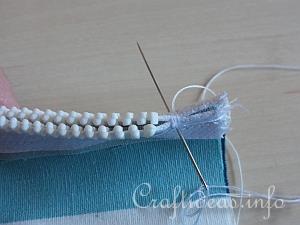
10. This is how the stopper looks. Once you have done the stitch a few times, knot your thread and cut the ends away.
|
|
|
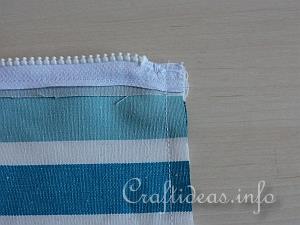
11. Now sew a straight line down this side of the bag where you just made the stopper. Sew the line about 5 millimeters from the stopper. Trim away any excess fabric that is over 1 centimeter wide.
Zig-zag the edge and clip away the bottom corner. Clipping the corner will give the bag a nice 90° corner afterwards when turned.
|
|
|
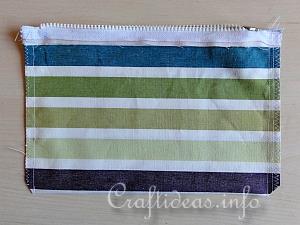
12. Repeat step 11 again for the other side of the bag.
When finished, snip away all sewing threads and then turn the bag. To help the bottom corners protrude, insert a crochet hook and push them through.
Now you can use the bag for whatever you like, like the cosmetic bag in the project shown at the top of this page. Click in the image to see a larger view of it.
|