|
|
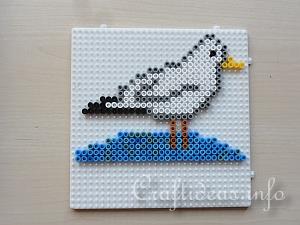
1. Select the picture you would like to make and place the pegs on the board accordingly.
|
|
|
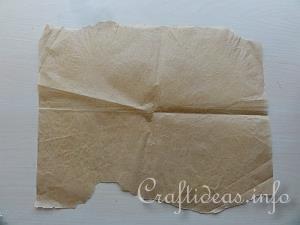
2. Then you will need a piece of baking paper. The advantage of such paper is that it takes the heat of the iron and prevents the melting beads from ruining the iron.
|
|
|
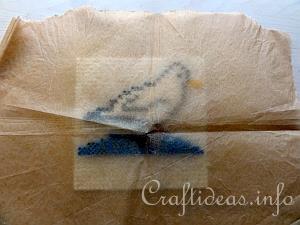
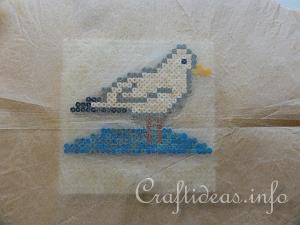
3. Place the baking paper over the figure.
|
|
|
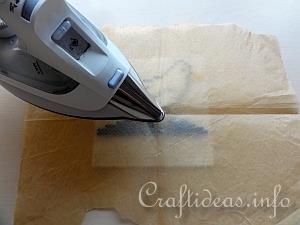
4. Set your iron to the middle setting and once it is hot, iron back and forth over the entire figure for about 10 or more seconds until you have the feeling that the beads are all fusing with each other. You can always lift the paper a little to check if the beads are fusing to one another, too.
Do not over iron or it will not look good anymore and the colors will have fused too much together.
|
|
|
5. You may notice the beads have adhered a little to the paper after you have ironed. That is no problem. Once they start cooling, the paper pulls away from the beads. Leave the paper over the beads.
|
|
|
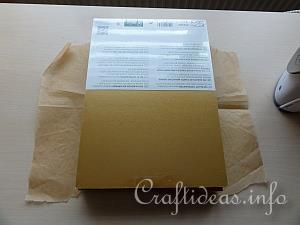
6. Then place a heavy book or stack of paper on top of the figure while it is cooling. This will help it stay flat.
|
|
|
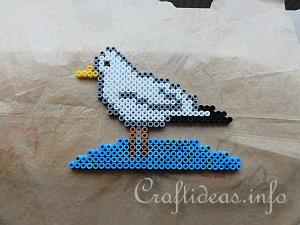
7. Once the figure is cooled down, remove the paper and turn the figure over. Place a piece of the paper on an ironing board and then place the figure on top of the paper.
|
|
|
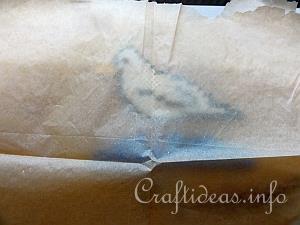
8. Then place a second piece of the paper over the figure.
|
|
|
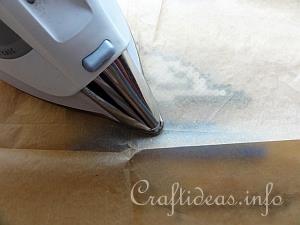
9. You will now iron the figure from the other side to help make it more stable. Iron only a couple of seconds so that this side of the figure stays pretty.
|
|
|
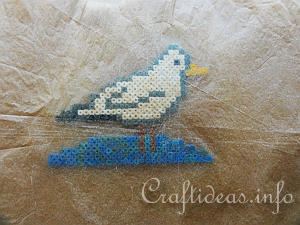
10. You can flip the figure over again and iron from the first side a couple of seconds again if you like. Then remove the figure from the ironing board to cool down.
|
|
|
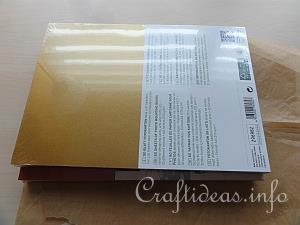
11. While cooling, place again a heavy book or stack of paper on it to keep it flat while it is cooling. If you do not do this, the figure may curl up some.
|