|
|
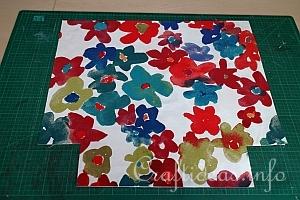
1. Cut your fabric to a size you want. This particular tote was cute to 58 centimeters wide and 55 centimeters high.
Place the pieces over each other and at the bottom corner of both sides, cut away a 10 centimeter square. This is necessary to create a floor to the bag later.
|
|
|
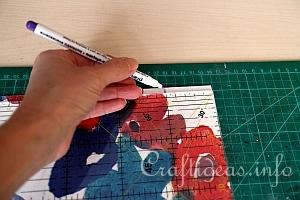
2. Now at the top of the bag, use a trick marker (the ink disappears in a while) and make a dot 5 centimeters from the top side edge.
Do the same at the other side of the top of the bag.
|
|
|
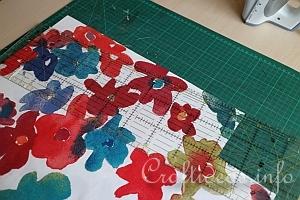
3. Line up your ruler at the 5 centimeter mark you just made to the top of the sqaure you cut out in step 1 to the square you cut out in step 1.
|
|
|
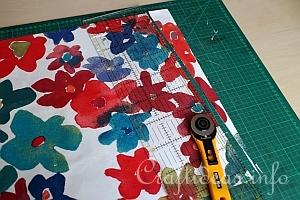
4. Cut this piece away. Your cut piece should be a long triangle shape.
This tapers the bag so it is not as wide at the top as at the bottom.
|
|
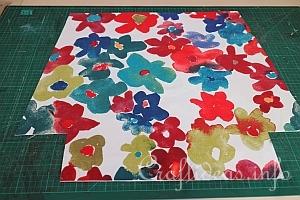
|
5. Repeat for the other side.
Now the top edge is 10 centimeters shorter than the widest measurement of the bag.
|
|
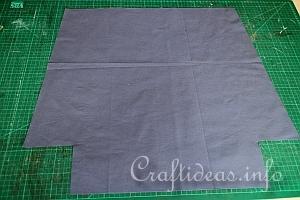
|
6. Do the previous steps to taper the bag also to the 2 lining pieces.
Set the bag pieces and lining pieces aside for a moment.
|
|
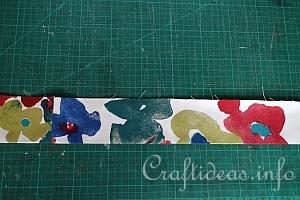
|
7. To create the straps, cut two 14 x 70 centimeter strips. Each strip will then be folded lengthwise and ironed flat.
|
|
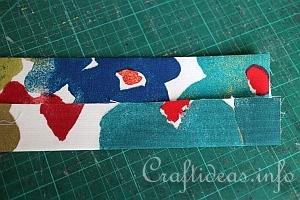
|
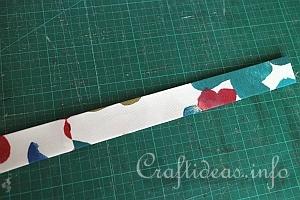
8. Open up the fold again and now fold each of the two long sides to the middle crease created by step 7. Iron these also flat.
|
|
|
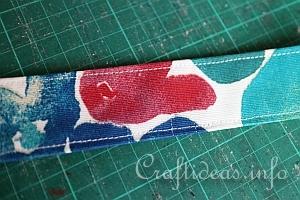
9. Then fold both of these two sides together. Now you have a 3.5 centimeter wide strip x 70 centimeters long.
Repeat for the second strip.
|
|
|
10. Top stitch both long sides of the strips.
|
|
|
|
|
Now it is time to make the pocket for the inside of the tote.
If you do not wish to make a pocket, you can skip the rest below and continue to this page
|
|
|
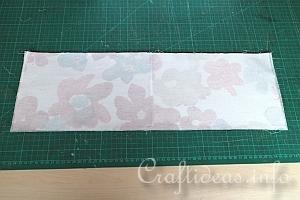
11. Cut two 30 centimeter high and 58 centimeter wide rectangles of your fabric. (If you are making a bag of a different size, cut 30 centimeters high x the width of your bag).
You can use either the fabric used for the lining or you can use the exterior fabric. That is what is being used here.
Sew these two pieces together at the long sides, with the ride sides facing. Then turn this piece through a hole on one of the short sides and press it with the iron so it will lay flat.
|
|
|
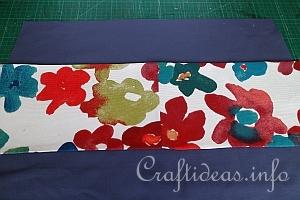
12. Now you will place this pocket piece on the lining of the bag. You can place where you like but a little higher than the center works well.
|
|
|
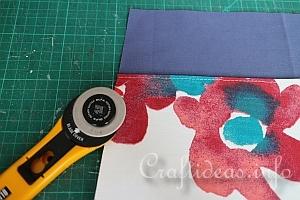
13. You will notice how the width hangs over the sides, This is because you cut the bag at a taper. Simply follow the tapered line and trim the lining to also be the same size.
Now remove the pocket shortly and topstitch the top of the pocket piece (this is now not as wide as the bottom because it is tapered).
Then place the pocket piece on the lining again and line it up so the sides match exactly. Pin the top. Pin and sew the bottom of the pocket onto the lining. The side seams remain unsewn at this point.
|
|
|
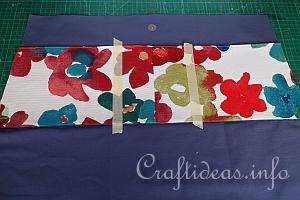
14. Right now you have just one large pocket.
To section it off to create smaller pockets, use masking tape to create straight perpendicular lines down where you want to sew them. This keeps you from having to mark the fabric and the tape is easily removed afterwards.
|
|
|
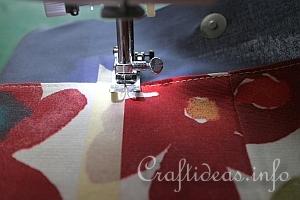
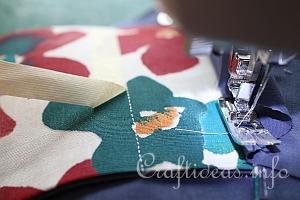
15. Now stitch along side the tape piece.
|
|
|
16. Remove the tape.
|
|
|
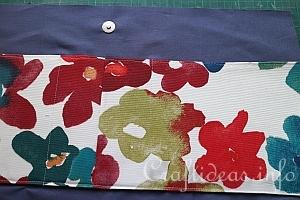
17. Repeat for the second piece of tape. Now you have a pocket with 3 sections for all of your small things.
Continue here to add the magnetic closure to your tote.
If you do not want to use a closure and simply want to finish the tote, then click here.
|