|
|
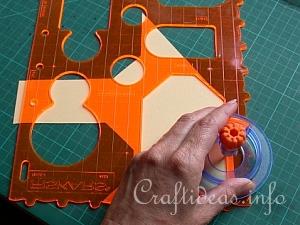
1. Use a Fiskars template for the large tag or you can use the template found on the template pages found on this site. Cut one tag out of the textured cardstock.
|
|
|
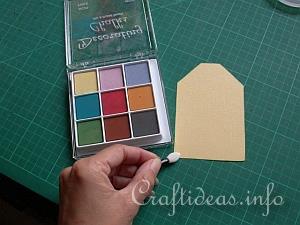
2. Chalk the edges of your tag to give it a dimensional look.
|
|
|
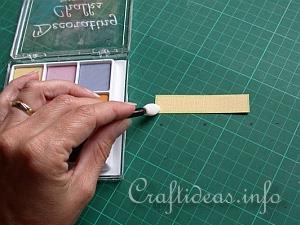
3. Cut a strip out of the textured cardstock that is the same width of your tag and about 1.5 cm high. Chalk the edges of this strip as well.
|
|
|
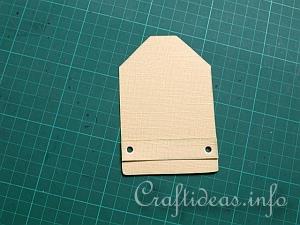
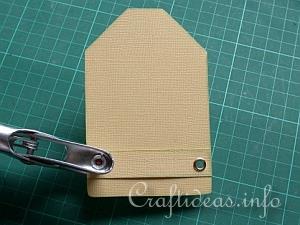
4. Lay the strip on the tag about 1 cm from the bottom. Punch a hole through both layers of the strip and tag.
|
|
|
5. Secure each hole with an eyelet. Also punch a hole through the top of the tag and fix an eyelet there, too.
|
|
|
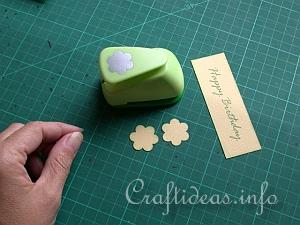
6. Print “Happy Birthday” out in green on a piece of the textured cardstock. Cut it evenly out. Punch 2 flowers out of the cardstock and chalk the edges of these flowers. Punch 2 circles out of the green paper and place one on the center of each flower.
|
|
|
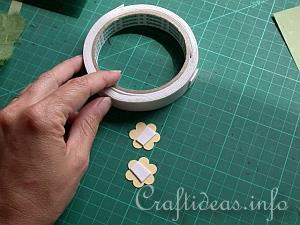
7. On the backsides of the flowers, stick a piece of the foam tape and remove the backing.
|
|
|
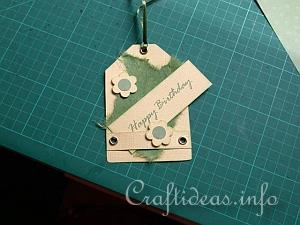
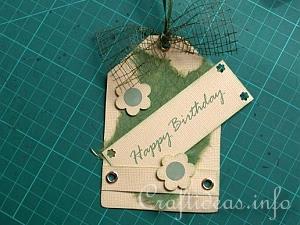
8. Insert a torn piece of fiber paper on the tag (and under the strip) and secure the backside of the fiber paper with a bit of stick glue. Insert the happy birthday greeting under the strip and stick the flowers on.
|
|
|
9. Punch a small flower in each corner of the happy birthday greeting if you like. Gather a 9 cm piece (approx. 4 inches) of mesh ribbon in the middle. Tie it to the satin ribbon so it looks like a bow and secure the satin ribbon in the top eyelet.
|